Tired of messy pencil cases with frayed edges and loose threads? This tutorial will show you how to create a neat, professional-looking zippered pencil pouch with a completely clean finish – no raw edges in sight! We'll be crafting a sturdy, functional pouch perfect for holding pens, pencils, makeup brushes, or any small items you need to keep organized. Forget about those frustrating, unfinished edges that unravel over time; this method ensures a durable and beautifully finished product that will last.
This simple, no-sew method utilizes fusible interfacing for added strength and structure, eliminating the need for any sewing whatsoever. The result is a sleek, stylish pouch that's surprisingly easy to make, even for beginners. Ready to dive in and create your own perfectly finished pencil pouch? Let's get started with the step-by-step instructions below.
Preparation and Safety Guidelines
- Fabric (exterior and lining)
- Light fusible batting
- Iron
- 14in #3 craft zipper
- Sewing machine
- Zipper foot
- Universal presser foot
- Pins or Clips
- Tailor's Clapper (optional)
- 4in diameter circle template
- Scissors
- Pen
- Always use sharp scissors and a rotary cutter (if using one) to prevent slips and potential cuts. Keep fingers clear of the blades at all times.
- Be cautious when working with the zipper. The teeth can be sharp. Use zipper pliers or a zipper foot (if sewing) to avoid pinching your fingers.
- If using a sewing machine, ensure the needle is correctly threaded and the machine is operating properly to prevent accidents and ensure clean stitching.
Step-by-Step Instructions
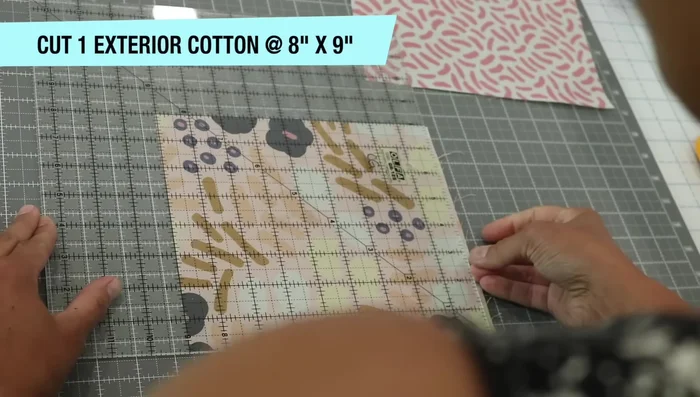
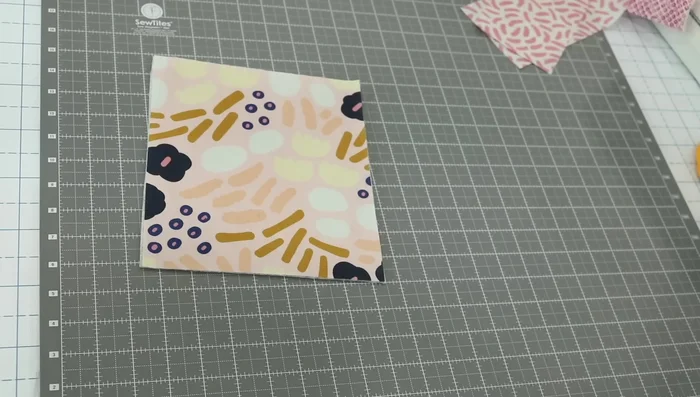
Prepare Fabric and Batting
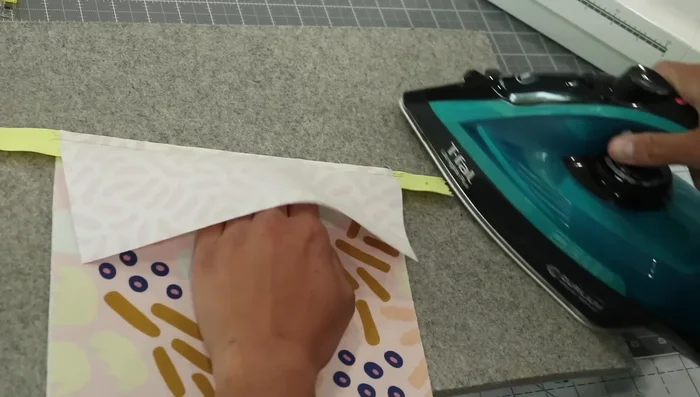
- Cut one 8in x 9in rectangle for the exterior and two 4in x 9in rectangles for the lining.
- Fuse the light fusible batting to the wrong side of the exterior fabric using an iron.

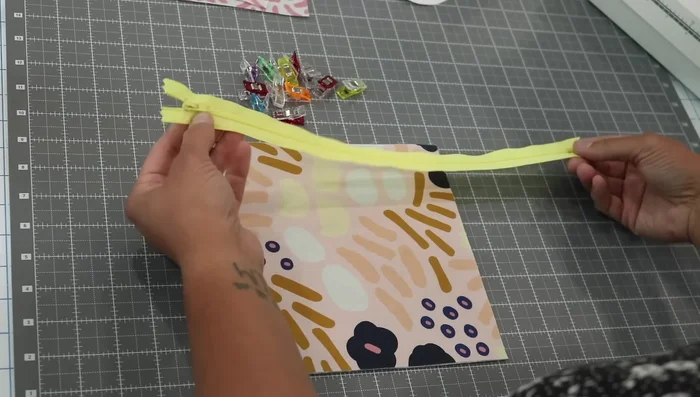
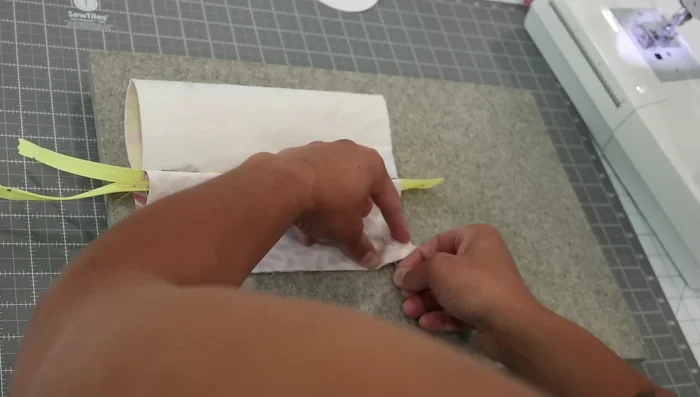
Prepare Fabric and Batting Attach Zipper to Exterior Fabric
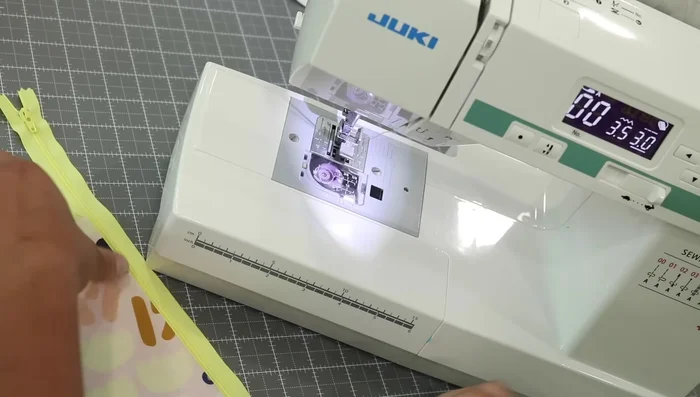
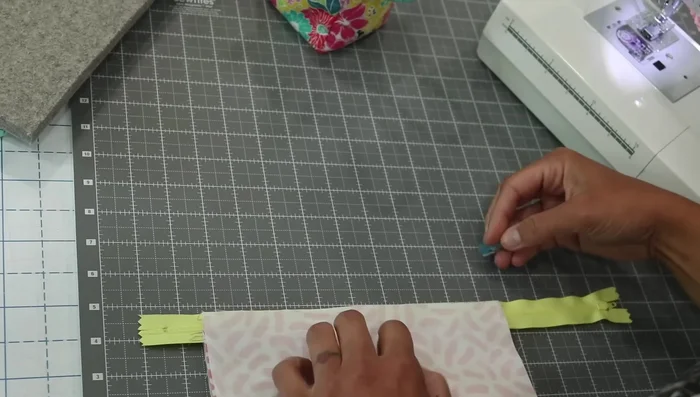
- Place the zipper face down on the right side of the exterior fabric, aligning it with the top edge. Leave extra zipper tape on each end. Baste the zipper to the fabric using a long stitch length (3mm).
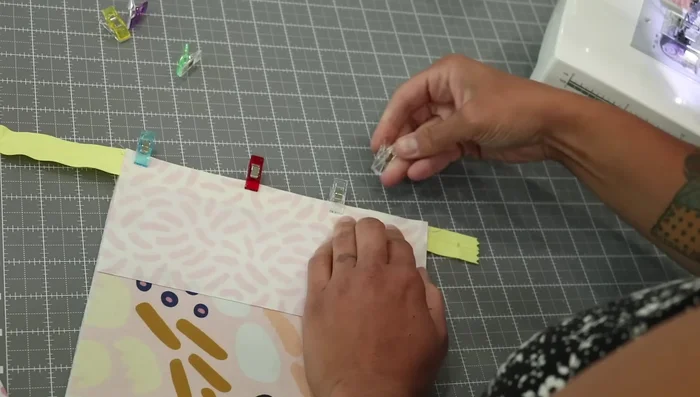
Attach Zipper to Exterior Fabric Attach First Lining Piece to Zipper
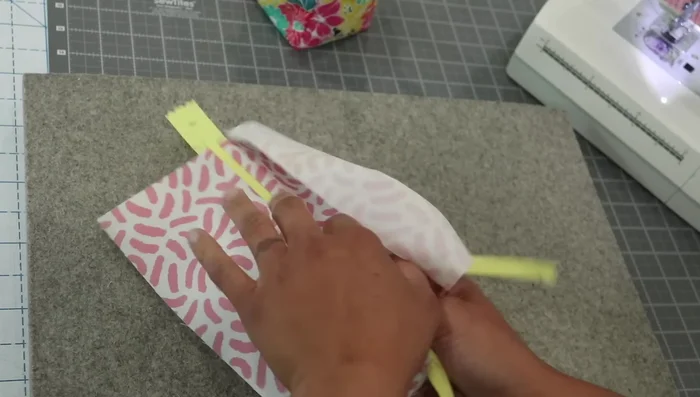
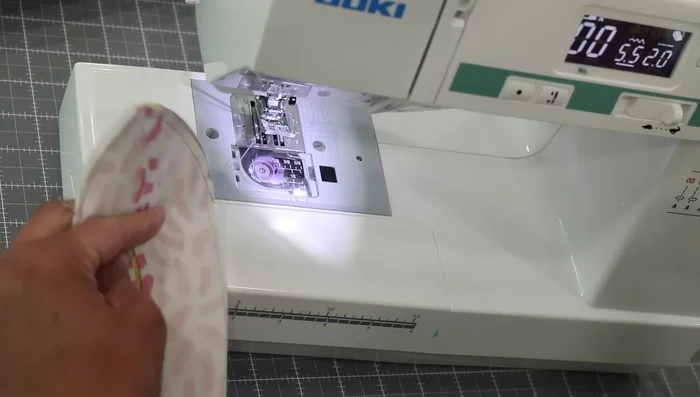
- Place one lining rectangle, pretty side down, on top of the zipper, aligning the 9in edge. Sew the lining to the zipper with a shorter stitch length (2mm) using the zipper foot, creating a full seam allowance.
- Press the seams open, away from the zipper teeth, using a tailor's clapper if available.
- Top stitch along the edge of the zipper on both sides using a 3mm stitch length, ensuring the zipper foot aligns with the edge of the zipper teeth.
Attach First Lining Piece to Zipper Attach Second Lining Piece
- Place the second lining rectangle, pretty side down, on top of the first lining piece along the 9in edge. Sew with a short stitch length (2mm) using a full seam allowance.
- Press the seams, and then topstitch along this final side to match the first.
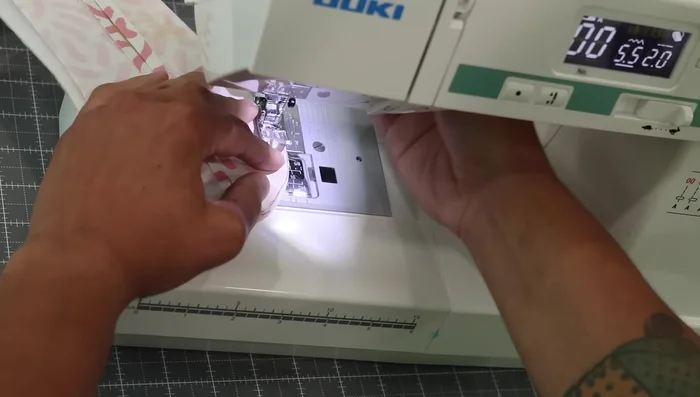
Attach Second Lining Piece Close Lining and Turn
- Sew the lining together, leaving an opening to turn the pouch right-side out. Use a short stitch length (2mm).
- Turn the pouch right-side out through the opening in the lining. Press the pouch well, ensuring the zipper and seams are centered.
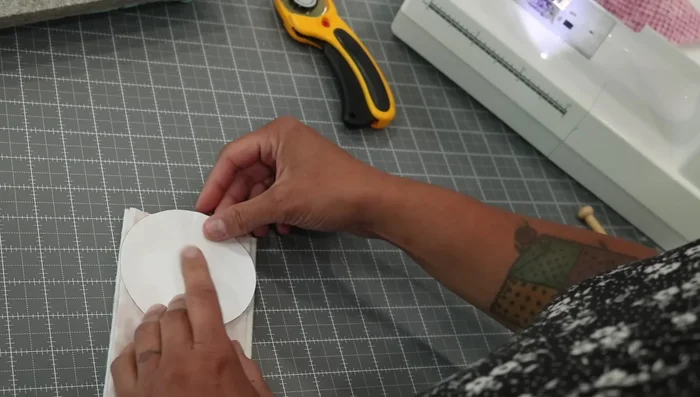
Close Lining and Turn Shape and Sew Corners
- Using a circle template, mark and cut curves on both short ends of the pouch.
- Stitch along the curved edges using a scant 1/4 inch seam allowance (closer to 1/8 inch), making sure to backstitch at the beginning and end.
Shape and Sew Corners Close Lining Opening
- Close the opening in the lining with a straight stitch.
Read more: Sew a Lined Expandable Storage Bag: Easy Tutorial
Tips
- Use a tailor's clapper to help keep everything flat while pressing.
- Backstitch at the beginning and end of each seam for added security.
- Ensure the zipper pull is on the inside before trimming excess tape.
- Take your time when sewing the curved edges for a neat finish.