Bucket hats are back, and this time, they're even better! Forget choosing just one color or style – we're diving into the exciting world of reversible bucket hats. This versatile accessory allows you to effortlessly switch up your look, coordinating it perfectly with any outfit. Imagine a stylish, sun-shielding hat that's as easy to make as it is to wear. No more sifting through endless online shops or paying hefty prices for trendy fashion; you'll be surprised how quickly and easily you can create your own. This project is perfect for beginners, requiring minimal sewing experience and readily available materials.
This beginner-friendly DIY tutorial will guide you through each step, from choosing your fabric to the final finishing touches. We'll break down the process into manageable, easy-to-follow instructions, complete with helpful images to ensure a flawless result. Get ready to unleash your creativity and embrace the joy of crafting your own reversible bucket hat! Let's get started with the step-by-step guide below.
Preparation and Safety Guidelines
- Fabric (Ankara or any fabric of choice)
- Tape measure
- Pattern paper
- Pen or pencil
- Scissors
- Sewing machine
- Iron
- Pins
- Interfacing (optional)
- Chalk (optional)
- Use sharp scissors and a rotary cutter with caution. Always point the blades away from yourself and your body when cutting fabric.
- When using a sewing machine, keep your fingers clear of the needle and presser foot. Use a seam ripper carefully to avoid accidental pricks or cuts.
- If working with fabric that may fray easily, consider pre-washing and pre-treating to prevent unraveling during the sewing process.
Step-by-Step Instructions
Measure Head Circumference
- Measure the round edge circumference of your head, adding one finger's width for comfort.
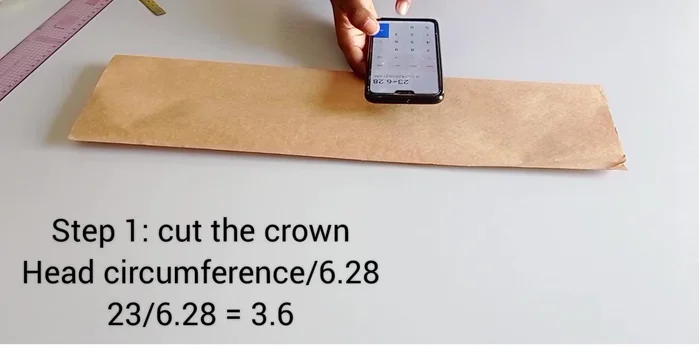
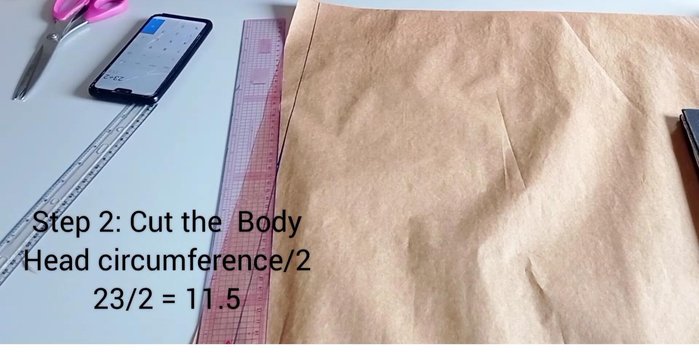
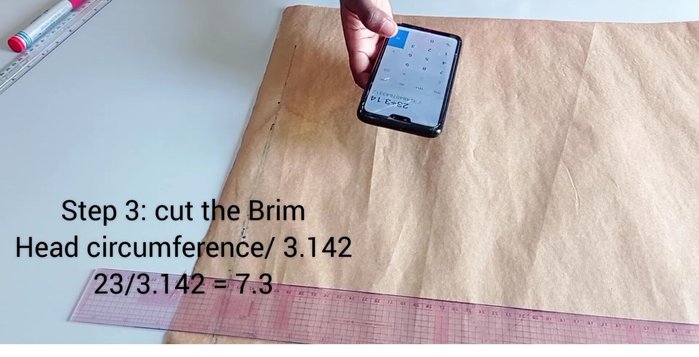
Draft Hat Patterns
- Divide the head circumference by 6.28. Fold pattern paper into four, measure the result from the folded edge, connect the points, and cut out.
- Divide the head circumference by 2. Measure this length, add a height of 3 inches (or 3.5 inches), and add ½ inch seam allowance. Cut out.
- Divide the head circumference by 3.142. Measure this radius, add a desired height (3 inches used in the tutorial), and add seam allowance (½ inch to the top, full allowance to the bottom). Cut out.

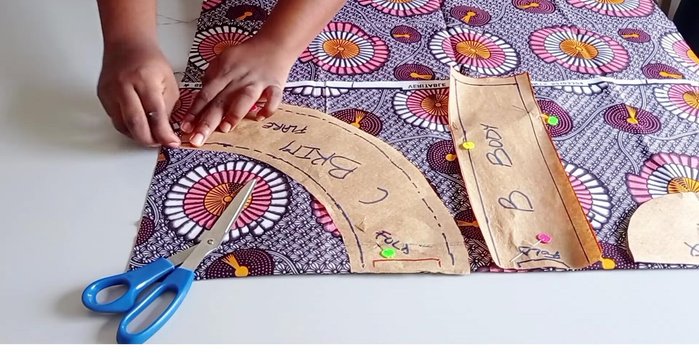
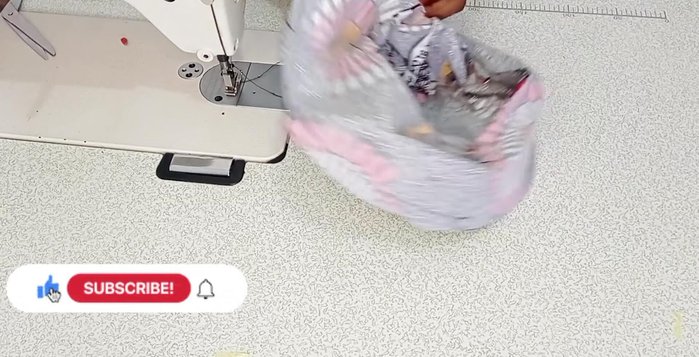
Draft Hat Patterns Cut Fabric Pieces
- Transfer patterns to fabric, adding seam allowances where needed (½ inch unless otherwise noted in the pattern instructions). Cut out fabric pieces for both layers of the hat and interfacing (optional).
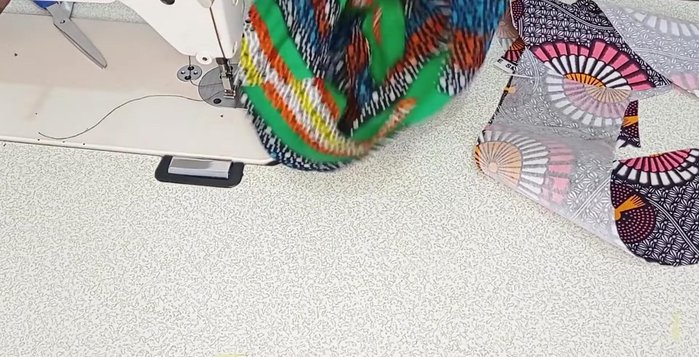
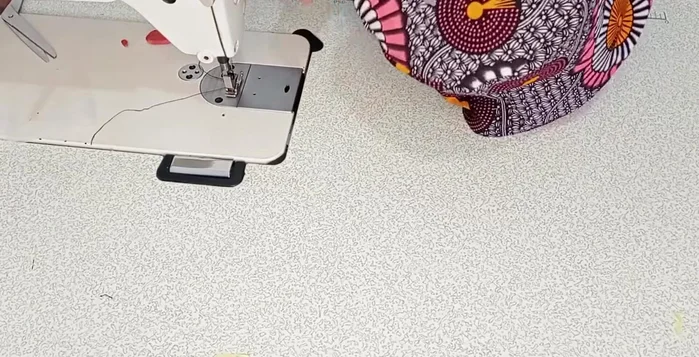
Cut Fabric Pieces Sew Crown to Body
- Place right sides together at the midpoint, sew with a ½ inch seam allowance, leaving a small gap. Notch the seam.
Sew Crown to Body Sew Brim to Body
- Align at the center, sew with a ½ inch seam allowance, and notch the seam.
Sew Brim to Body Close Seams
- Sew the remaining gap in the crown/body seam.
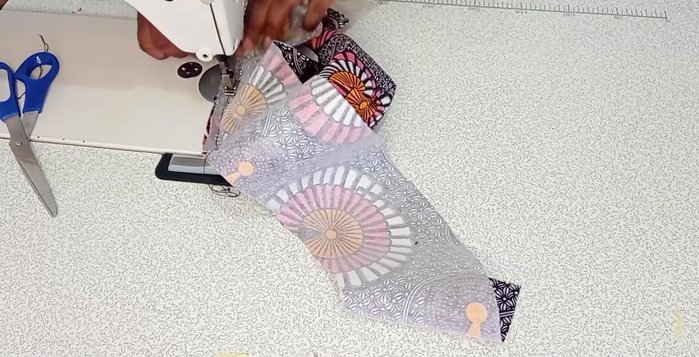
Close Seams Join Fabric Layers
- Place right sides together, aligning seams. Sew with a ½ inch seam allowance, leaving a 2-inch gap for turning.
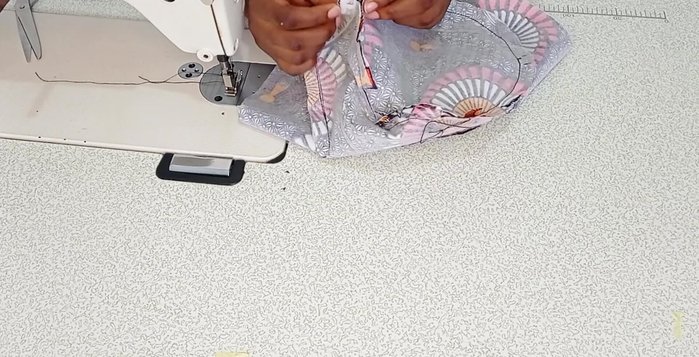
Join Fabric Layers Turn, Finish, and Iron
- Turn right side out, notch seams, iron, and close the gap by hand stitching.
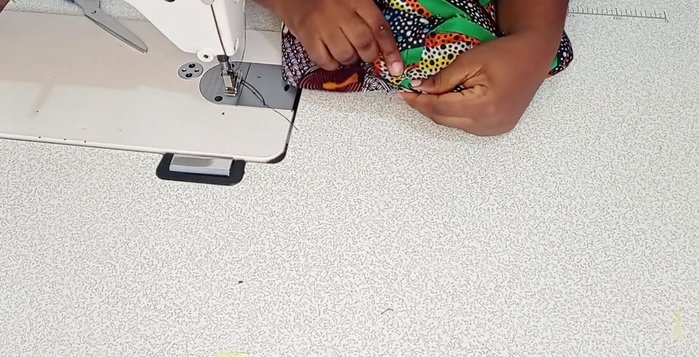
Turn, Finish, and Iron Add Decorative Stitching (Optional)
- Add optional decorative stitch lines to the brim.
Add Decorative Stitching (Optional)
Read more: Sew a Lined Expandable Storage Bag: Easy Tutorial
Tips
- Add one finger's width to your head circumference measurement for a comfortable fit.
- Notching the seams allows for a smoother, more professional finish.
- Using interfacing adds structure and stability to the hat.