Tired of boring, generic bulletin boards? Yearning for a touch of personalized flair in your home or office? Then get ready to unleash your inner crafter with this delightful DIY project! We'll guide you through creating a stunning and uniquely customized ribbon bulletin board, a perfect blend of practicality and aesthetic appeal. This vibrant project requires minimal materials and is surprisingly easy to assemble, making it ideal for both seasoned crafters and enthusiastic beginners alike. It's the perfect way to add a pop of color and personality to any space, while simultaneously providing a functional organizational tool.
Forget those plain corkboards! This step-by-step tutorial will walk you through creating a stunning ribbon bulletin board, transforming a simple craft supply into a beautiful and functional piece of home décor. From choosing the perfect ribbons to the final touch-ups, we’ll cover every aspect to ensure your creation is a true reflection of your style. Let's get started!
Preparation and Safety Guidelines
- Foam core board (12x12 in)
- Cork board (12x12 in)
- Hot glue gun
- Fabric (approx. 15x15 in)
- Batting (approx. 15x15 in)
- Scissors
- Ribbon (various lengths)
- Thumbtacks
- Upholstery tacks
- Half pearls (optional)
- Chipboard (optional)
- Always supervise children when using scissors, hot glue guns, or other sharp/hot tools.
- Ensure adequate ventilation when working with spray adhesive or paints.
- Use caution when handling pins or pushpins to avoid injury.
Step-by-Step Instructions
Prepare the Base
- Adhere foam core board to cork board using hot glue.
- Lay fabric and batting (15x15 in each) over the cork board, leaving extra fabric for folding.

Prepare the Base Attach Batting
- Glue the batting to the back of the foam core board.
Attach Batting Attach Fabric
- Trim the edges of the fabric for a neater look.
- Glue the fabric to the foam core board, pulling taut to avoid wrinkles.
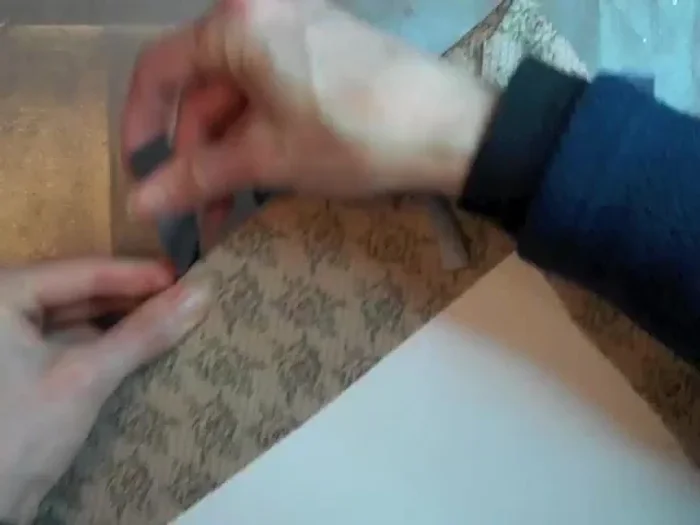
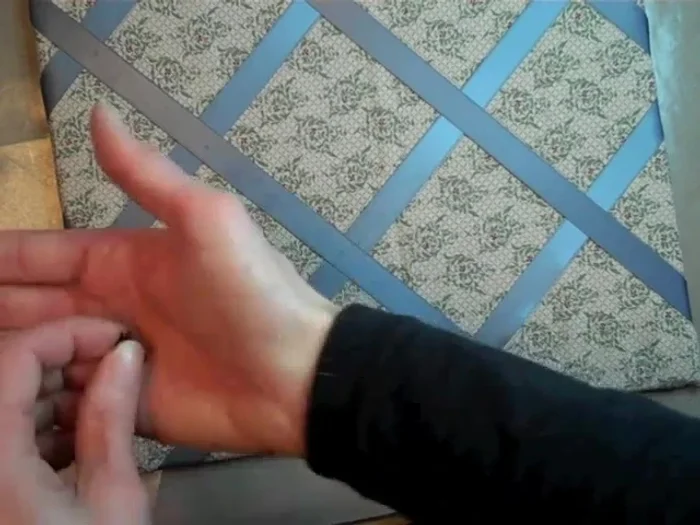
Attach Fabric Arrange and Secure Ribbon
- Lay out ribbon and secure intersections temporarily with thumbtacks.
- Glue the ribbon to the board, pulling taut.
Arrange and Secure Ribbon Add Decorative Studs (Optional)
- Create decorative studs using upholstery tacks and half pearls (optional).
- Attach the studs to the ribbon intersections.
Add Decorative Studs (Optional)


Read more: Sew a Lined Expandable Storage Bag: Easy Tutorial
Tips
- Iron your fabric before gluing for a smoother finish.
- Pull the fabric and ribbon taut while gluing to minimize wrinkles.
- Cut corners of fabric to make wrapping the edges easier
- Use thumbtacks to hold the ribbon in place before gluing to ensure proper placement.
- Consider adding a piece of chipboard to the back for added stability.