Gift-giving is a cherished tradition, but the accumulation of discarded gift bags often leaves us feeling guilty about the environmental impact. Those beautiful paper bags, so carefully chosen, end up crumpled in recycling bins far too quickly. What if we could transform these festive remnants into something equally beautiful and infinitely more sustainable? This article explores a creative and eco-friendly solution: upcycling old gift bags into reusable fabric gift bags! We'll give new life to those discarded treasures, transforming them from single-use items into charming and practical additions to your gifting arsenal.
Instead of contributing to landfill waste, learn how to repurpose these forgotten beauties into durable, washable gift bags perfect for any occasion. This simple project requires minimal sewing skills and readily available materials, making it accessible for crafters of all levels. Ready to turn your old gift bags into stylish and eco-conscious alternatives? Let's dive into the step-by-step process!
Preparation and Safety Guidelines
- Old gift bag with reusable handles
- Fabric
- Soft & Stable fusible foam
- Rotary cutter (optional)
- Cutting mat (optional)
- Sewing machine
- Iron
- Pins
- Safety pins
- Always wash gift bags before repurposing to remove any potential chemicals or residue from the original printing or manufacturing process. Use a gentle cycle and air dry.
- Inspect the bag carefully for any weak areas, holes, or damage before cutting and sewing. Avoid using bags with significant wear and tear as they might not hold up as reusable bags.
- If using glue or adhesive to reinforce seams or add decorations, ensure it is fabric-safe and non-toxic, especially if the bag will hold food items.
Step-by-Step Instructions
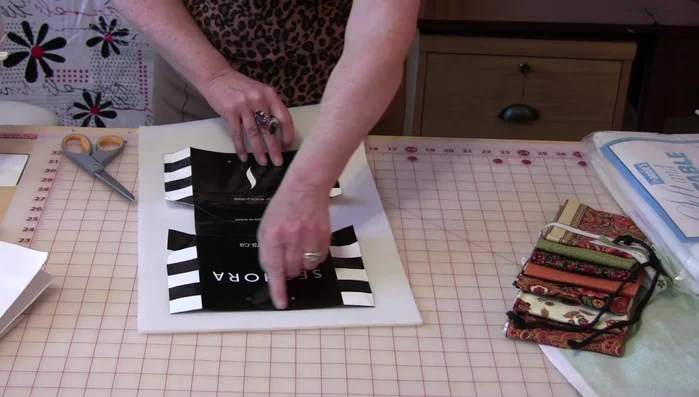
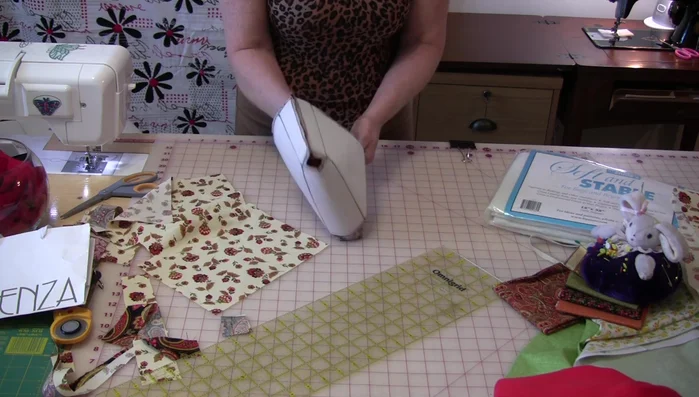
Prepare the Old Gift Bag
- Remove the handles from the old gift bag. Be careful with nylon handles and heat.
- Cut the gift bag down the center fold, then along the bottom corners to create a flat pattern.
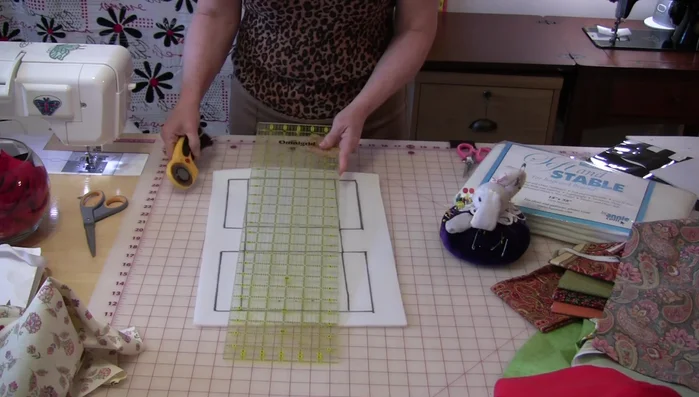
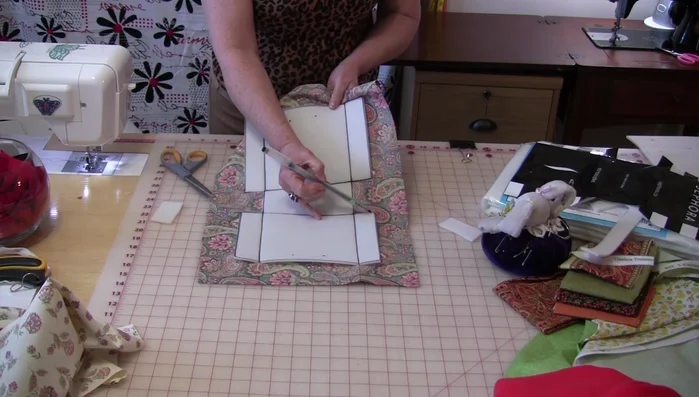
Create the Pattern
- Trace the pattern onto Soft & Stable, marking handle placement, fold lines, and seam allowances.
- Cut out the Soft & Stable pieces.

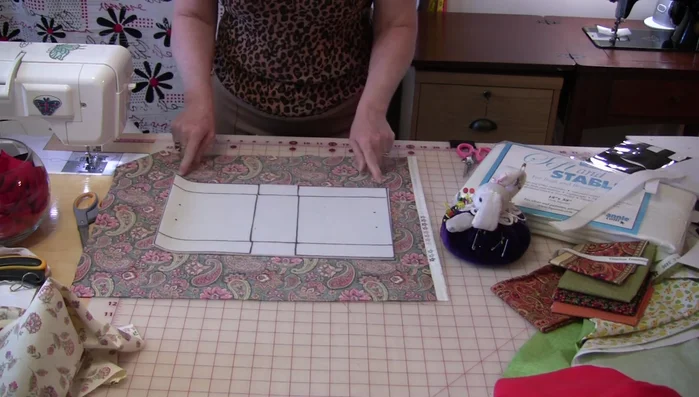
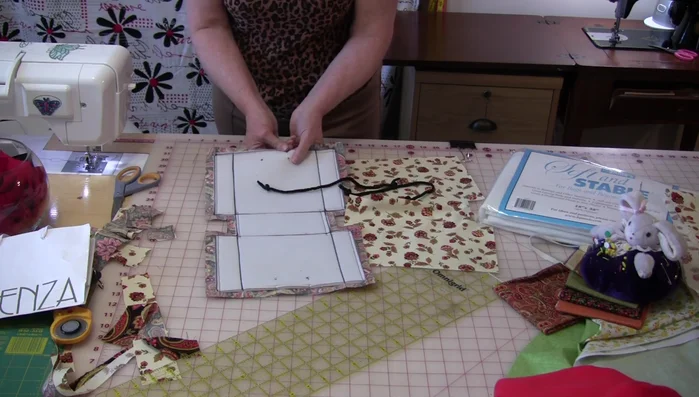
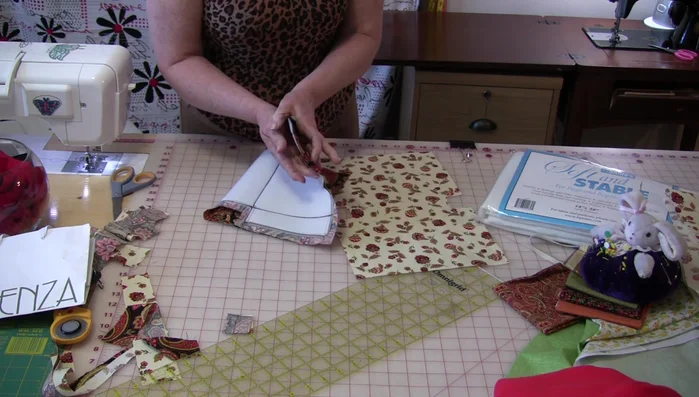
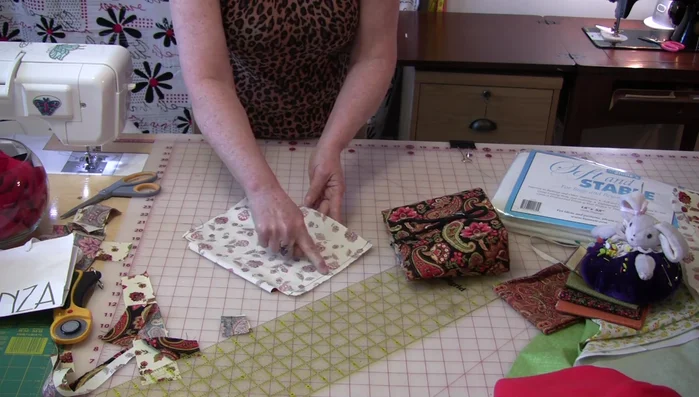
Create the Pattern Cut and Sew the Outer Bag Fabric
- Place the Soft & Stable pattern pieces onto your chosen fabric, adding at least a 1-inch seam allowance. Pin and sew the two layers together.
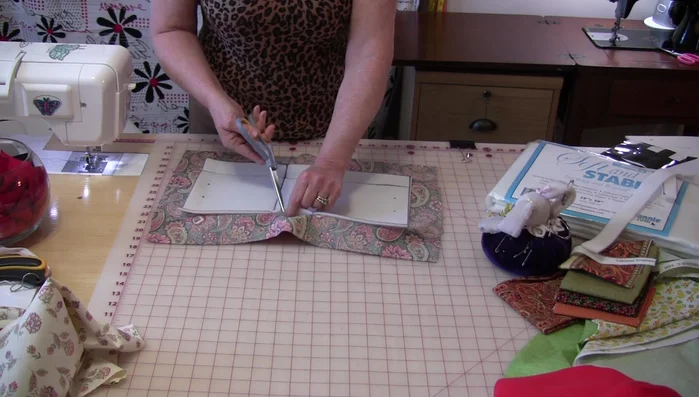
- Trim the corners of the sewn fabric and Soft & Stable, close to the stitching but without cutting the fabric.
- Stitch another 1/4 inch seam allowance around the Soft & Stable piece, press it flat.
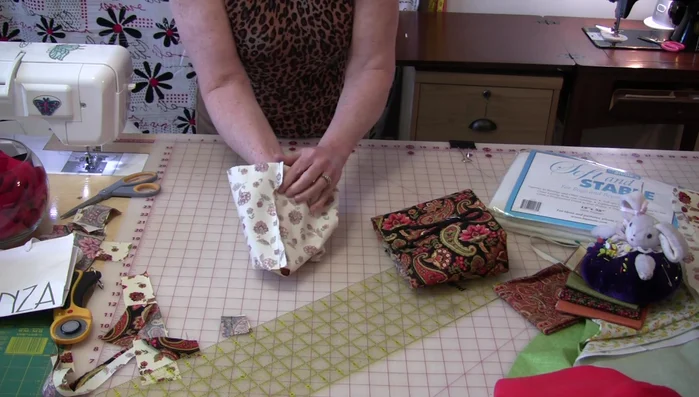
Cut and Sew the Outer Bag Fabric Attach the Handles
- Pin the handles to the front of the bag at the marked locations, then pin the straps out of the way to prevent them from being caught in the side seams.
- Stitch the handles down along the seam allowance.
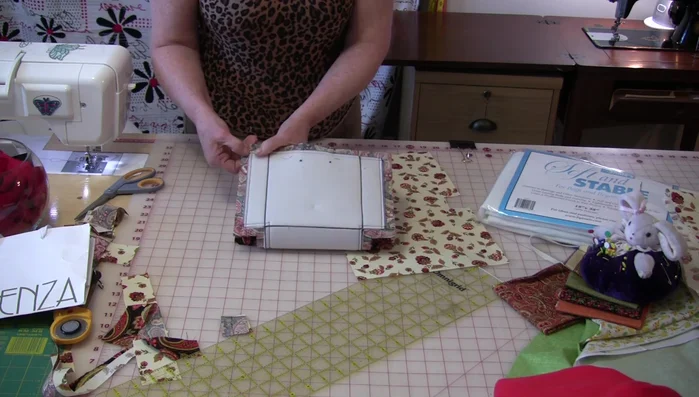
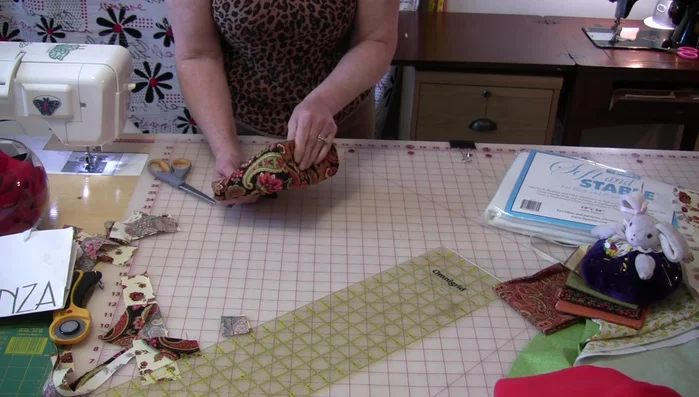
Attach the Handles Sew the Outer Bag Sides and Bottom
- Fold the bag in half, and sew along the edge of the Soft & Stable, right beside the pattern lines (not on the pattern itself).
- Press the seams open and flat.
- Sew the bag bottom, right along the Soft & Stable, keeping seams flat.
Sew the Outer Bag Sides and Bottom Create and Attach the Lining
- Turn the bag right-side out.
- Sew the lining, leaving a small opening at the side for turning.
- Press the lining seams open.
- Insert the outer bag into the lining, matching seams. Stitch close to the Soft & Stable around the top.
Create and Attach the Lining - Turn the bag right-side out through the opening in the lining. Close the opening by machine or hand-stitching (hand-stitching makes it reversible).
Create and Attach the Lining Finishing Touches
- Tuck the lining into the bag, attach straps, push out corners, and stitch the lining to the bag top along the existing 1/4-inch stitching line.
- Press seams. Use steam to press handles, avoiding direct iron contact.
Finishing Touches


Read more: Sew a Lined Expandable Storage Bag: Easy Tutorial
Tips
- Use a rotary cutter and mat for faster and more precise cutting.
- Ensure your fabric is pressed before sewing to avoid wrinkles.
- Matching thread makes sewing easier.
- Don't worry if the stitching isn't perfectly even; it will all work out.
- Use steam to remove wrinkles from the handles, instead of directly ironing them.