Tired of overflowing laundry baskets and the guilt of tossing out perfectly good clothes? Transform those unwanted sweaters, t-shirts, or even jeans into a stylish and functional jumper basket! This upcycling project is not only a fantastic way to reduce textile waste and save money, but it's also a rewarding craft for all skill levels. You'll be surprised at how easily you can breathe new life into old fabrics, turning potential trash into a treasured item for your home. Plus, the unique character of your repurposed clothes will give your basket a truly personal touch, making it a one-of-a-kind addition to your laundry room or bedroom.
This guide will walk you through the simple steps of creating your own unique DIY jumper basket, using only a few basic materials and your old clothing. Ready to transform your old clothes into a beautiful and practical storage solution? Let's dive into the step-by-step instructions to begin upcycling!
Preparation and Safety Guidelines
- Jumper (old or unwanted)
- Scissors
- Hot glue gun
- Fabric stiffener or PVA glue
- Bucket
- Wire hanger or stiff wire
- Wooden dowels
- Optional: Old belts for handles
- Always use sharp, clean scissors to prevent injury and ensure clean cuts. Never attempt to cut fabric while distracted.
- If using a sewing machine, ensure you are familiar with its operation and safety features. Always unplug the machine before cleaning or making adjustments.
- Be mindful of any loose threads or fabric edges that could pose a choking hazard, especially if the basket is intended for a child or pet.
Step-by-Step Instructions
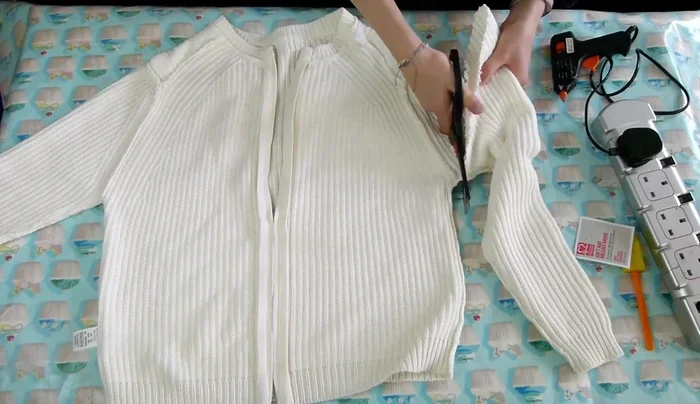
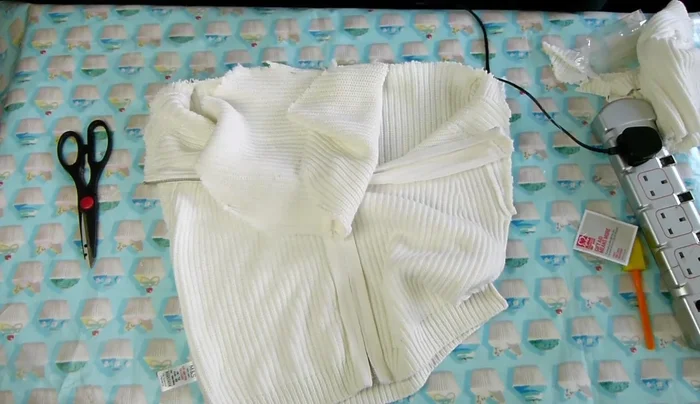
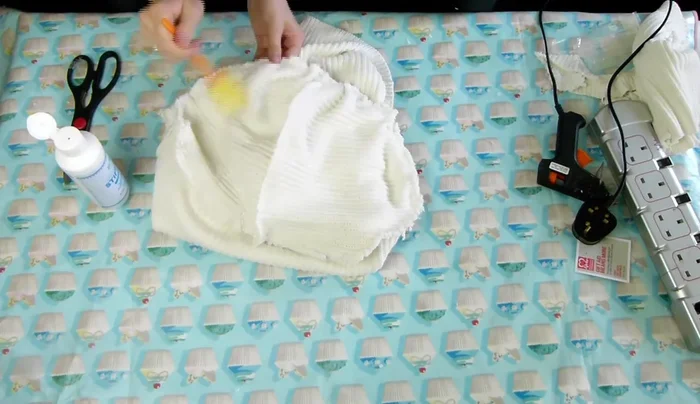
Prepare the Jumper
- Cut off the sleeves of the jumper straight down, not diagonally.
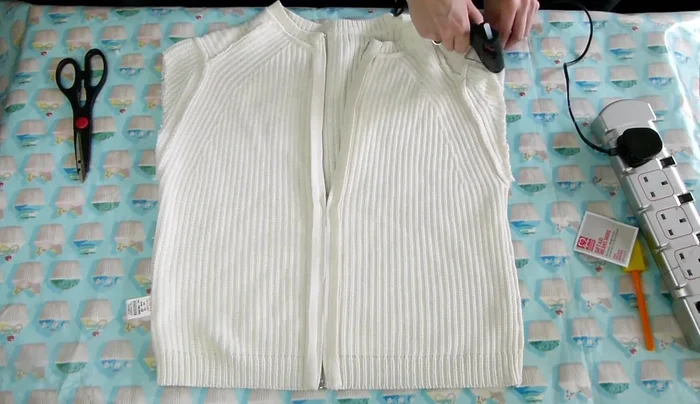
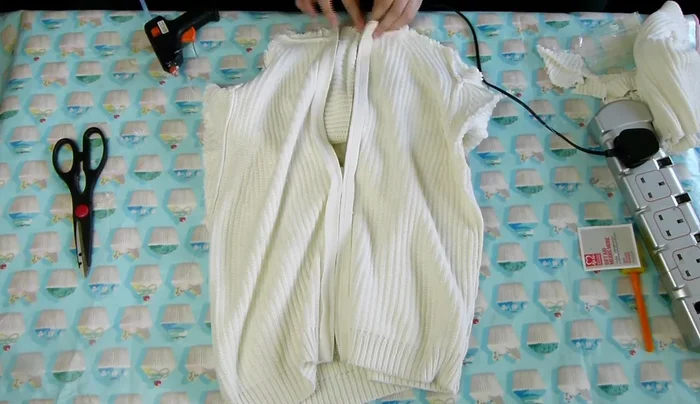
- Glue the sleeve seams shut on the inside, ensuring the jumper is inside out.
- Repeat for the other sleeve.
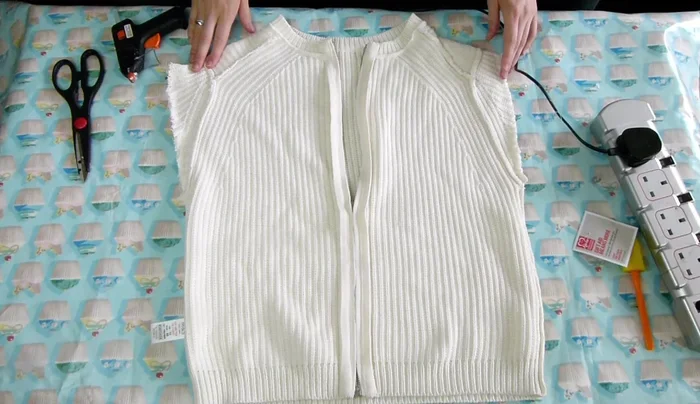
- Cut across the top of the jumper to make it straight, removing the shoulder bits.

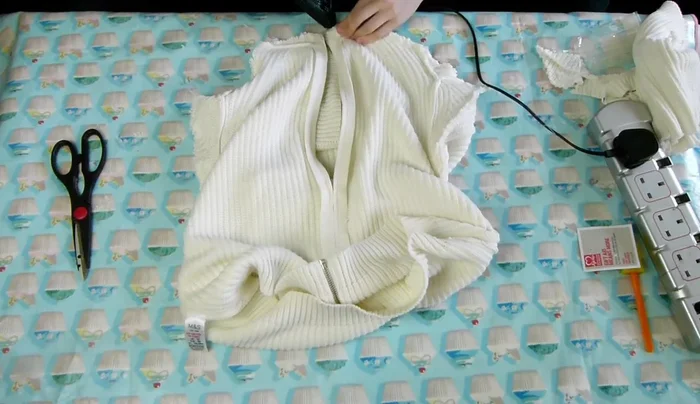
Prepare the Jumper Create the Basket Base
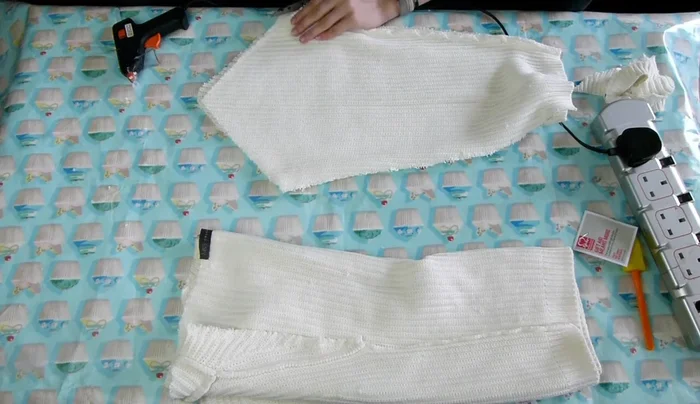
- Cut down one side of each arm to create an open patch.
- Cut a semi-circle/oval shape across the top of the arms, lay them over each other and cut them down the middle.
- Glue the two long ends of the arm pieces together (right side to right side).
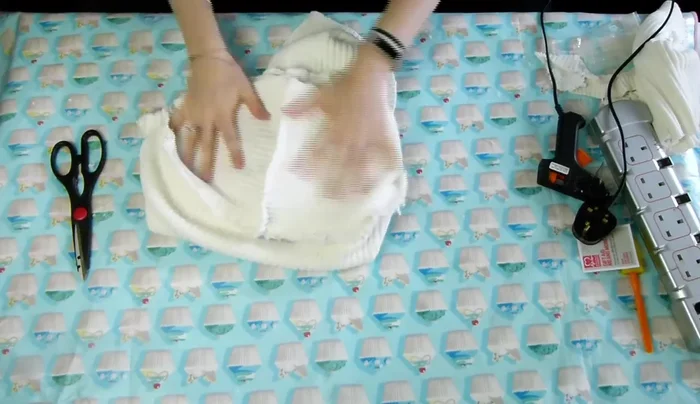
Create the Basket Base Attach the Base to the Jumper
- Glue the bottom base (created in step 7) to the frayed edges of the jumper's bottom, all the way around.
Attach the Base to the Jumper Secure the Zipper (if applicable)
- Ensure the zipper (if present) is in the middle and won't get caught in the gluing process.
- Secure the zipper with a generous amount of glue.
Secure the Zipper (if applicable) Stiffen and Shape the Basket
- Place a bucket inside the jumper to maintain its shape while applying fabric stiffener or PVA glue.
- Apply several coats of fabric stiffener or PVA glue to all sides of the basket to add sturdiness.
Stiffen and Shape the Basket Add the Hanging Loop
- Create a wire loop from a hanger or stiff wire.
- Glue the top edge of the basket to the wire loop on the inside to keep the basket open.
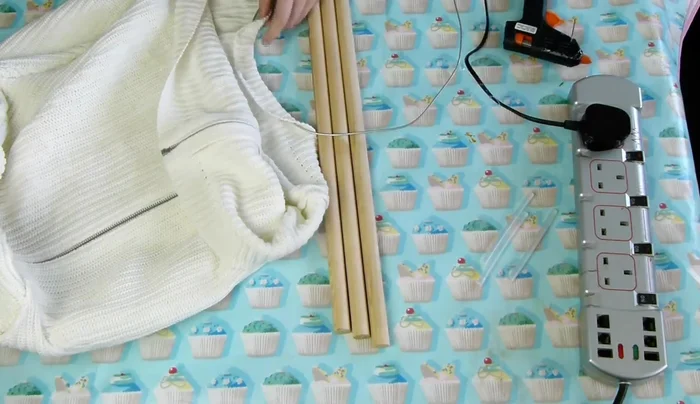
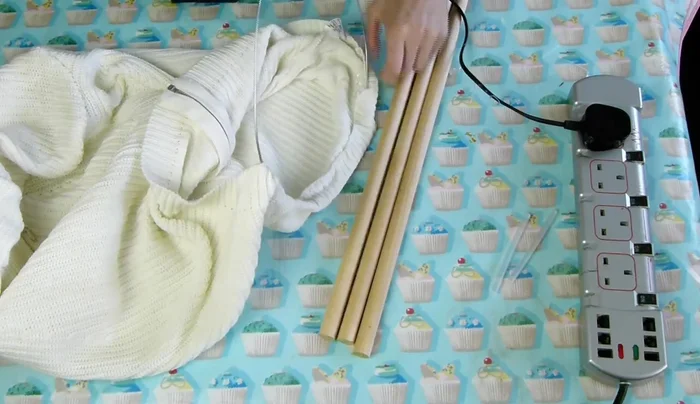
Add the Hanging Loop Add Structural Support
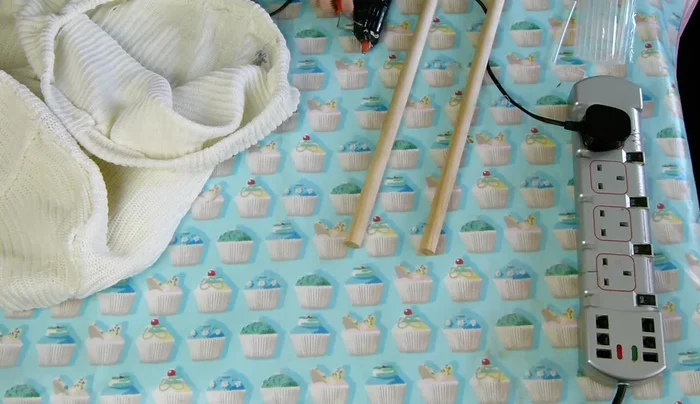
- Glue wooden dowels to the bottom and sides of the basket for structural support.
Add Structural Support Add Optional Handles
- Add optional handles (e.g., from old belts).
Add Optional Handles


Read more: Sew a Lined Expandable Storage Bag: Easy Tutorial
Tips
- Use an old jumper you're not wearing anymore.
- Turn the jumper inside out when gluing seams for a neater finish.
- If using a heavy jumper, more fabric stiffener/PVA glue might be needed for support.