Need a drawstring bag quickly and effortlessly? Forget complicated sewing projects and frustrating tutorials; this two-piece method offers the fastest and easiest way to create a durable and stylish drawstring bag, perfect for everything from gym clothes to grocery shopping. We're talking minimal supplies, minimal effort, and maximum speed – ideal for crafters on a tight schedule or those simply looking for a practical and efficient solution. This simple technique bypasses complex stitching, making it a fantastic project for beginners and experienced sewists alike.
This guide will walk you through each step of constructing your own two-piece drawstring bag, utilizing a technique that emphasizes simplicity and speed. Get ready to discover how you can create a functional and attractive bag in a fraction of the time it would take with traditional methods. Let's dive into the detailed, easy-to-follow instructions.
Preparation and Safety Guidelines
- Fabric (two pieces)
- Ribbon or twine
- Pinking shears
- Sewing machine
- Pen or chalk
- Iron (optional, small iron preferred)
- Use sharp scissors to prevent fraying and ensure clean cuts. Dull scissors can cause fabric to tear or create uneven edges.
- Double-check your drawstring length before sewing it closed. It's difficult to adjust once sewn.
- For young children using the bag, ensure the drawstring is securely sewn to prevent strangulation hazards. Consider using a safety knot or a drawstring stopper.
Step-by-Step Instructions
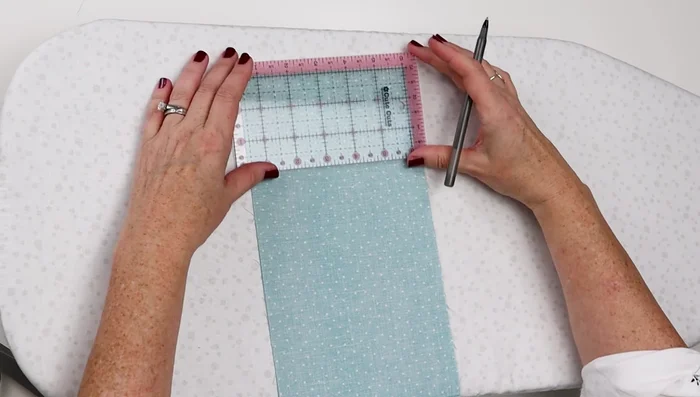
Prepare Fabric
- Place fabrics right sides together. Mark 2 inches down from the top edge and ½ inch in from the side edges.

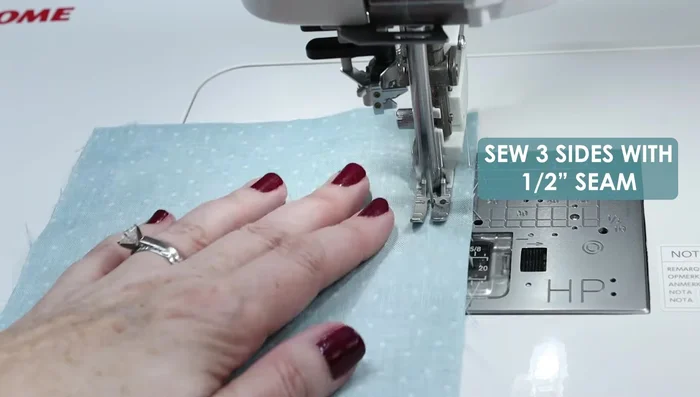
Prepare Fabric Sew Side Seams
- Sew the three sides with a ½ inch seam allowance.
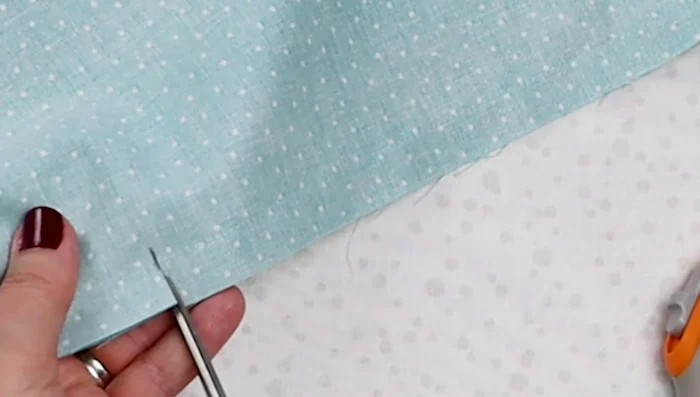
Sew Side Seams Cut Corners & Finish Edges
- Cut along the marked lines on either side up to the 2-inch mark, being careful not to cut the stitching. Use pinking shears to finish the raw edges.
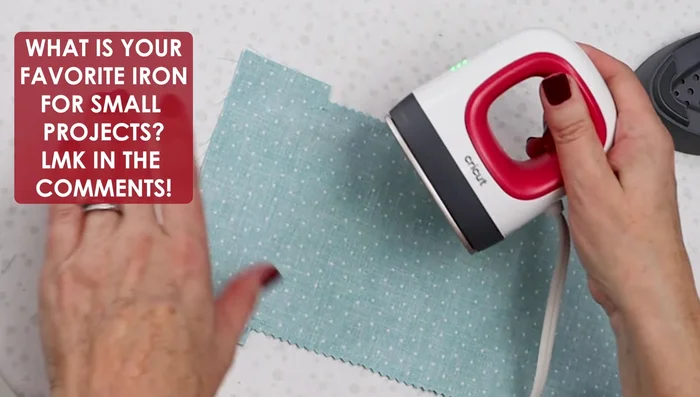
Cut Corners & Finish Edges Press & Fold Corners
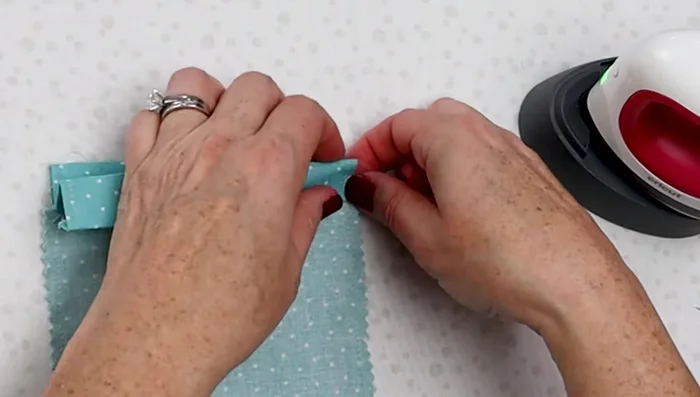
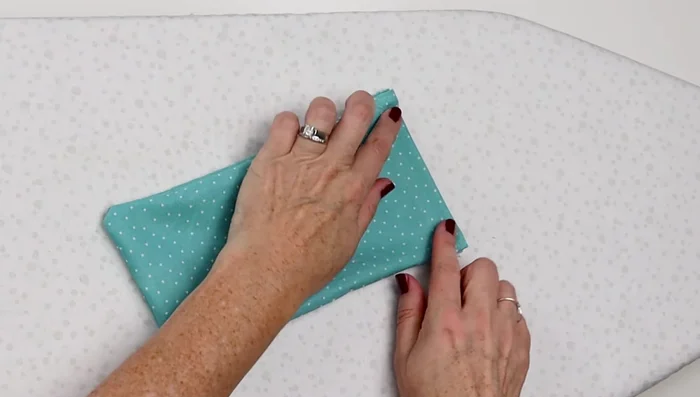
- Press the long edges. Fold each of the four corners twice to align with the stitch line and press.
Press & Fold Corners Reinforce Top Edge
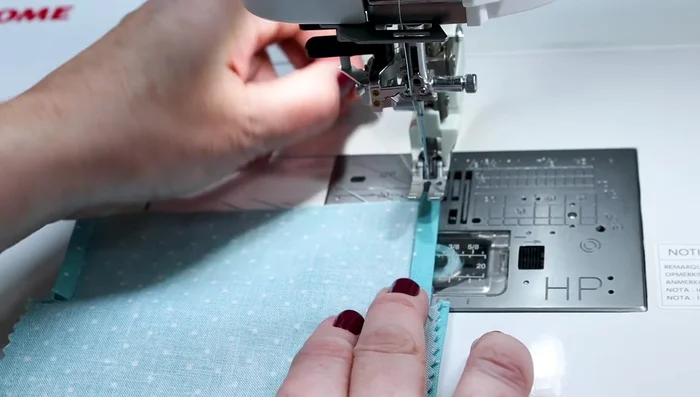
- Sew four lines of stitching across the top edge, close to the edge (about a quarter inch).
Reinforce Top Edge Finish Top Edge (One Side)
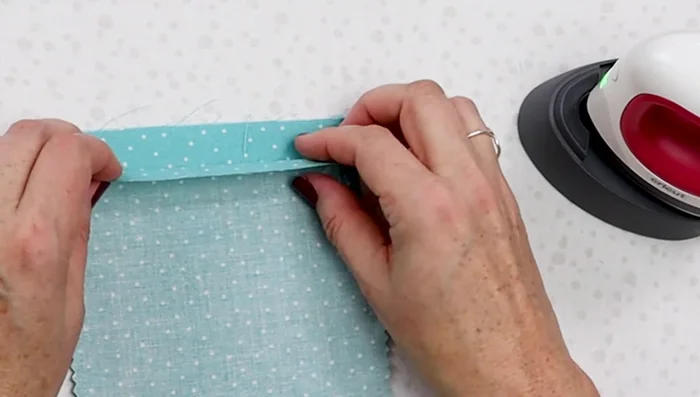
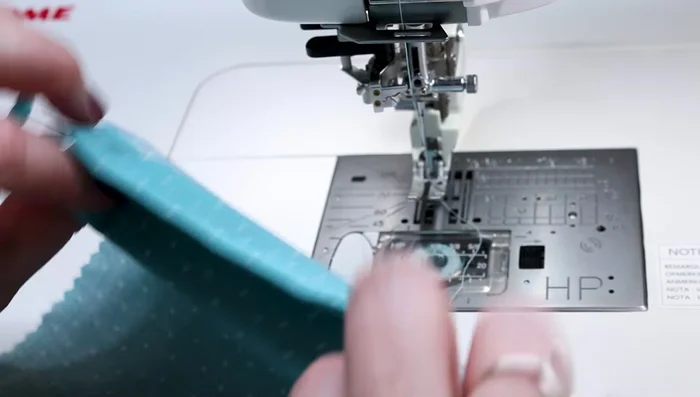
- Fold down about a quarter inch from the top edge, press. Fold down one more time, press, to encapsulate raw edges. Zigzag stitch along the folded edge.
Finish Top Edge (One Side) Finish Top Edge (Other Side)
- Repeat step 6 on the other side.
Finish Top Edge (Other Side) Close Drawstring Channels
- Stitch the channel closed on both sides.
Close Drawstring Channels Turn Right Side Out
- Turn the bag right side out.
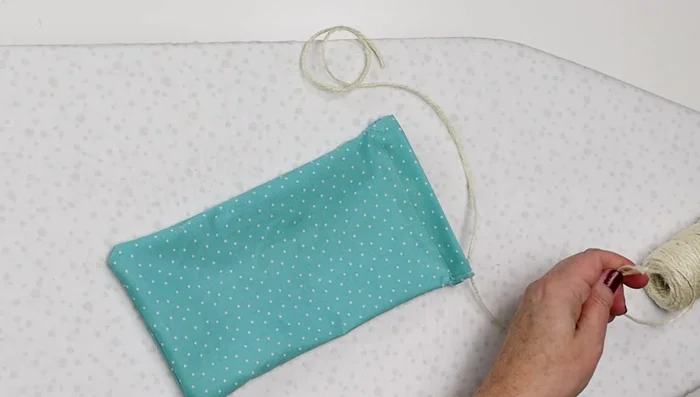
Turn Right Side Out Insert & Tie Drawstrings
- Cut two pieces of string (or twine) approximately four times the width of the bag. Use safety pins to thread the strings through the channels. Tie off and trim excess string.
Insert & Tie Drawstrings
Read more: Sew a Lined Expandable Storage Bag: Easy Tutorial
Tips
- Use two strings for better closure.
- Start threading the second string on the opposite side from where the first string is knotted to avoid two knots on one side.
- Use a small iron for pressing, especially on the small sections.