Are you tired of juggling your tablet while following recipes, watching videos, or even just relaxing on the couch? A sturdy and convenient tablet holder can transform your viewing experience, offering hands-free enjoyment and eliminating frustrating drops. This tutorial will guide you through creating your very own quick and easy tablet holder, perfect for any skill level, with the added bonus of an optional pocket for storing pens, chargers, or even a small notepad. We'll use simple techniques and readily available materials, making this project both affordable and satisfying.
Forget expensive, bulky stands – let's get crafty! This project requires minimal sewing experience and produces a remarkably useful item in just a short amount of time. Whether you're a seasoned sewer or a complete beginner, you'll find this tutorial easy to follow, with clear instructions and helpful images. Ready to get started creating your customized tablet holder? Let's dive into the step-by-step process below.
Preparation and Safety Guidelines
- Fabric
- Fusible Interfacing (Decor Bond recommended)
- Fusible Fleece
- Zipper
- Scissors
- Iron
- Pins or Clips
- Sewing Machine
- Template (downloadable from website)
- Always supervise children around sewing machines and sharp objects.
- Ensure your fabric is sturdy enough to support the weight of your tablet. Avoid flimsy materials.
- Test the finished tablet holder's stability before placing a valuable tablet inside.
Step-by-Step Instructions
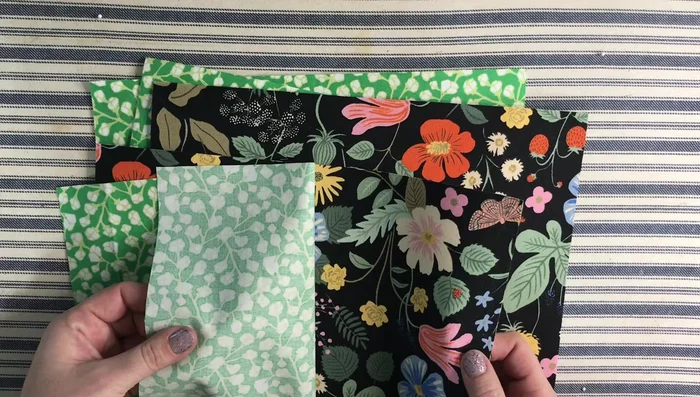
Measure and Cut Fabric
- Measure your device's width and height. Add 2 inches to each measurement for seam allowance.
- Cut two lining pieces and two outside pieces using the calculated dimensions.
- Cut the outside and lining pieces for the optional scoop pocket (same width as main pieces, 1 inch shorter).

Measure and Cut Fabric Prepare Main Fabric Pieces
- Apply fusible interfacing and fleece to the outside pieces (see tips for efficient fleece application).
Prepare Main Fabric Pieces Create Scoop Pocket (Optional)
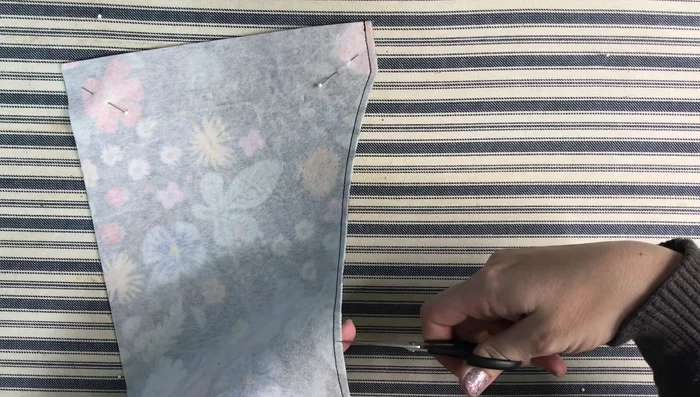
- Pin and sew the scoop pocket pieces together, right sides facing. Make small snips along the curved edge before turning right side out.
- Press the scoop pocket seam flat and topstitch.
- Attach the scoop pocket to one outside piece by stitching within the seam allowance.
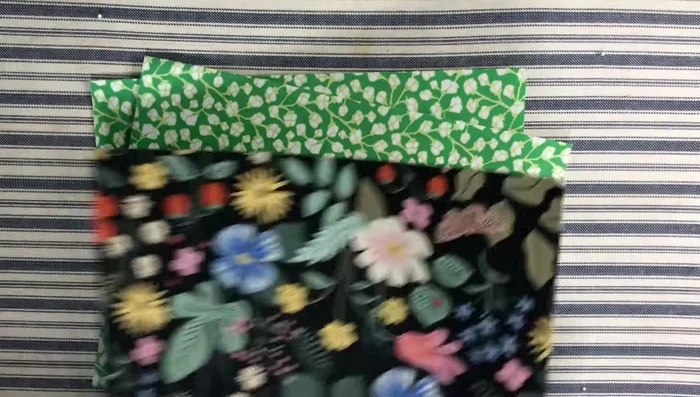
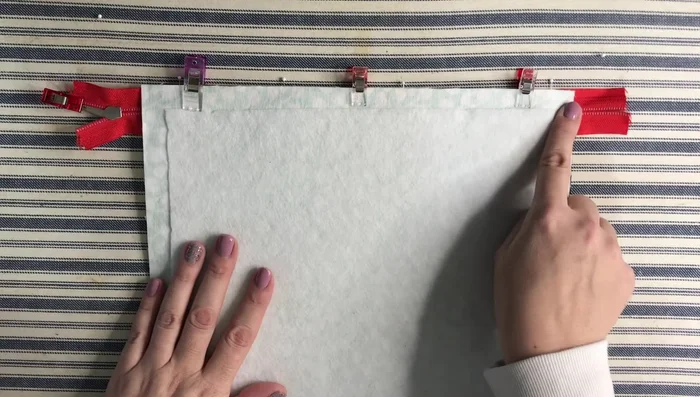
Create Scoop Pocket (Optional) Attach Zipper - First Side
- Prepare the zipper (at least 3 inches longer than the holder's width).
- Pin the zipper to one outside piece, right side down. Add the lining piece, right side down, on top.
- Sew along the top edge, securing the zipper to both the outside and lining.
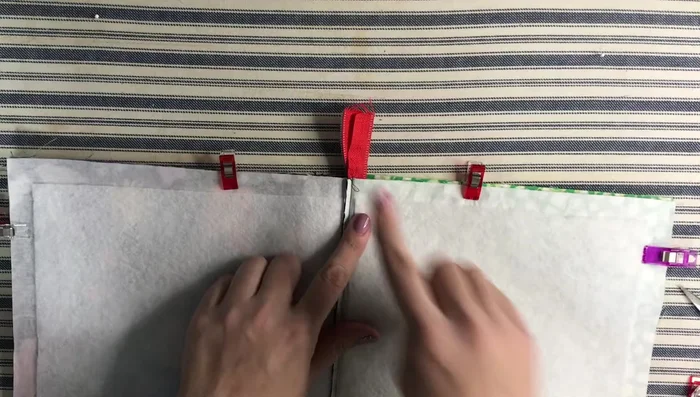
Attach Zipper - First Side Attach Zipper - Second Side
- Repeat step 9 and 10 for the other side of the zipper.
Attach Zipper - Second Side Sew and Turn
- Press the seams flat.
- Pin the remaining outside pieces together, right sides facing. Do the same with the lining pieces.
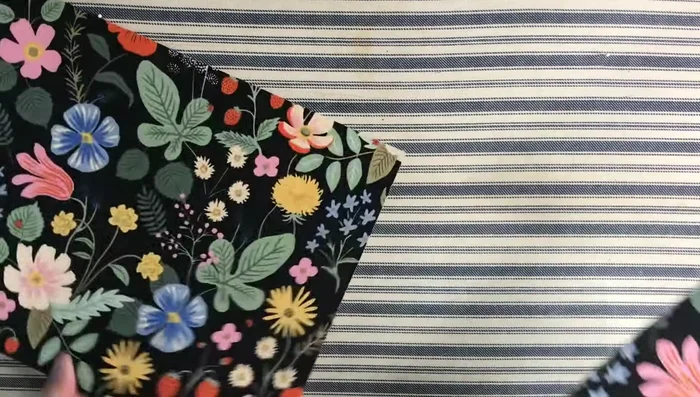
- Sew all the way around, leaving an opening in the lining for turning. Trim corners.
- Turn the tablet holder right side out through the lining opening. Press and close the lining opening.
Sew and Turn Finish Tablet Holder
- Insert the lining into the outer shell, ensuring all corners are smooth.
Finish Tablet Holder


Read more: Sew a Lined Expandable Storage Bag: Easy Tutorial
Tips
- For efficient fleece application, iron the fleece onto the interfacing first, then fuse to the fabric. This prevents shrinking.
- When sewing the zipper, align the zipper teeth to face the same direction, preferably towards the lining to minimize corner bulk.
- Leave a generous opening in the lining for easier turning.