Have you ever dreamed of crafting your own adorable, huggable plushie? Then get ready to dive into the wonderfully soft world of one-piece soft doll making! This easy sew-along project is perfect for beginners, requiring minimal sewing experience and just a few simple supplies. Forget complicated patterns and fiddly pieces; we're focusing on a streamlined, one-piece design that's quick to assemble and endlessly customizable. You'll learn how to create a charming, personalized doll that's perfect for gifting, decorating, or simply cuddling up with.
This no-stress project is designed to guide you through each step with clear instructions and helpful images. Whether you’re a complete novice or simply looking for a relaxing craft project, you'll find this sew-along approachable and rewarding. So gather your fabrics, stuffing, and needles, and let's get started! Follow along with the step-by-step instructions below to bring your cuddly creation to life.
Preparation and Safety Guidelines
- Skin tone fabric
- Flannel (optional)
- Embroidery floss
- Chunky yarn
- Ribbon
- Stuffing (polyfill)
- Sewing machine
- Embroidery needle
- Pins
- Scissors
- Iron
- Pencil
- Optional: Hemostats, tweezers, chopstick or pencil eraser for turning
- Always supervise young children when using needles and scissors. Sewing tools are sharp and can cause injury.
- Use fabric appropriate for stuffed toys; choose materials that are soft, durable, and washable. Avoid fabrics with small loose threads or embellishments that could pose a choking hazard.
- Ensure all seams are securely stitched to prevent stuffing from escaping. Check carefully before gifting or allowing young children to play with the finished doll.
Step-by-Step Instructions
Prepare the Pattern
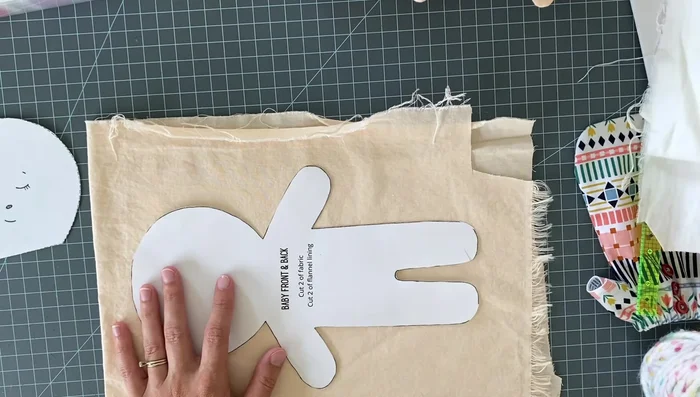
- Purchase and print the pattern from Pin Cut Sew Studio Etsy shop. Ensure the test square measures one inch to confirm correct scale.
Cut and Prepare Fabric
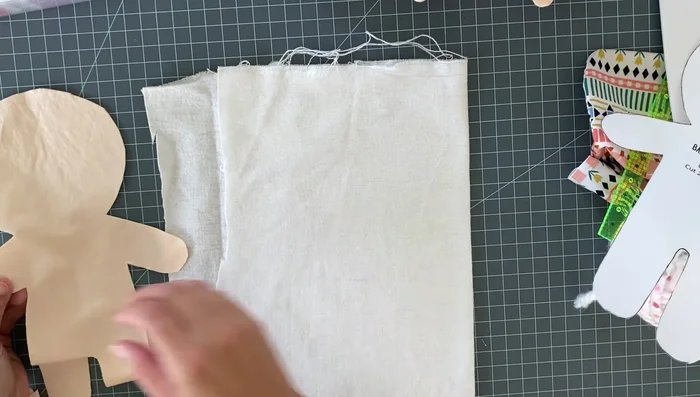
- Cut out two pieces of skin tone fabric and two pieces of flannel (optional lining) using the pattern pieces.
- Baste the flannel pieces to the skin tone fabric pieces (or pin and baste each piece separately to the flannel for easier sewing with children).

Cut and Prepare Fabric Embroider the Face
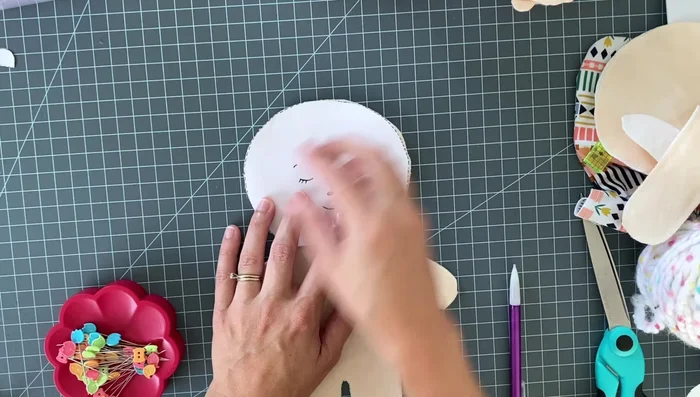
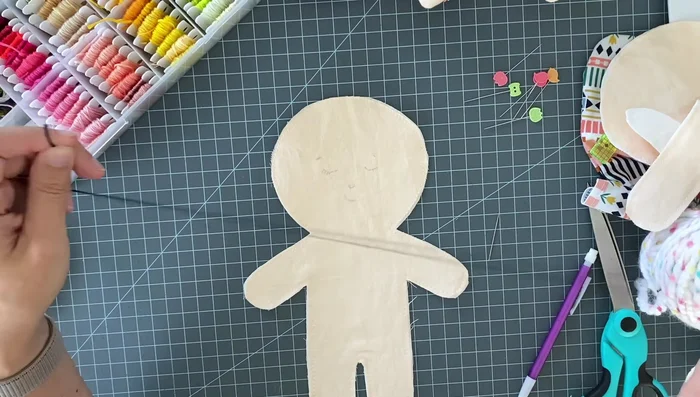
- Draw the face on one of the skin tone fabric pieces using a pencil and the provided template.
- Embroider the face using a back stitch for the eyes, eyebrows, and mouth, and a satin stitch for the nose. Use three strands of embroidery floss.
Embroider the Face Add Hair
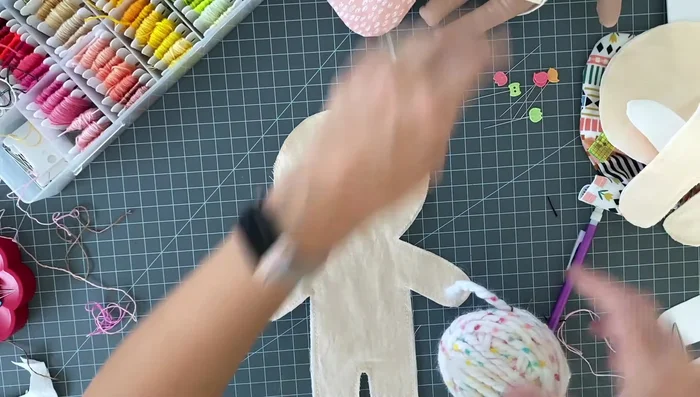
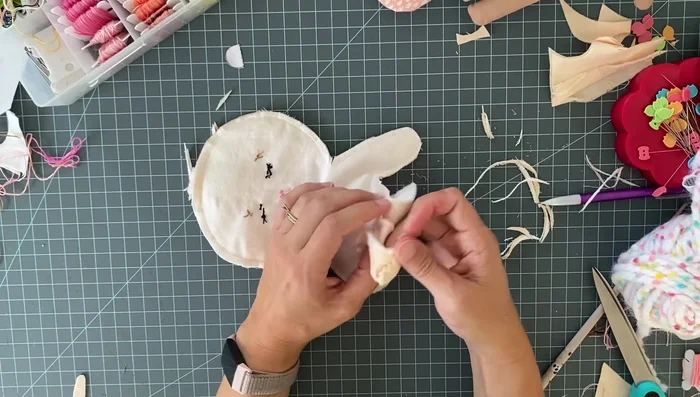
- Prepare three loops of chunky yarn for the hair. Place them on the fabric, and baste them together.
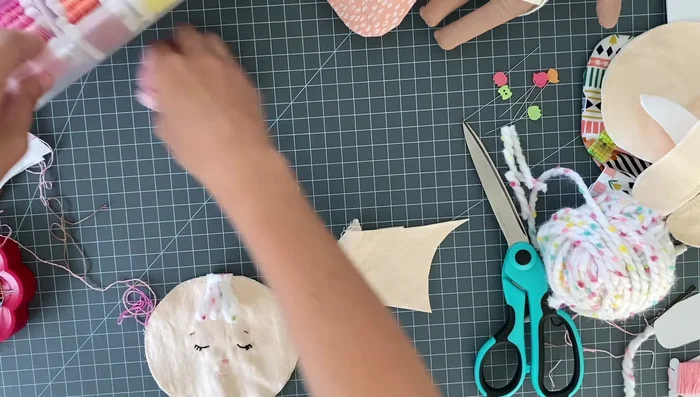
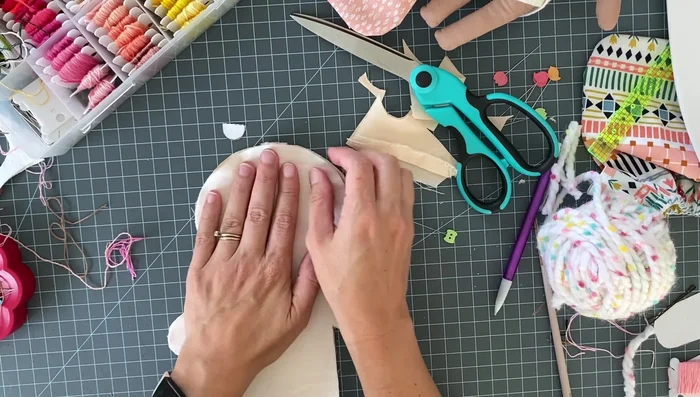
Add Hair Make the Ears
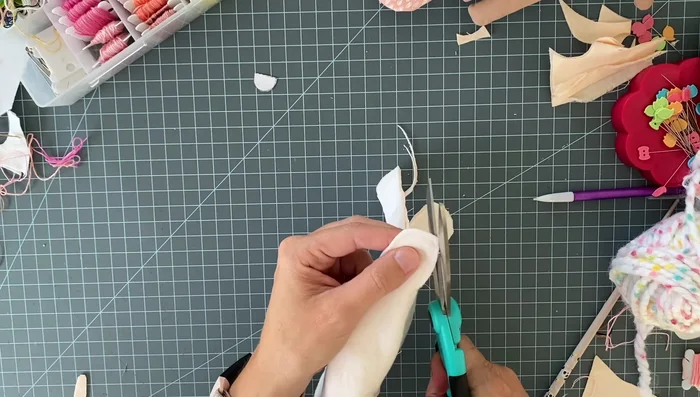
- Cut out two ear pieces from doubled fabric, sew them (leaving a small opening), clip the curves, turn right side out, and press flat.
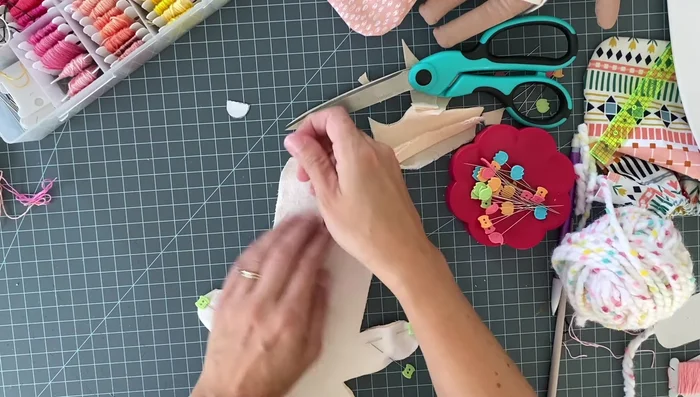
Make the Ears Attach the Ears
- Pin the ears to the doll's head, and baste them in place.
Attach the Ears Sew the Doll
- Pin the front and back doll pieces together, matching all the edges. Leave a 2.5-3 inch opening on one side.
- Sew the doll together using a quarter inch seam allowance, using a smaller stitch length for curves. Remember to back stitch at the beginning and end.
Sew the Doll Prepare for Turning
- Trim the seam allowance close to the stitching, clip curves and corners to allow for easier turning.
Prepare for Turning Turn and Stuff
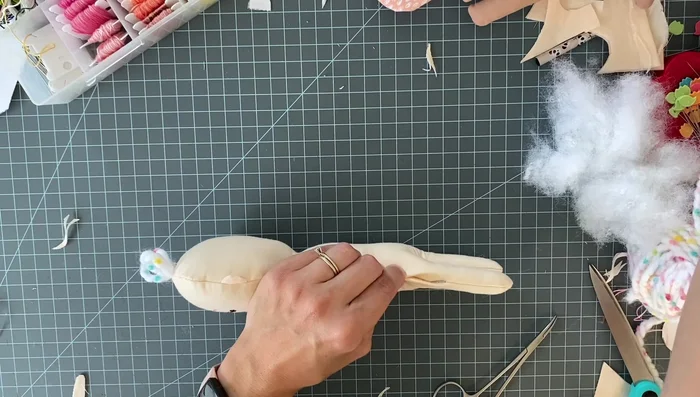
- Turn the doll right side out using hemostats (or other tools) to push out the corners.
- Stuff the doll very firmly with polyfill. Use hemostats or other tools to push the stuffing into tight areas.
Turn and Stuff Finishing Touches
- Hand stitch the opening closed, and add a ribbon bow to the hair.
Finishing Touches


Read more: Sew a Lined Expandable Storage Bag: Easy Tutorial
Tips
- For sewing with children, consider pinning and basting each pattern piece individually to the flannel lining, rather than trying to match up the edges of pre-cut flannel.
- When embroidering, use a back stitch for straight lines and a satin stitch for filling in areas. Don't pull the floss too tight to avoid wrinkles.
- When sewing tight curves, slightly lift the presser foot to pivot the fabric for cleaner results.
- Make small, frequent snips in the seam allowance near curves and corners to eliminate puckering when turning the doll right side out.