Sewing machines, those tireless workhorses of the crafting world, deserve a little pampering! And what better way to show your appreciation than by crafting a bespoke cover, bursting with personality and perfectly tailored to its form? This guide will walk you through creating a unique and practical sewing machine cover using the vibrant artistry of batik fabric. Forget bland, store-bought covers; we're diving into the delightful world of DIY, where scraps of beautiful batik become a snug and stylish protector for your prized possession.
This project is perfect for those with even basic sewing skills, embracing the joy of repurposing and showcasing your creative flair. We’ll be using a "scrappy" approach, meaning you can utilize any batik fabrics you have on hand, resulting in a truly one-of-a-kind cover. Ready to transform your sewing machine's look and keep it safe from dust and damage? Let’s get started with the step-by-step instructions below!
Preparation and Safety Guidelines
- sewing machine
- batiks fabrics
- fusible fleece
- jelly roll strips
- measuring tape
- scissors
- pins/clips (optional)
- Always unplug your sewing machine before working on or near it. Electricity and water don't mix, and batik dyeing often involves water.
- Use heat-resistant fabric or a heat-resistant layer between the batik fabric and your sewing machine's hot parts (like the motor). Prolonged heat exposure can damage the fabric.
- Ensure the cover fits snugly but doesn't restrict airflow to your sewing machine to prevent overheating.
Step-by-Step Instructions
Measure Sewing Machine
- Determine the height and width to create a well-fitting cover.
Create Fabric Panels
- Begin by sewing together small batik scraps to form larger blocks. Build these blocks into panels until you reach the desired width (matching your machine's width).
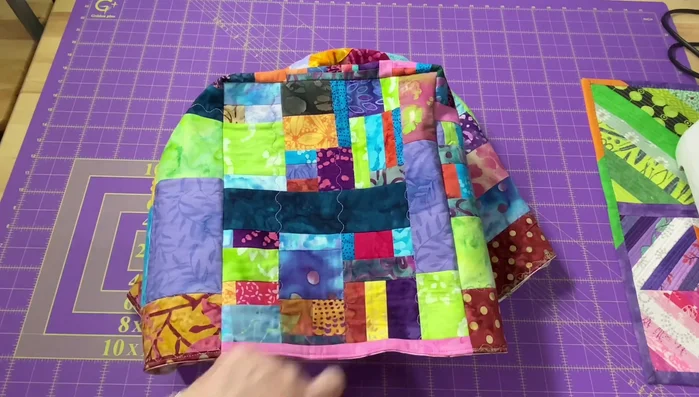
Assemble Main Cover
- Combine the created panels to achieve the needed length and width for your sewing machine cover. Incorporate jelly roll strips and extra scraps to achieve the necessary size for the main cover.

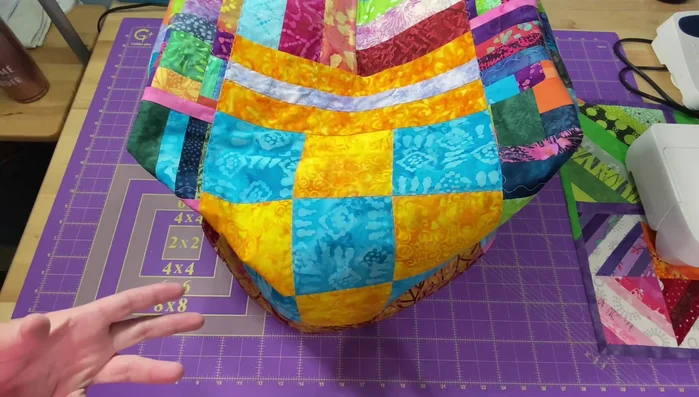
Assemble Main Cover Create & Attach Top Panels
- Sew together leftover scraps to create wider top panels that drape over the machine's front and sides.
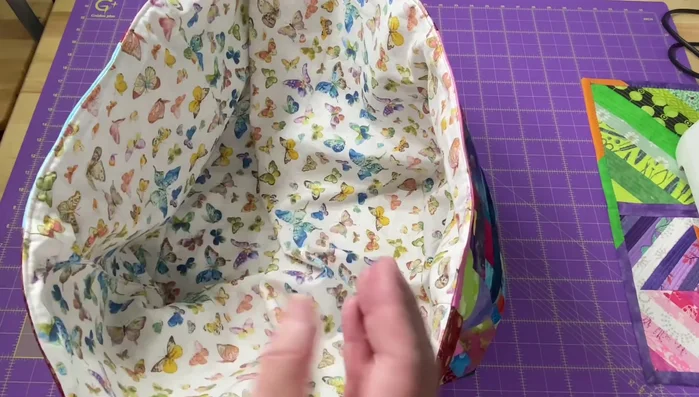
Create & Attach Top Panels Refine and Adjust Fit
- Adjust the size of the cover if needed by taking apart seams or removing fabric to create a snug fit for your sewing machine.
- Create a paper pattern: Use paper (wrapping paper or cardboard) to create a template that exactly fits your machine. This will ensure a precise fit for your fabric cover.
Refine and Adjust Fit Secure with Stitches
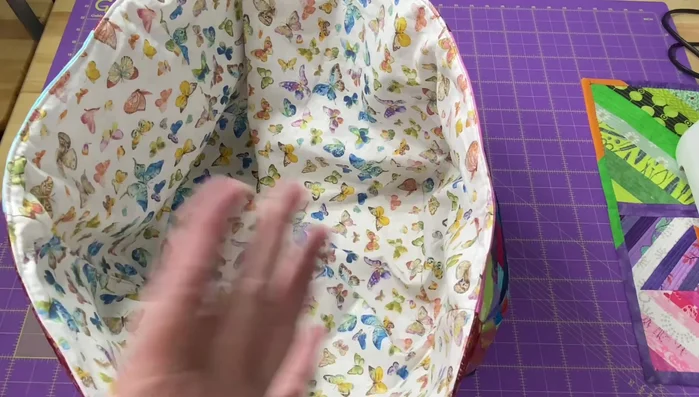
- Secure the cover's layers using tacking stitches to prevent shifting or bunching, particularly if using fusible fleece.
Secure with Stitches

Read more: Sew a Lined Expandable Storage Bag: Easy Tutorial
Tips
- Don't be afraid to experiment with different scrap sizes and fabrics to add visual interest to your cover.
- Use fusible fleece for stability, but be prepared to add tacking stitches if the fabric doesn't adhere perfectly.
- If your cover is too big, adjust seams or remove fabric to create a snugger fit. Adding ties to the inside of the cover can provide extra support and keep the cover secure.