Back-to-school season is upon us, and while new pencils and notebooks are exciting, let's face it – even the most organized student can benefit from a little extra help keeping their place. This year, ditch the boring, generic bookmarks and add a splash of personality to your reading routine with these super cute and incredibly easy corner bookmarks! Made from scraps of fabric, these delightful little creations are a perfect project for crafters of all skill levels, offering a fun and rewarding way to personalize your study supplies.
These adorable corner bookmarks are not only charming additions to your books, but also a fantastic opportunity to upcycle leftover fabric scraps. Forget expensive store-bought bookmarks; you'll be surprised at how quickly and easily you can whip up a batch of these personalized page-savers. Ready to dive into the fun? Let's get started with the step-by-step instructions below!
Preparation and Safety Guidelines
- Iron
- Ironing board
- Ruler (2.5 inch)
- Sewing machine
- Pins
- Optional: Flatter (ironing aid), Chopsticks
- Adult supervision is required, especially when using scissors and hot glue.
- Always wash and pre-treat scrap fabrics before crafting to remove any potential allergens or irritants.
- Ensure all edges are properly secured to prevent fraying and potential hazards for young children.
Step-by-Step Instructions
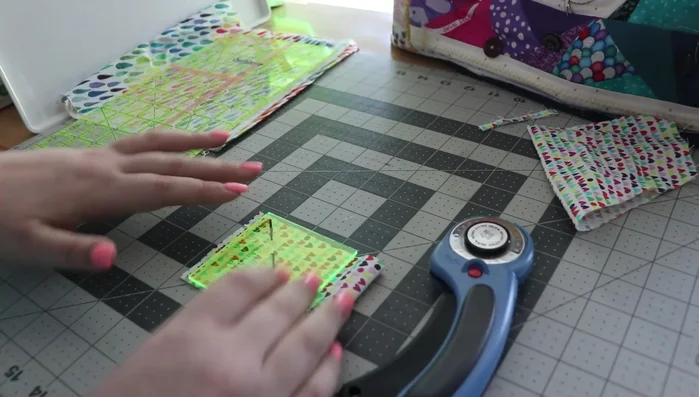
Prepare Fabric
- Cut three 2.5-inch squares of fabric (one front, one back, one for the triangle flap).
- use an ironing aid like Flatter for easier pressing)

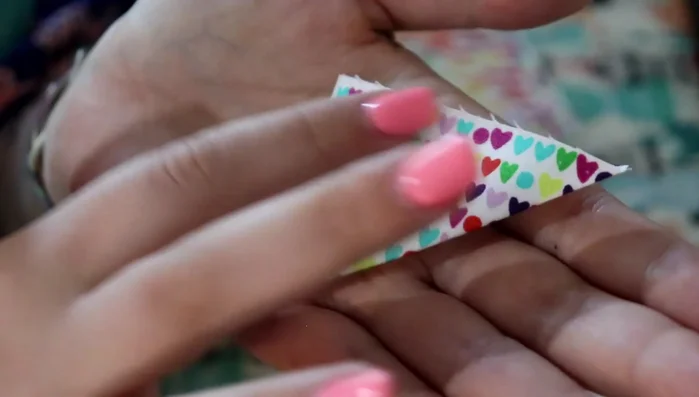
Prepare Fabric Assemble Layers
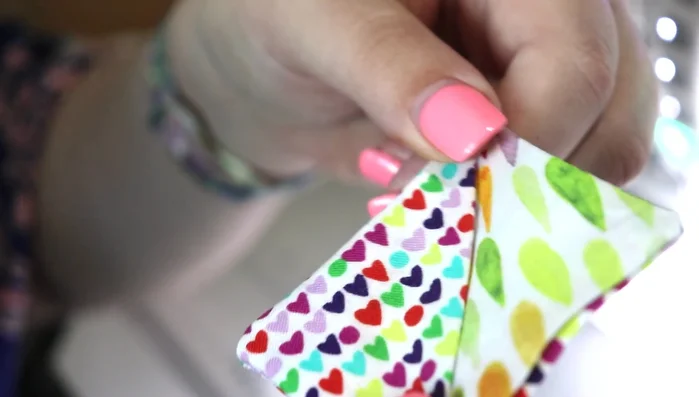
- Fold one square in half diagonally, creating a triangle. Place this triangle on top of one of the other squares, aligning the corners. Place the remaining square on top, wrong side facing up.
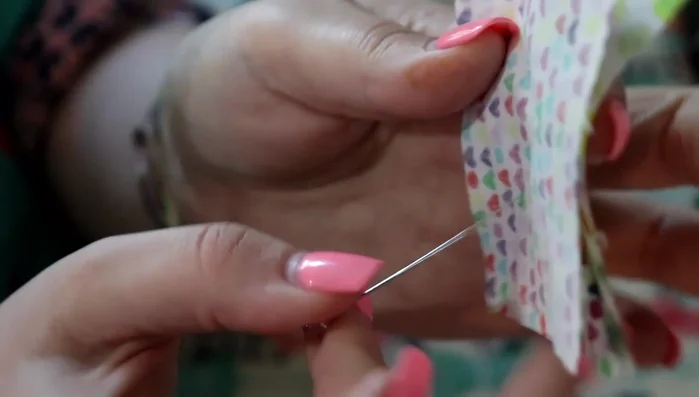
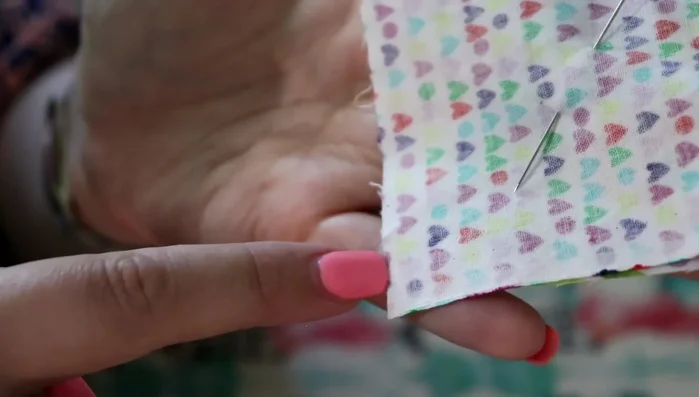
- Pin the layers together, ensuring all raw edges are aligned at one corner.
Assemble Layers Sew the Bookmark
- Sew around all four sides of the layered squares with a 1/8-inch seam allowance. Leave a small gap (about half an inch) along one side for turning.
Sew the Bookmark Turn and Shape
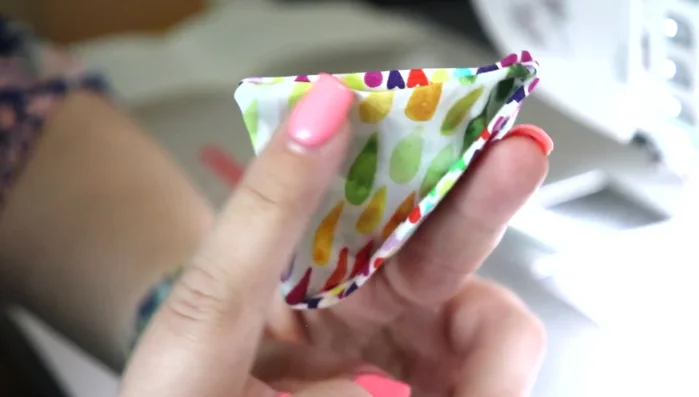
- Turn the bookmark right side out. Use a chopstick or similar tool to help push out the corners for a crisp finish.
- Press the bookmark flat, ensuring all seams are neatly pressed.
Turn and Shape Finish and Clean Up
- Topstitch all around the bookmark, closing the opening you left for turning.
- Trim any excess threads.
Finish and Clean Up
Read more: Sew a Lined Expandable Storage Bag: Easy Tutorial
Tips
- Use your scrappiest, most colorful fabrics for a fun, unique look!
- A small seam allowance (1/8 inch) minimizes bulk.
- Use a chopstick to create sharp corners when turning the bookmark right side out.
- Consider adding a personalized touch with hand stitching, such as initials or a small design.