Tired of spending hours painstakingly crafting fabric buttons? Wish there was a faster, easier way to add a professional touch to your sewing projects? Then prepare to discover the revolutionary Sailrite UT1 One Hand Press! This ingenious tool transforms the tedious task of button making into a quick and efficient process, saving you valuable time and energy. Say goodbye to fiddly hand stitching and embrace a method that delivers perfectly formed buttons in a fraction of the time.
The Sailrite UT1 One Hand Press simplifies the entire button-making procedure, allowing even beginners to achieve impressive results. Its intuitive design and powerful pressing mechanism ensure consistent, high-quality buttons every time. To learn exactly how to harness the power of this amazing tool and create beautiful, durable fabric buttons in minutes, follow our comprehensive step-by-step guide below.
Preparation and Safety Guidelines
- Sailrite W One Hand Press
- Button Cover Die
- Hole Cutter Set
- Nylon Cutting Block
- Cardstock (optional)
- Always unplug the Sailrite W One Hand Press before changing dies or performing any maintenance.
- Use caution when working with the hot die. Allow it to cool completely before handling to avoid burns.
- Ensure fabric is properly aligned and securely positioned within the die before applying pressure to prevent uneven pressing or fabric damage.
Step-by-Step Instructions
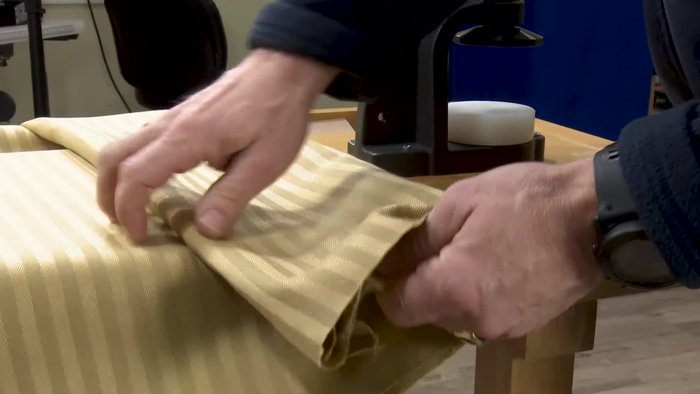
Prepare Fabric Circles
- Cut fabric circles using the cutting die and nylon cutting block. Place fabric (multiple layers if desired) on the block and cut.
- Place a thin layer of cardstock under the fabric for easier cutting.
- Use the hole cutter to create a hole in the center of the fabric circle.

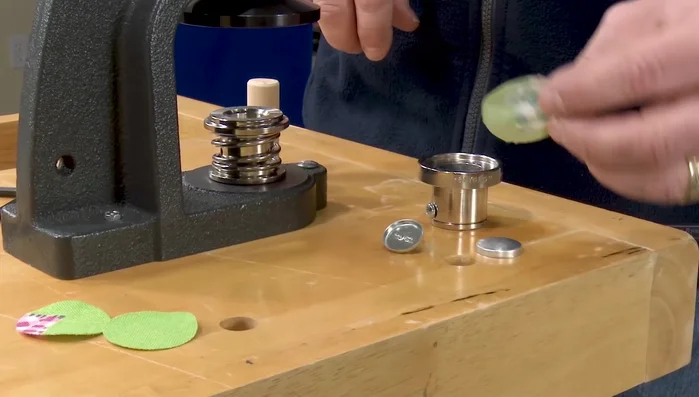
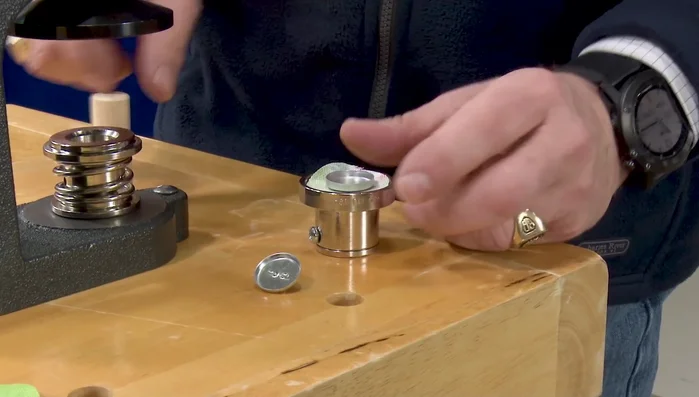
Prepare Fabric Circles Prepare the Sailrite W One Hand Press
- Install the spring-loaded bottom die into the W One hand press.
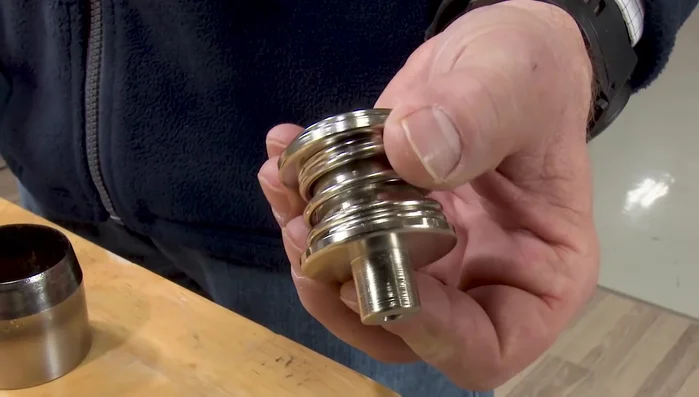
Prepare the Sailrite W One Hand Press Assemble the Button
- Place the fabric circle (decorative side down) onto the top die. Place the button top on top of the fabric.
- Use a dowel to press the button top and fabric into the concave portion of the die. Lift the outer collar.
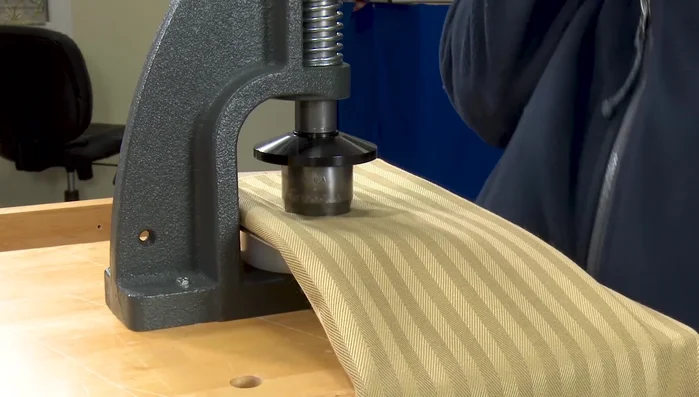
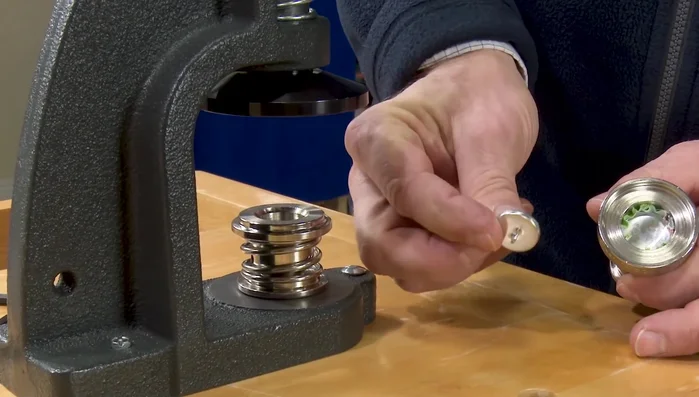
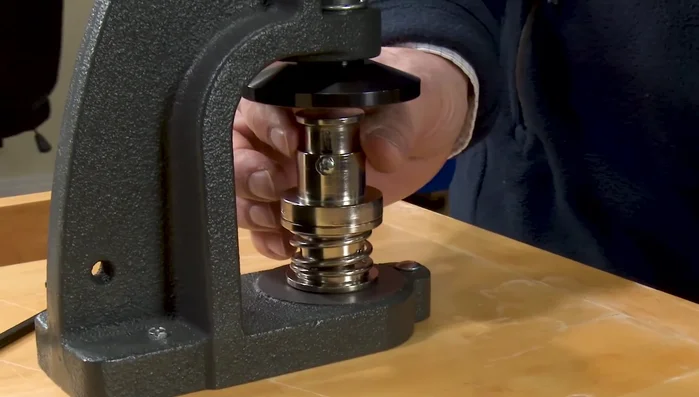
Assemble the Button Press the Button
- Place the button assembly back into the spring-loaded die (Y facing down).
- Place the top die upside down on the bottom die. Depress the lever with medium to light pressure.
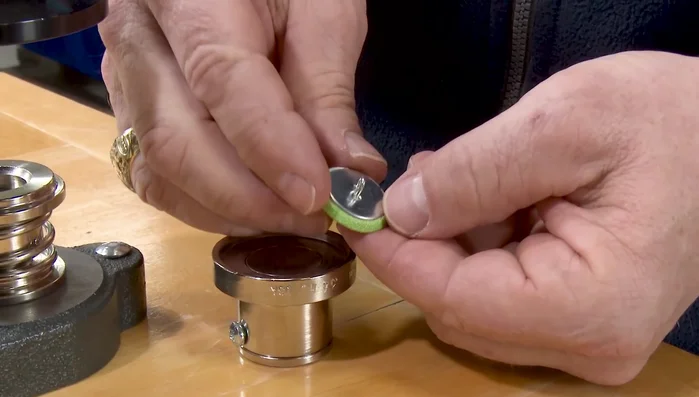
Press the Button Remove Finished Button
- Remove the upper die and your finished button.
Remove Finished Button

Read more: Sew a Lined Expandable Storage Bag: Easy Tutorial
Tips
- Using multiple layers of fabric can help with a sturdier button.
- The W One hand press makes perfectly sized buttons quickly.