Add a touch of charming whimsy to your living space with these adorable ruffled cushions! Nothing quite says cozy like a plump, perfectly ruffled pillow, and the best part? You can make them yourself. Forget expensive, mass-produced throws; this DIY project lets you personalize your home decor with unique fabrics and colours that perfectly complement your style. Imagine sinking into a sofa adorned with these handcrafted beauties, the soft ruffles adding a delightful textural element to your favourite armchair or bed. This tutorial makes even the most intricate details achievable, even for beginner sewists.
This step-by-step guide will walk you through creating these delightful cushions, from choosing your fabrics to mastering the hidden zipper closure. We'll cover everything you need to know, including cutting techniques, ruffle creation, and neat finishing touches, leaving you with beautifully crafted cushions you'll be proud to display. Get ready to unleash your inner crafter and transform plain fabric into stunning, ruffled works of art!
Preparation and Safety Guidelines
- 40x40cm cushion insert
- 40cm zipper (46cm works too)
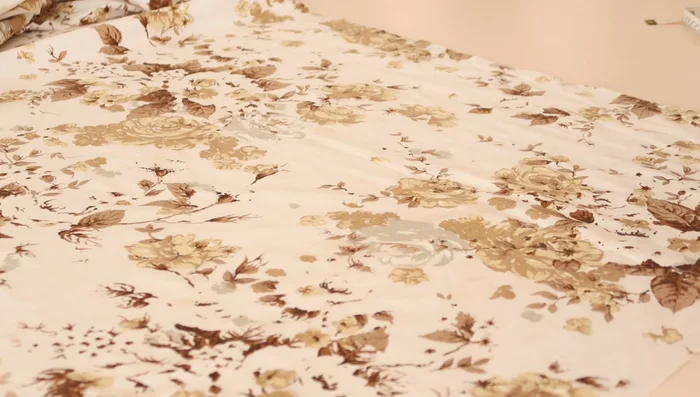
- ¾ meter fabric (cotton bedsheet recommended)
- water erasable pen
- measuring tape
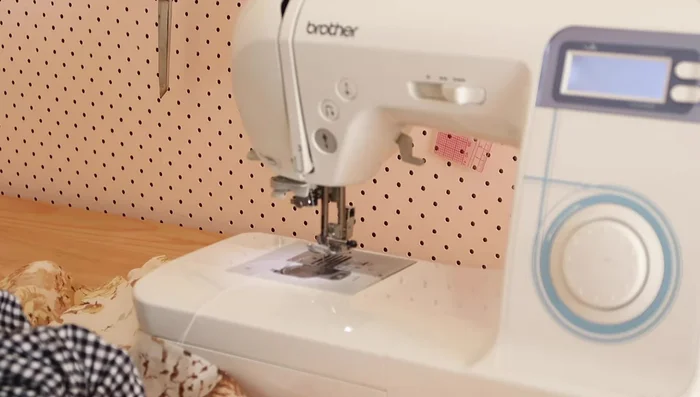
- sewing machine
- zipper foot
- seam ripper
- iron
- Always use a sharp pair of scissors to prevent fabric from fraying and ensure clean cuts. Dull scissors can lead to uneven edges and accidents.
- When using a sewing machine, be mindful of your fingers and keep them away from the needle at all times. Take your time and focus on your work.
- If working with pins, handle them with care to avoid accidental pricks. It's helpful to use a pincushion to keep them organized and easily accessible.
Step-by-Step Instructions
Prepare Fabric Pieces
- one 40x40cm square, one 30x40cm rectangle, one 15x40cm rectangle, and one 15cm x 4m ruffle rectangle (may need to stitch multiple pieces together).

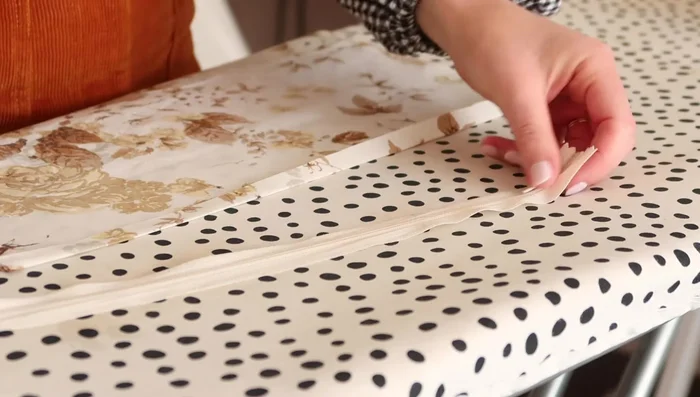
Prepare Fabric Pieces Attach Zipper to Large Rectangle
- Attach the zipper to the larger rectangle. Fold one long edge, place folded edge against zipper teeth, and stitch in place using a zipper foot.
Attach Zipper to Large Rectangle Attach Zipper to Small Rectangle
- Attach the zipper to the smaller rectangle. Fold one longer edge, place zipper on the folded fabric, and stitch in place ensuring the folded edge covers the zipper completely.
Attach Zipper to Small Rectangle Create Ruffled Fabric
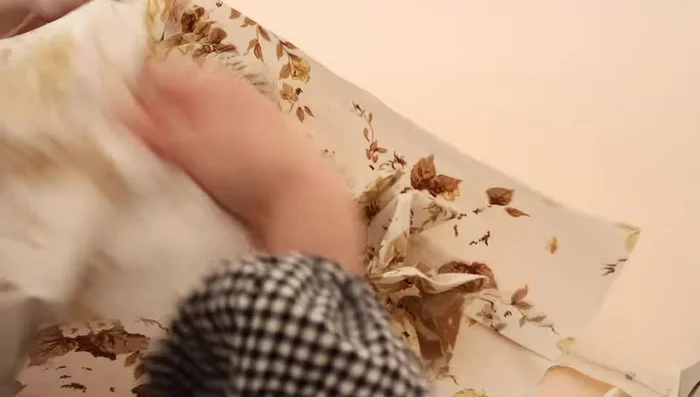
- Create the ruffle. Fold the long rectangle in half, then into a loop. Stitch the shorter ends together. Use the longest stitch setting on your machine to sew two rows of gathering stitches along the raw edge. Gently pull threads to gather until it matches the 40x40cm square perimeter.
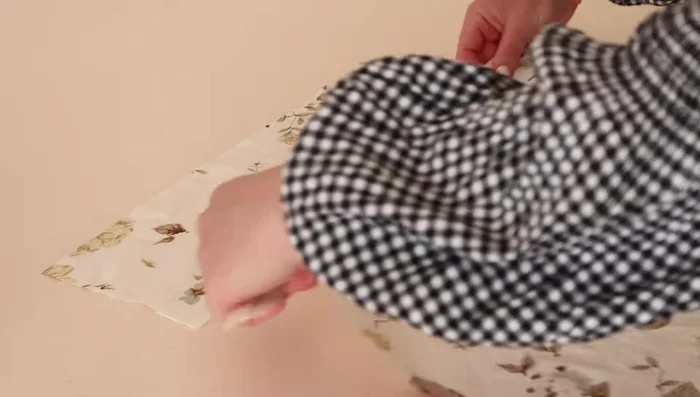
Create Ruffled Fabric Assemble Cushion Cover
- Assemble the cushion cover. Sandwich the gathered ruffle between the two fabric squares with right sides together. Pin and stitch around the entire edge, leaving the zipper slightly open to turn it right side out. Use a heavy-duty needle.
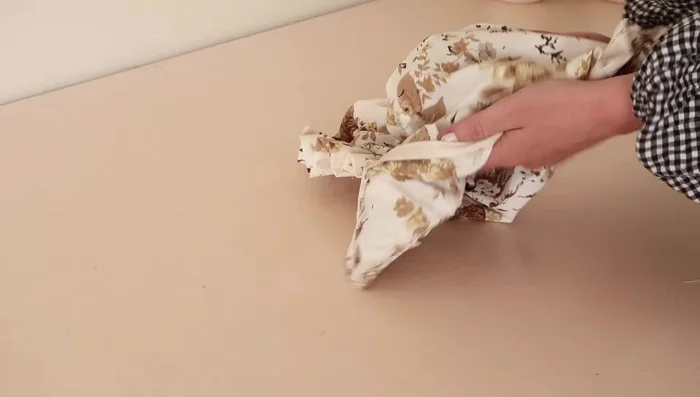
Assemble Cushion Cover Finish and Insert Cushion
- Finish the cushion. Trim excess fabric, turn the cover right side out, and remove gathering stitches with a seam ripper. Press the ruffles with an iron. Insert the cushion insert.
Finish and Insert Cushion
Read more: Sew a Lined Expandable Storage Bag: Easy Tutorial
Tips
- Use a secondhand cotton bedsheet for a cost-effective fabric choice.
- Use a heavy-duty needle when stitching through the thicker layers of fabric with the ruffle.