Tired of that faded, worn-out patio chair taking up space on your deck? Give it a new lease on life with this easy DIY makeover! We'll transform a tired old chair into a stylish and durable piece of outdoor furniture using the surprisingly versatile and weather-resistant material: duck canvas. This project is perfect for those looking to refresh their outdoor space without breaking the bank, and it's a fantastic way to add a personal touch to your patio décor. You'll be amazed at the difference a little elbow grease and some creative repurposing can make.
This guide will walk you through the complete refinishing and reupholstering process, from preparing the chair frame to sewing and attaching the new duck canvas fabric. Ready to get started on breathing new life into your outdoor seating? Let's dive into the step-by-step instructions and revitalize that old patio chair!
Preparation and Safety Guidelines
- Duck canvas
- Heavy-duty needle (jeans/denim needle or leather needle)
- Sewing machine
- Warm soapy water
- Rust-Oleum paint and primer (flat black)
- Screwdriver
- Hammer
- Metal plate (existing bracket)
- Pen
- Awl (optional)
- Always wear appropriate safety gear, including eye protection and a dust mask, when sanding and using cleaning solutions.
- Work in a well-ventilated area. Fumes from paints, stains, and cleaning products can be harmful.
- Use caution when handling sharp objects like staples and the upholstery removal tools. Consider wearing work gloves.
Step-by-Step Instructions
Prepare the Chairs
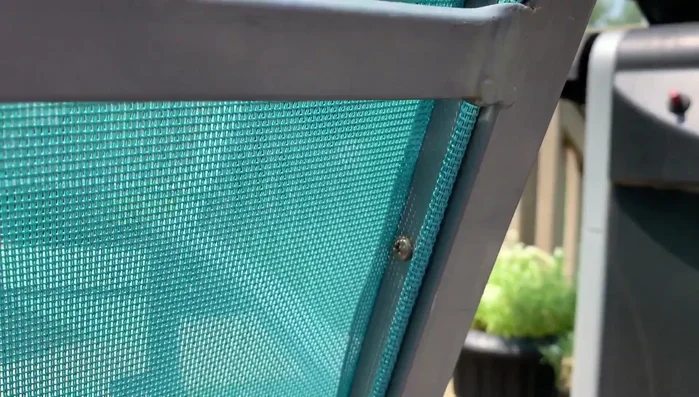
- Remove existing fabric and metal brackets from patio chairs using a screwdriver.
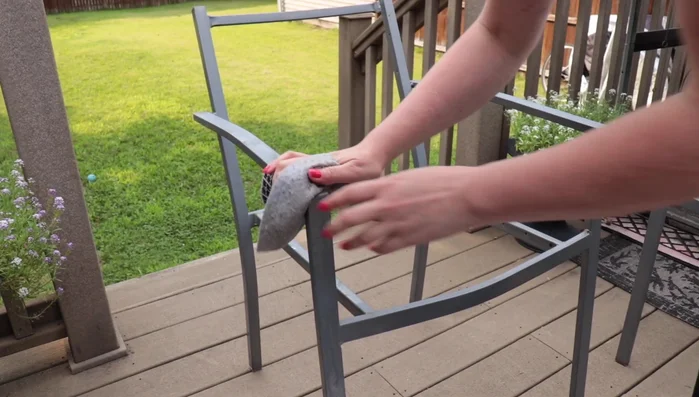
- Clean the chair frames with warm soapy water.
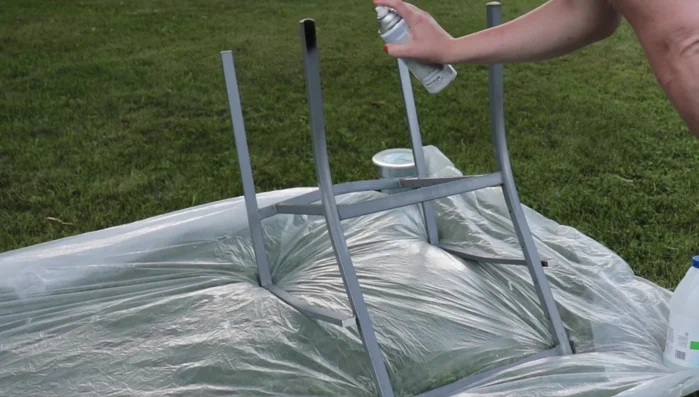
- Refinish chair frames using Rust-Oleum paint and primer in flat black. Allow to dry completely.

Prepare the Chairs Create Fabric Patterns
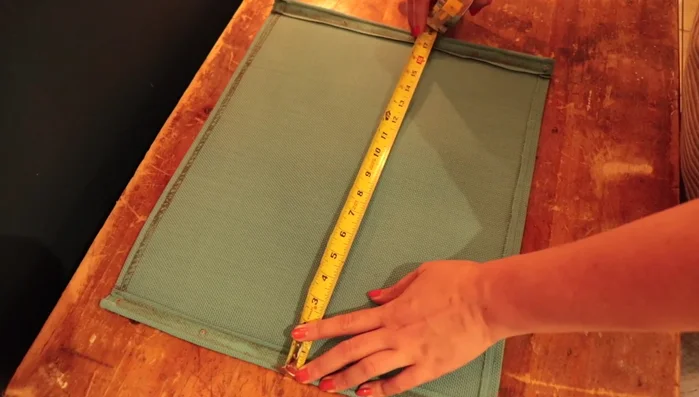
- Use the old fabric as a template to create patterns for the new fabric pieces. Add seam allowance (1.5 inches recommended for finished edges).
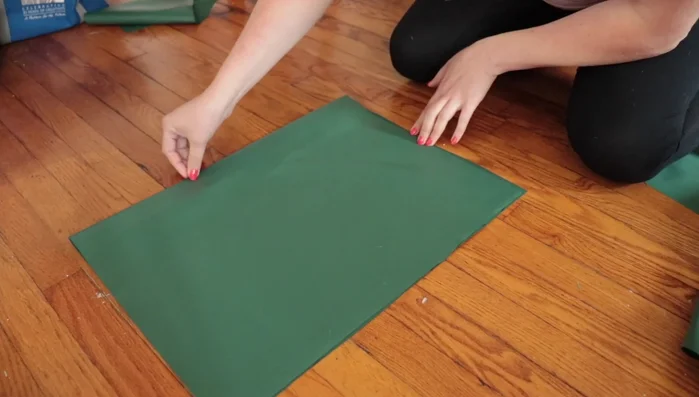
Create Fabric Patterns Cut Duck Canvas
- Cut the duck canvas according to the dimensions obtained from the template. For larger pieces, consider cutting one long piece and folding instead of sewing two rectangles.
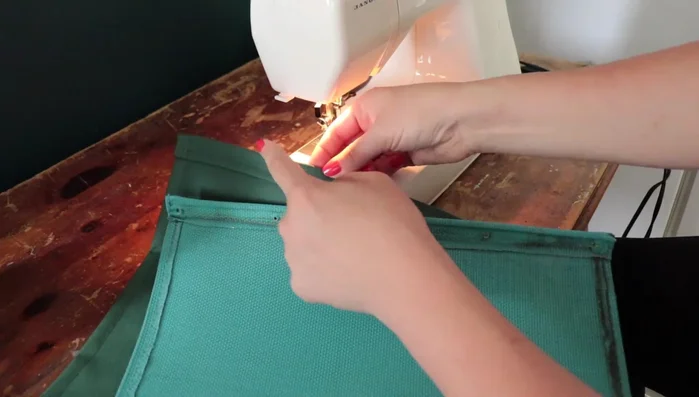
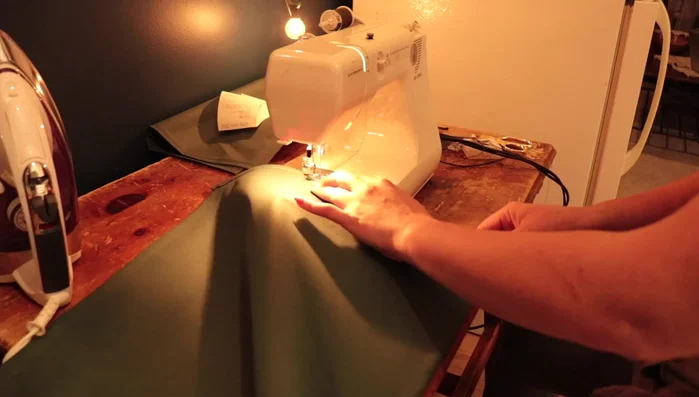
Cut Duck Canvas Sew Backrest Fabric
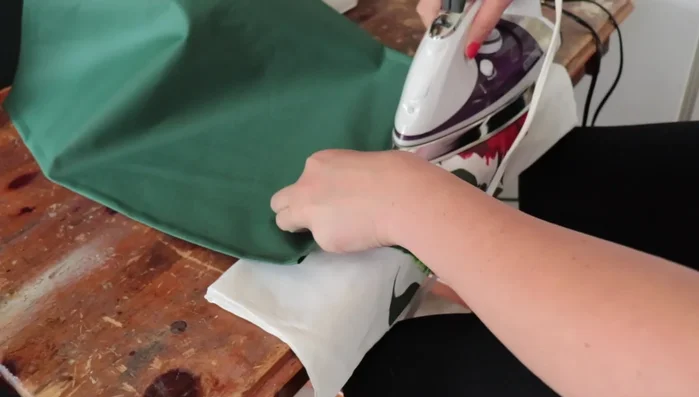
- Sew the bottom hem with a 0.5-inch seam allowance. Press open the seam and then fold over again for a finished edge, sewing along the folded edge.
- Add a decorative stitch along the top folded edge at a 0.5-inch seam allowance.
- Fold and sew the side hems with a 0.5-inch seam allowance, then fold over again at a 1-inch seam allowance and stitch in the ditch to create a finished edge. This 1-inch section will be attached to the chair.
- Create a small pocket along one side hem to accommodate the stabilizing rod from the original design.
Sew Backrest Fabric Prepare Fabric for Attachment
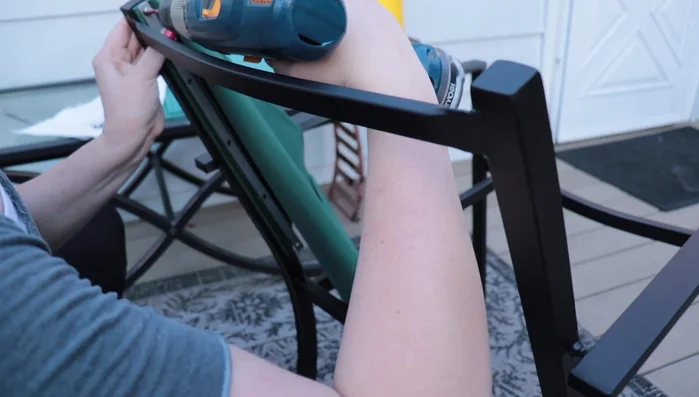
- Using the metal bracket as a guide, mark and create holes in the new fabric where the screws will go. An awl is recommended, but a screwdriver and hammer can be used as a substitute.
Prepare Fabric for Attachment Attach Backrest Fabric
- Attach the new fabric to the chair frame using the existing metal brackets and screws.
Attach Backrest Fabric Repeat for Seat
- Repeat steps 4-11 for the seat.
Repeat for Seat


Read more: Sew a Lined Expandable Storage Bag: Easy Tutorial
Tips
- Use a heavy-duty needle to avoid breaking needles when sewing with thick fabric like duck canvas.
- Maintain even tension on both layers of fabric when sewing to prevent slippage.
- Pressing open seams creates a neater finish.