Patchwork potholders are more than just functional kitchen tools; they're charming expressions of creativity and a wonderful way to use up fabric scraps. These vibrant, quilted squares bring a touch of handmade warmth to any kitchen, and making your own is easier than you might think. The process allows for endless personalization – choose your favorite colors and patterns to create potholders that perfectly match your style or become thoughtful, handmade gifts. They're also a perfect beginner's project, requiring minimal sewing experience and readily available materials.
This step-by-step guide will walk you through each stage of creating your own beautiful and practical patchwork potholders, from selecting your fabrics to the final quilting stitch. Let's dive into the colorful world of fabric scraps and transform them into delightful, useful additions to your kitchen.
Preparation and Safety Guidelines
- fabric squares (2.5-inch or larger)
- batting (at least 10x10 inches)
- Insul-Bright (heat-resistant material)
- rotary cutter (optional)
- acrylic ruler
- scissors
- sewing machine (optional, walking foot recommended)
- iron
- bias tape maker (optional)
- clover wonder clips
- Always use heat-resistant fabrics like cotton or cotton blends. Avoid using synthetic fabrics that may melt or burn.
- Use a thick layer of insulating batting between the fabric layers to prevent burns. Don't skimp on the batting!
- Ensure all seams are securely stitched and there are no loose threads that could catch on hot cookware. Properly finish all raw edges.
Step-by-Step Instructions
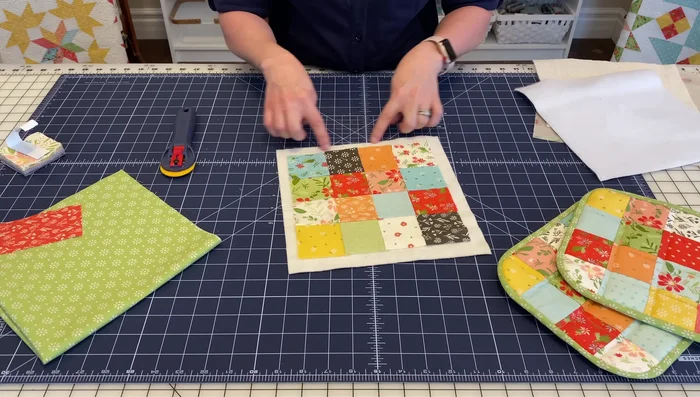
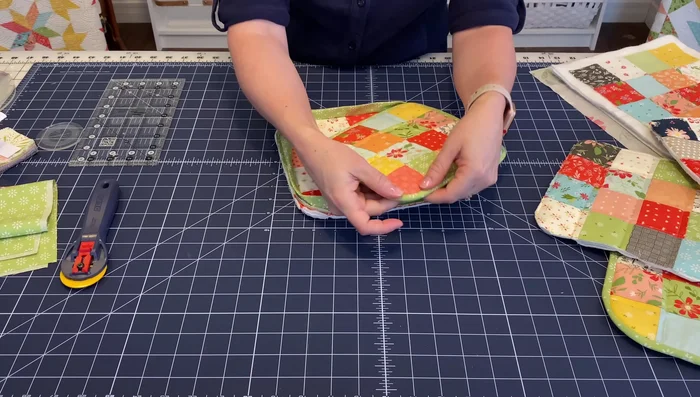
Prepare Patchwork Squares
- Arrange your fabric squares (16 for small potholders, 20 for large) in a 4x4 grid and sew together.
Prepare Insulating Layers
- Cut 10x10 inch squares of batting. Sandwich the Insul-Bright between two batting layers.

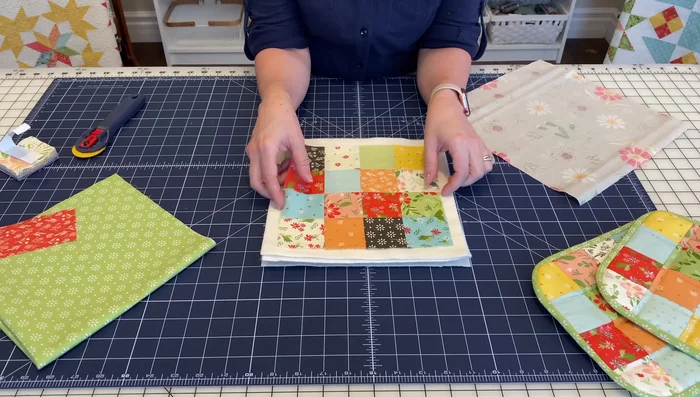
Prepare Insulating Layers Assemble Potholder Layers
- Center the patchwork square on top of the batting and Insul-Bright sandwich. Place the 12x12 inch backing fabric (wrong side up) underneath.
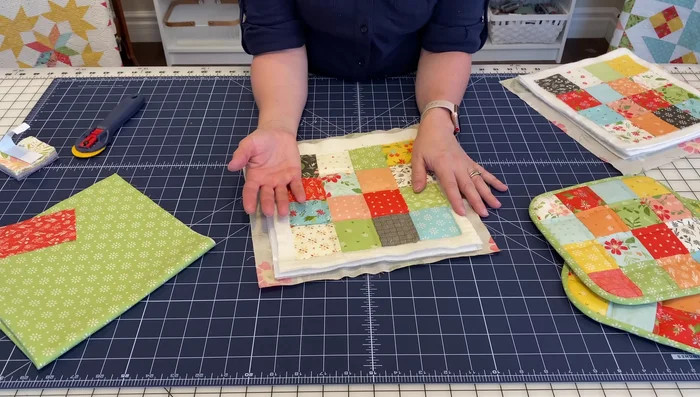
Assemble Potholder Layers Quilt the Potholder
- Use a sewing machine (walking foot recommended) with a stitch length of 3.5 to quilt across the seams. For a more even result sew along the vertical and horizontal lines of your 4x4 grid.
Quilt the Potholder Prepare for Binding
- Trim the edges of the quilted potholder. Use a template (e.g., circle cutter, large spool, bowl) to round the corners.
- To make sewing the binding easier, carefully trim some of the extra layers of batting and Insul-Bright in the corners.
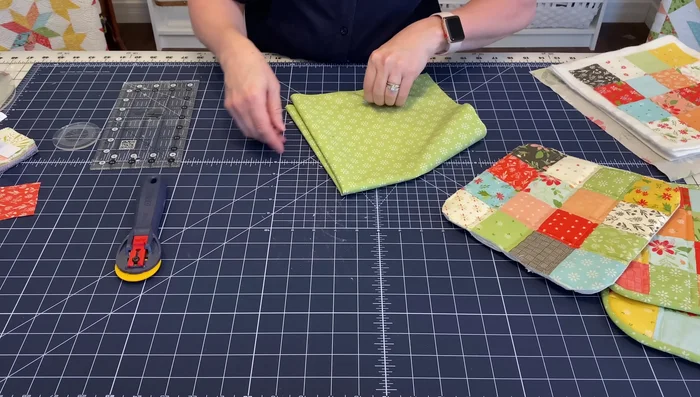
Prepare for Binding Make Bias Binding
- Create a bias binding strip from an 18-inch square of fabric. (Refer to a separate video tutorial for details)
Make Bias Binding Add Hanging Tab (Optional)
- Add a hanging tab. Create a 2.5x5-inch rectangle and fold it lengthwise, press, and sew along one side.
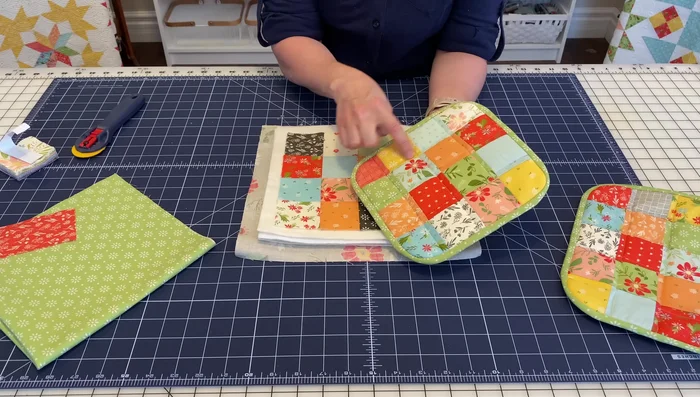
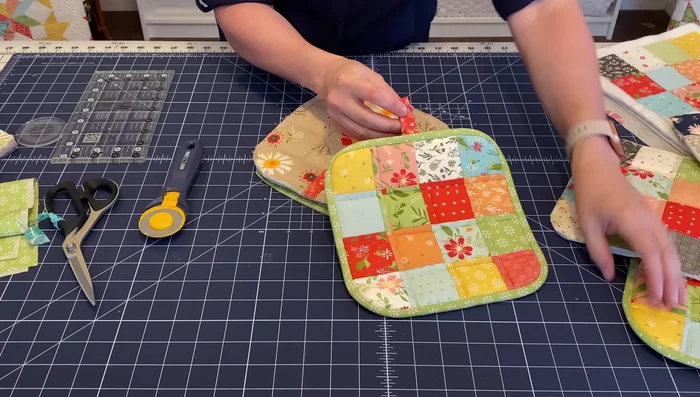
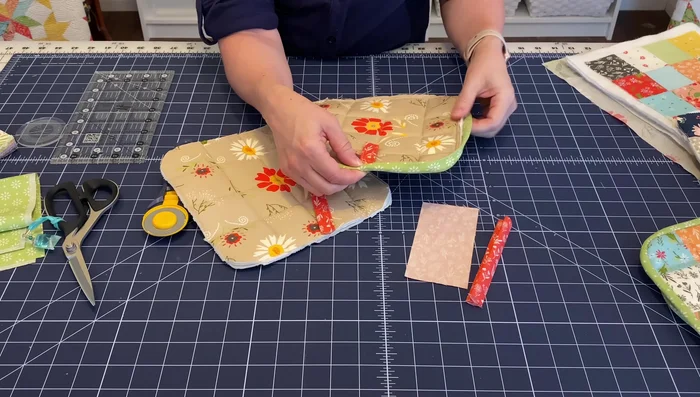
Add Hanging Tab (Optional) Attach Binding
- Use clover wonder clips to secure the binding around the edge, overlapping it to the back. Hand sew or machine sew it (from the back) for a neat finish.
Attach Binding
Read more: Sew a Lined Expandable Storage Bag: Easy Tutorial
Tips
- Use a walking foot on your sewing machine for more even quilting, especially on thicker layers.
- A larger stitch length provides a better, more professional hand-quilted look than a smaller stitch length .
- Use bias binding for rounded corners to achieve a clean, professional look.
- Press the bias binding flat before attaching it to create a more polished finish.
- Trim excess bulk from corners before attaching binding for better results.