Unleash your inner quilter with this exciting tutorial revealing the secrets to creating six stunningly unique quilt layouts, all from a single, deceptively simple block! Forget the limitations of traditional quilt patterns; this exploration of design versatility will show you how to transform one basic unit into a kaleidoscope of captivating compositions. Prepare to be amazed by the unexpected possibilities and the elegant simplicity of achieving diverse aesthetics. The seemingly magical transformations are easier than you might think.
This tutorial will guide you step-by-step through the process of constructing each of the six unique layouts, demonstrating how subtle changes in arrangement and block rotation can dramatically alter the overall feel and visual impact of your finished quilt. From bold geometric patterns to flowing, almost organic designs, the possibilities are endless. Get ready to dive in and discover the hidden potential within a single quilt block!
Preparation and Safety Guidelines
- Fat quarters or jelly rolls
- Rotary cutter
- Iron
- Sewing machine
- Ruler
- Light pencil
- Always pre-wash your fabrics before cutting to prevent shrinkage and ensure accurate block sizing. This is especially important with different fabric types.
- Use sharp rotary cutters and cutting mats for precise cuts and to avoid injury. Handle blades carefully.
- Accurate piecing is key to the visual effect of these quilt layouts. Pay close attention to seam allowances (1/4" is standard) and carefully press your seams open or to one side consistently throughout the project.
Step-by-Step Instructions
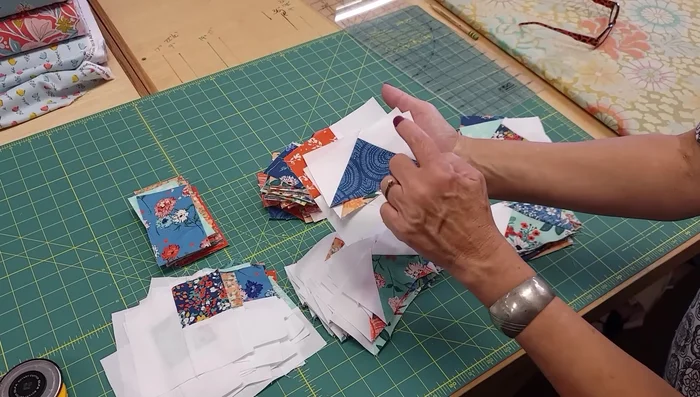
Fabric Preparation
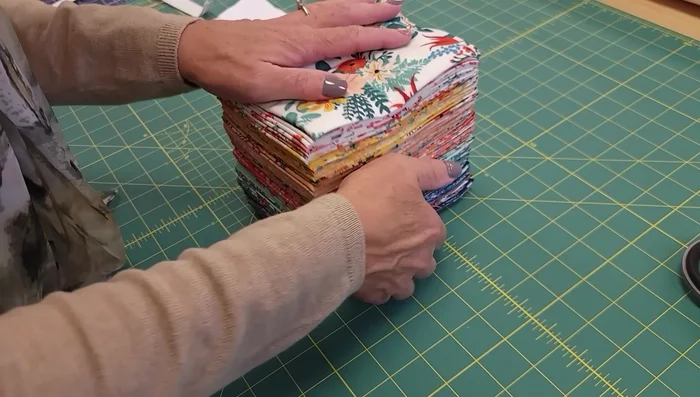
- Pick out 15 dark/medium fat quarters and 9 light fat quarters (or use yardage).
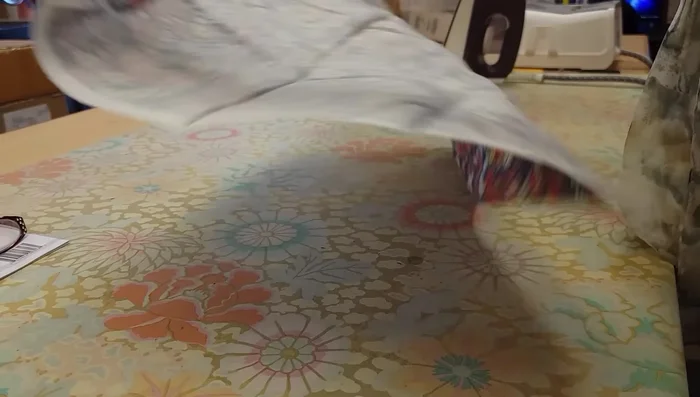
- Iron all fabrics to remove wrinkles.

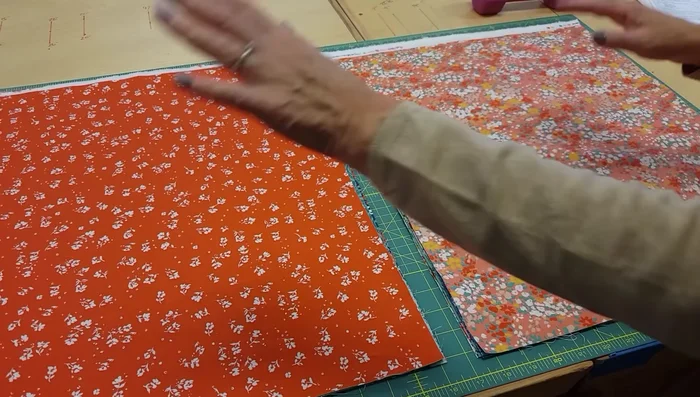
Fabric Preparation Cutting Fabrics
- Cut the fabrics according to the pattern instructions (measurements vary depending on desired quilt size).
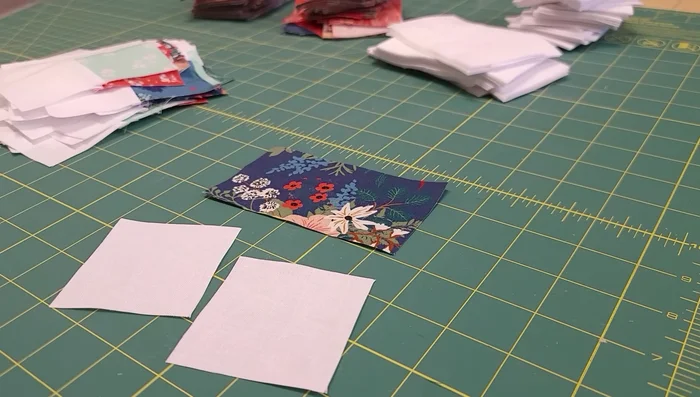
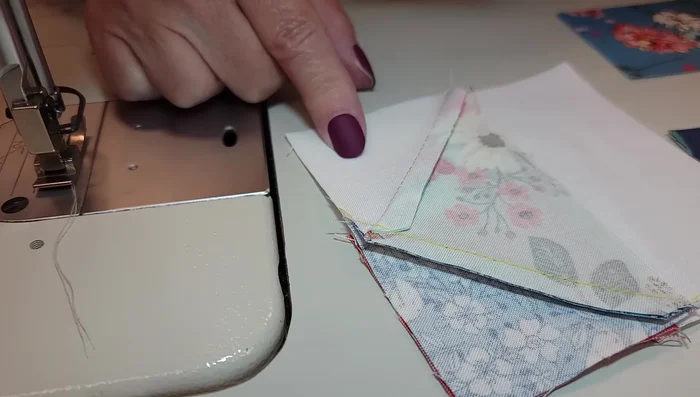
Cutting Fabrics Create Patchwork Units
- one with two dark/medium pieces and one light piece, and two flying geese units (one with two light squares and one colored rectangle, the other with one light square, one dark/medium square, and one dark/medium rectangle).
- Stitch the smaller patchwork units and press seams towards the light side.
- Create the flying geese units. Draw diagonal lines on the light squares, stitch along the lines, and press seams carefully according to instructions given in the video to minimize bulk and create sharp points.
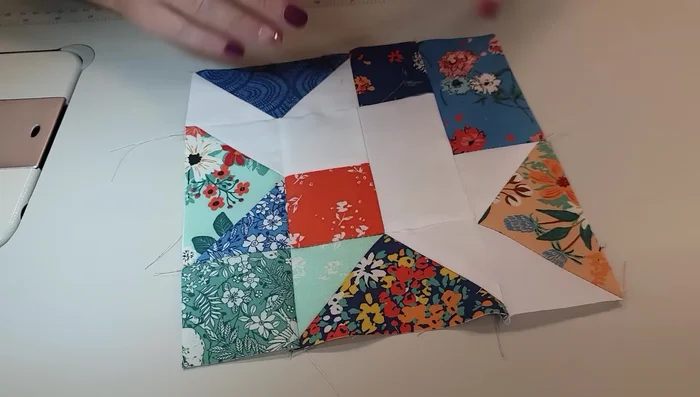
Create Patchwork Units Assemble the Main Block
- Assemble the main block by arranging the three patchwork units and the flying geese units according to the pattern instructions.
- Stitch the main block components together, paying attention to seam alignment and pressing directions to maintain sharp points.
Assemble the Main Block Create Quilt Blocks
- Repeat steps 4-8 to create enough blocks for the desired quilt size.
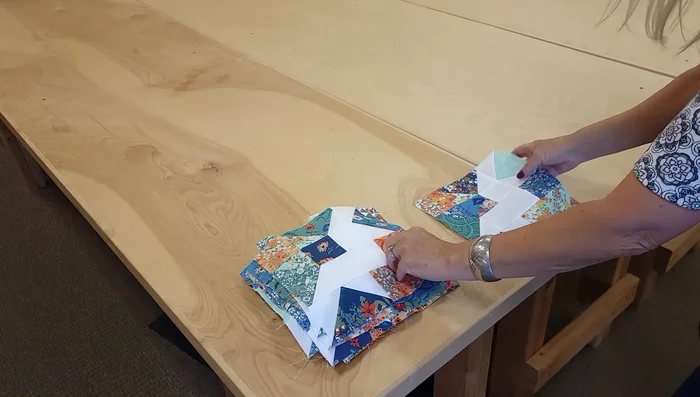
Create Quilt Blocks Assemble Quilt Top
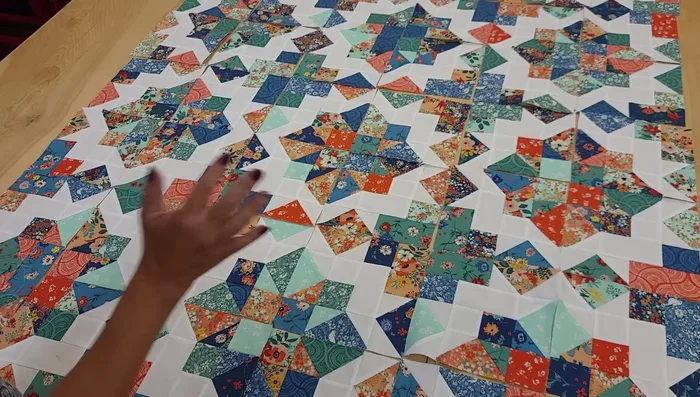
- Arrange blocks according to one of the six layout options provided in the pattern.
- Sew the quilt top together.
Assemble Quilt Top Quilting and Finishing
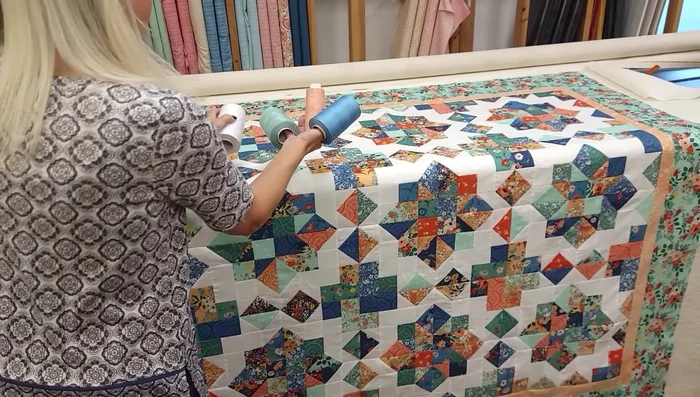
- Quilt the top using a chosen thread color and quilting pattern.
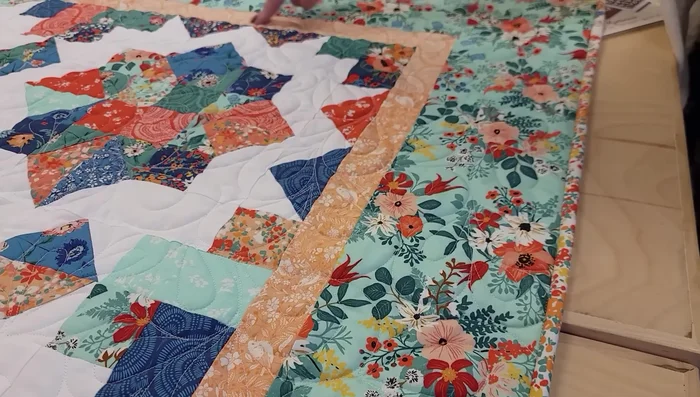
- Add borders and binding.
Quilting and Finishing

Read more: Sew a Lined Expandable Storage Bag: Easy Tutorial
Tips
- Ironing fat quarters before cutting ensures accurate cuts and prevents hard wrinkles.
- Pressing seam allowances in different directions on flying geese units minimizes bulk and creates sharper points.
- Use the intersection of threads from previous steps to guide stitching and avoid cutting off the points of flying geese units.
- Don't stress over perfectly matching seams, especially in areas with solid-colored fabrics; it won't significantly impact the quilt's appearance.
- Consider the overall color distribution when arranging blocks, but don't be overly concerned about perfectly matching colors in each section.