Tired of the same old boring clutches? Ready to elevate your accessory game with a unique, personalized piece that reflects your style? Then get ready to dive into the world of DIY fashion with this exciting tutorial! We’ll be transforming a simple Ray clutch into a sleek, custom-designed statement piece, perfect for adding a touch of edgy sophistication to any outfit. This project is surprisingly easy, even for beginners, requiring minimal sewing skills and readily available materials. You'll be amazed at the dramatic difference a few simple modifications can make.
This step-by-step guide will walk you through the entire process, from selecting the perfect embellishments to the final finishing touches. Get ready to unleash your creativity and learn how to craft a truly one-of-a-kind clutch that will turn heads and become your new favorite accessory. Let's begin!
Preparation and Safety Guidelines
- Fabric (vinyl recommended for sturdiness)
- Ruler
- Scissors
- Sewing Machine
- Magnetic Snap
- Interfacing (optional)
- Spray Adhesive (optional)
- Old Vinyl scraps (optional)
- Optional: Edge Trim, Strap Connector and Hardware
- Always use sharp, well-maintained tools to avoid slips and injuries. Cutting fabric or working with hardware requires precision and care.
- Handle the hardware components (like snaps, rings, etc.) with care to prevent scratches or damage. Protect your work surface with a mat or cloth.
- If using a sewing machine, ensure it's properly threaded and functioning correctly before starting. Always keep your fingers clear of the needle.
Step-by-Step Instructions
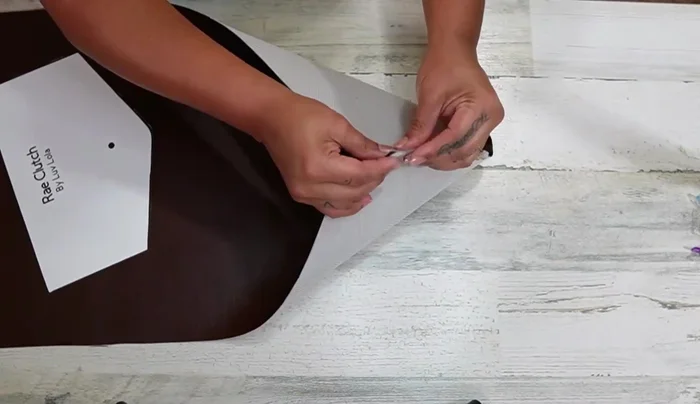
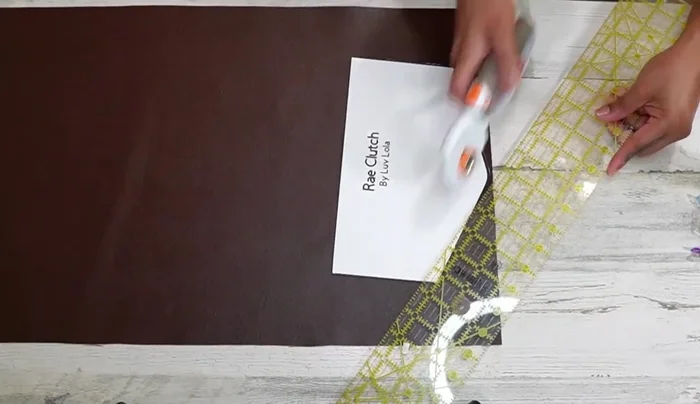
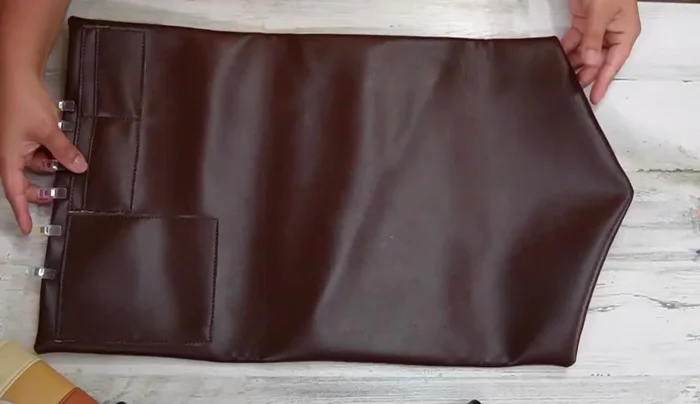
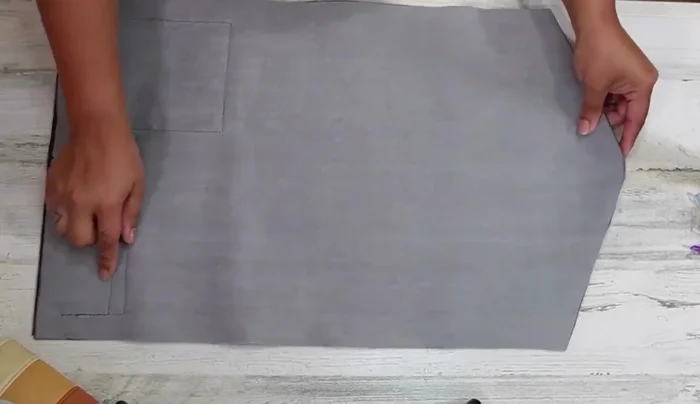
Prepare Fabric
- 12.5" x 11.5", 18" x 11.5", 24" x 14.5"). Cut one piece of exterior fabric and one piece of lining fabric to these dimensions.
- Add optional stabilizer (pellon 70 or other firm material) to the bottom of the bag for added structure.

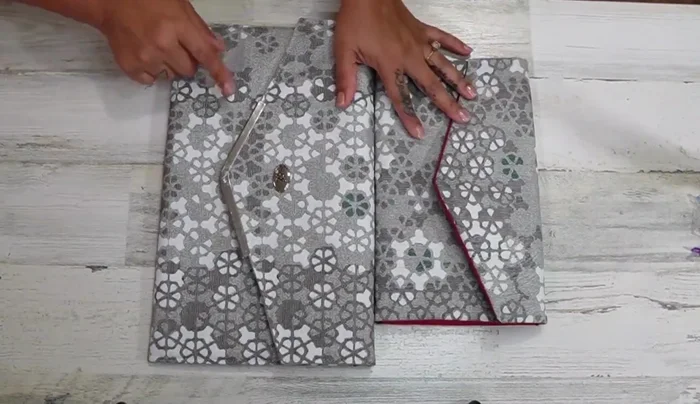
Prepare Fabric Mark and Cut Flap Opening
- Find the center of your fabric and place the flap.
- Cut the fabric to create the flap opening.
Mark and Cut Flap Opening Install Magnetic Snap
- Install the magnetic snap onto the lining before sewing the clutch together.
- Turn the clutch right side out. Measure down 4 inches (or your desired height for the flap) from the top and fold down. Use the fold as a guide for placing the male part of the magnetic snap.
Install Magnetic Snap Sew Clutch Together
- Place exterior and lining fabric right sides together and sew around leaving a 6-inch opening.
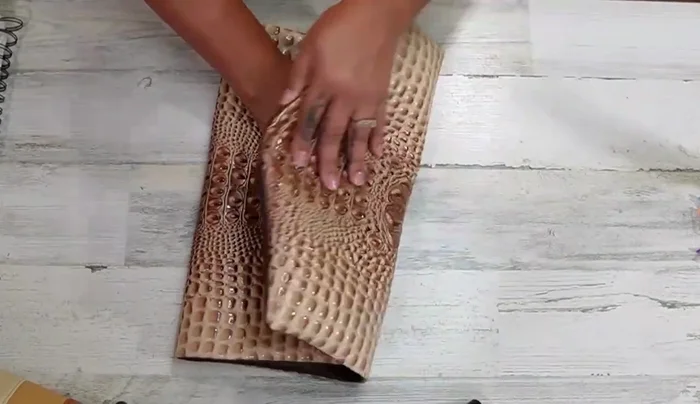
Sew Clutch Together Turn and Finish
- Turn the clutch right side out. Measure down 4 inches (or your desired height for the flap) from the top and fold down. Use the fold as a guide for placing the male part of the magnetic snap.
- Top stitch at an ⅛ inch seam allowance across the top of the flap, securing it in place.
- Pin sides together, and sew around the perimeter at an ⅛ inch seam allowance.
Turn and Finish

Read more: Sew a Lined Expandable Storage Bag: Easy Tutorial
Tips
- Use vinyl for both exterior and lining for a firmer clutch.
- Use interfacing for additional stability, keeping it away from the final seams.
- Repurpose old vinyl as a stabilizer to save money, adhering it to the lining with spray adhesive.
- For large clutches, add a pocket for your cell phone (6" wide x 9" long in this example).
- To prevent shifting while sewing through thick materials, use fabric glue or double-sided tape to adhere the layers before sewing.