Add a touch of charming whimsy and unexpected comfort to your home with a handcrafted miniature upholstered footstool! These delightful little pieces are perfect for adding a splash of personality to a dollhouse, a unique accent to a shelf, or even a quirky paperweight. Imagine the satisfaction of creating something beautiful and functional from scratch, all while flexing your DIY muscles. Beyond the aesthetic appeal, building your own miniature footstool is a rewarding project, offering a perfect blend of creativity and practicality. The process is surprisingly simple, even for beginners.
This guide will walk you through each step, providing clear instructions and helpful tips to ensure your miniature masterpiece turns out perfectly. From selecting the right materials to mastering the upholstery techniques, we'll cover everything you need to know to successfully create your own adorable miniature upholstered footstool. Let's get started!
Preparation and Safety Guidelines
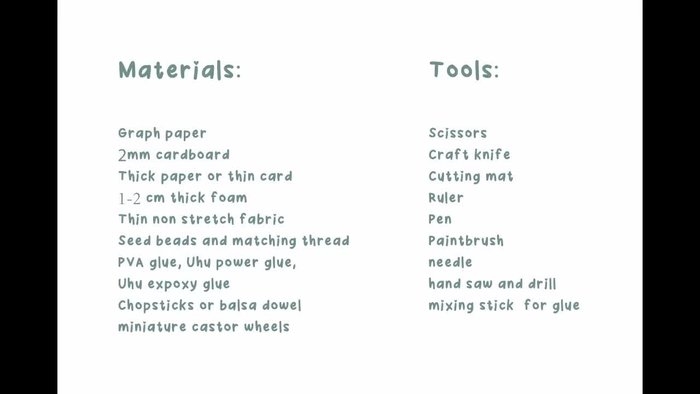
- Cardboard (2mm & thinner)
- Foam
- Fabric
- Seed beads
- Miniature caster wheels
- Small needle & thread
- Glue (YooHoo & PVA)
- Scissors
- Pins
- Small saw
- Chopsticks (or doll pins)
- Always use sharp, well-maintained tools to avoid injury. Take your time and work carefully.
- Ensure adequate ventilation when working with adhesives and fabrics; some fumes can be harmful.
- If using power tools, always wear appropriate safety glasses and follow the manufacturer's instructions.
Step-by-Step Instructions
Prepare the Footstool Top
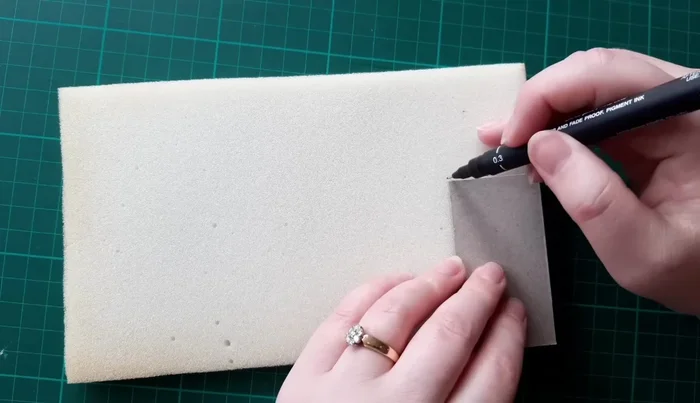
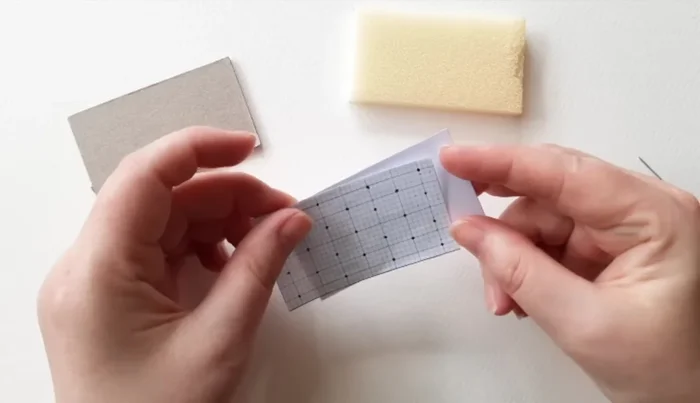
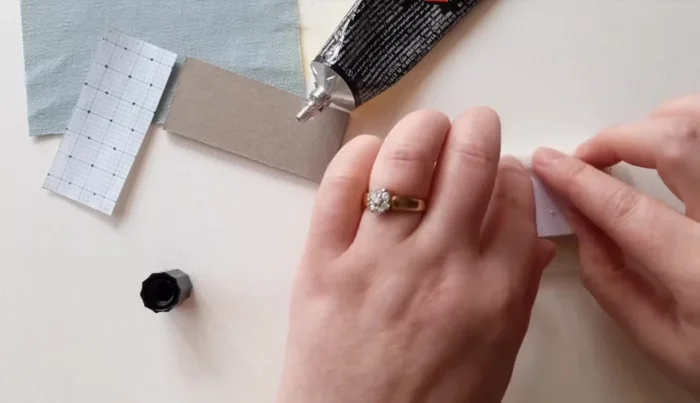
- Cut out template for the footstool top (7.2 x 3.2 cm). Mark button positions.
- Cut out two pieces of 2mm cardboard and one piece of thinner card, same size as template.
- Trace cardboard onto foam and cut.
- Transfer button template to lightweight card using pins.

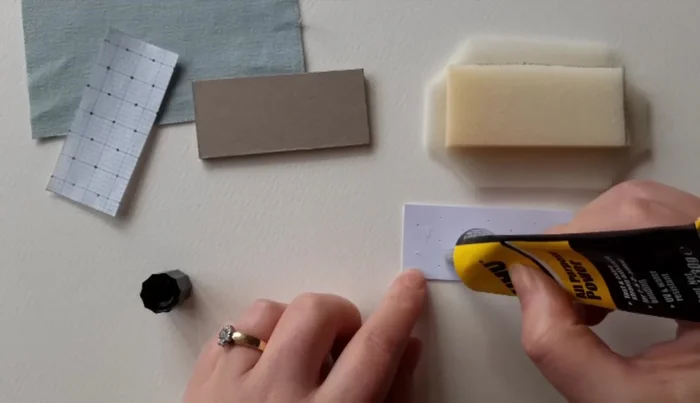
Prepare the Footstool Top - Glue template to foam, ensuring holes aren't covered.
- Wrap thin foam layer over top (optional, skip if using thicker foam).
Prepare the Footstool Top Upholster the Top
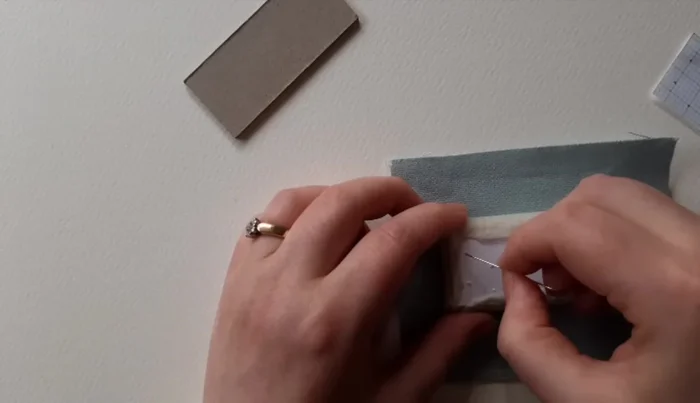
- Place foam cushion on fabric (right side down). Sew on beads using needle & thread through pinholes.
- Secure pinholes with YooHoo glue.
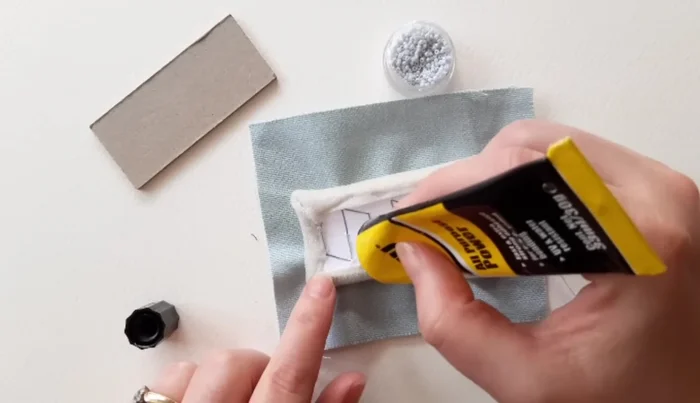
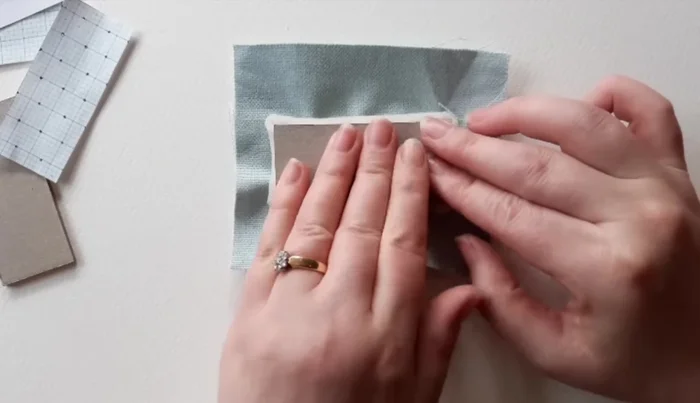
- Glue 2mm thick board to back. Trim fabric, fold & glue edges, leaving corners for last.
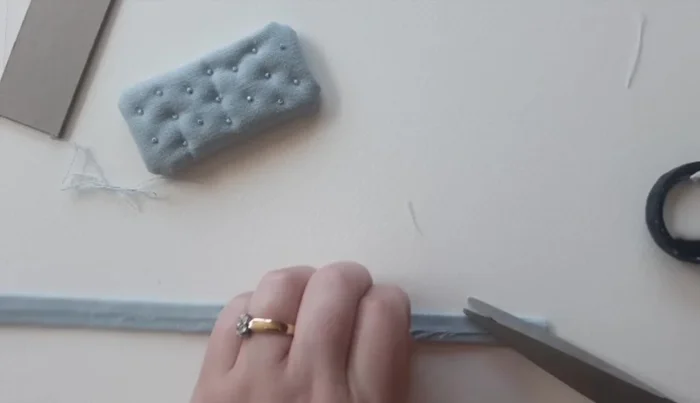
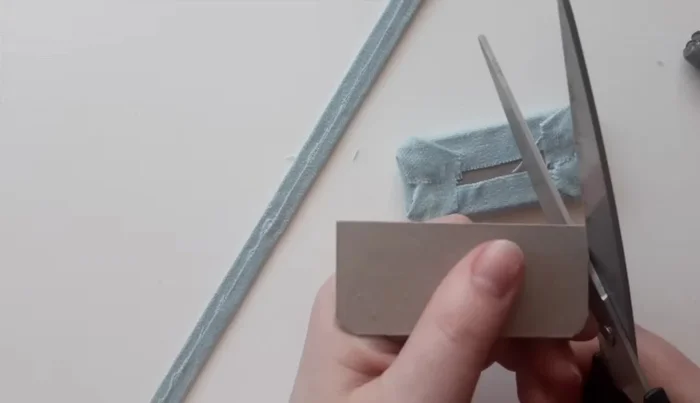
- Cut 1cm strip of lightweight card, cover in fabric, and glue around cushion edges.
Upholster the Top - Secure loose threads and back with PVA glue to prevent fraying. Repeat for underside.
Upholster the Top Create and Attach the Bottom
- Round corners of second 2mm board, cover in fabric. Glue to top part (PVA glue recommended).
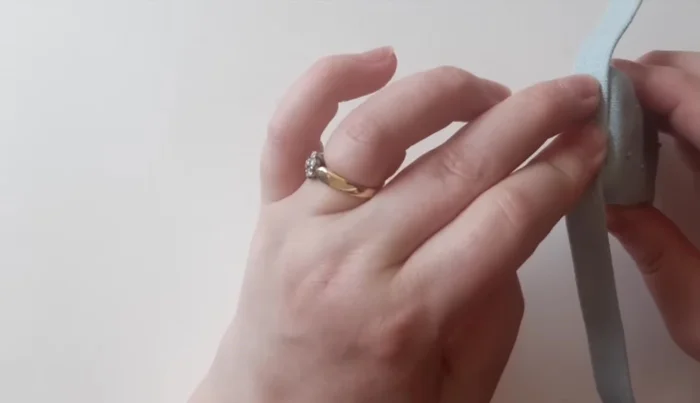
- Glue trim to sides, concealing join at the back.
Create and Attach the Bottom Make and Attach the Legs
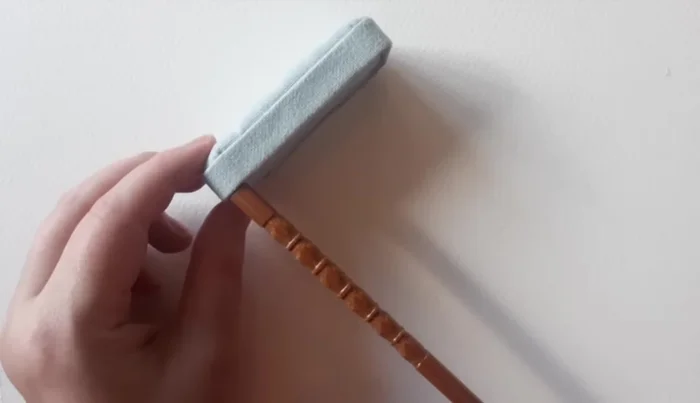
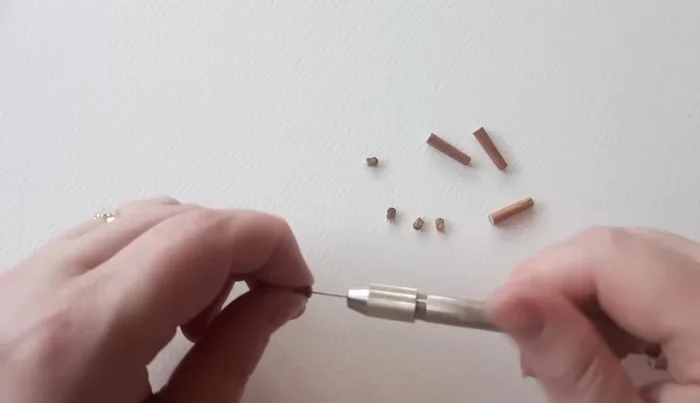
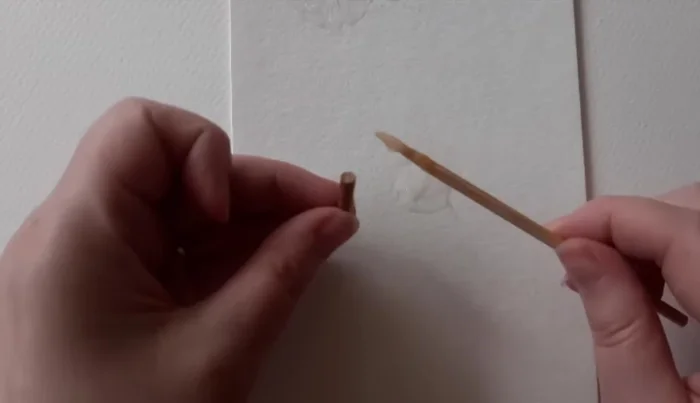
- Make legs from repurposed chopsticks (or doll pins), cut and shape them.
- Drill tiny holes in leg ends. Glue in caster wheels using two-part epoxy glue.
- Glue legs to footstool bottom.
Make and Attach the Legs


Read more: Sew a Lined Expandable Storage Bag: Easy Tutorial
Tips
- Use thin card for the trim to allow bending.
- PVA glue is more effective than other glues for some steps.
- Two-part epoxy glue is recommended for strongly bonding the caster wheels.