Looking for a quick and easy sewing project that yields a stylish and practical everyday accessory? Then look no further! This tutorial will guide you through creating your own lined tote bag, perfect for carrying groceries, books, or anything else you need to transport. Even if you're a complete beginner with a sewing machine, you'll be surprised how quickly and easily you can make this charming bag. Forget expensive store-bought options – you'll be crafting your own personalized tote in no time!
We'll use a beginner-friendly method, focusing on simple techniques and straightforward instructions to ensure a smooth and enjoyable crafting experience. No complicated patterns or advanced sewing skills are required; just basic sewing knowledge and a desire to create something beautiful. Ready to get started? Let's dive into the step-by-step process outlined below.
Preparation and Safety Guidelines
- Fabric (two lightweight decorator fabrics)
- Craft clips
- Sewing machine
- Acrylic roller
- Pencil or marking tool
- Stabilizer for straps
- Iron
- Always use sharp sewing machine needles and pins to prevent fabric damage and ensure clean stitches. Dull needles can cause skipped stitches and broken threads.
- Before cutting fabric, pre-wash and iron it to prevent shrinkage and ensure accurate measurements. This will also help prevent any shifting or stretching of the fabric during the sewing process.
- When using the sewing machine, keep your fingers away from the needle and presser foot to avoid injury. Take your time and work carefully.
Step-by-Step Instructions
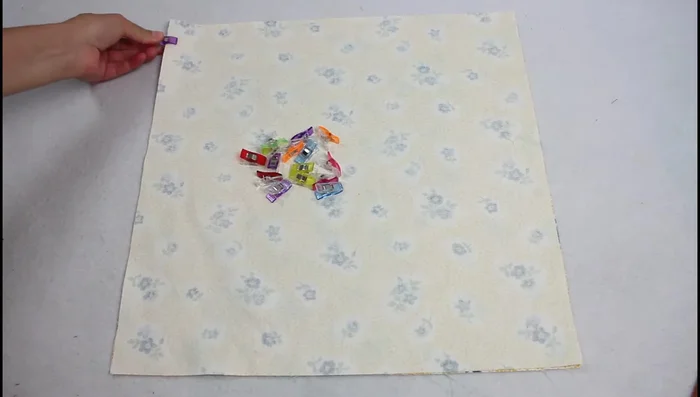
Prepare Materials
- Cut four body pieces (16x16 inches) and two strap pieces (28x4 inches). Pre-wash fabrics.
Construct Bag Body
- Sew two body pieces right sides together, leaving a seam allowance of 1/2 inch. Repeat for the lining, but leave a 5-6 inch opening for turning.

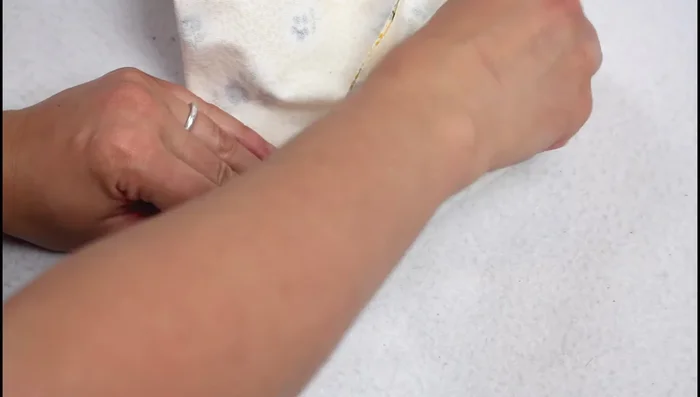
Construct Bag Body Box Corners
- Flatten corners to form a V-shape, ensuring seam allowances go in opposite directions. Use an acrylic roller to mark a 4-inch line from the corner along the side. Trim excess fabric leaving a 1/2 inch seam allowance.
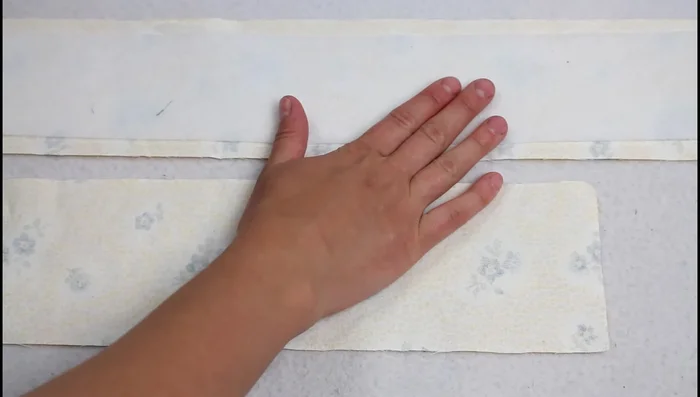
Box Corners Make Straps
- Fuse stabilizer to the back of each strap piece using an iron. Fold over the edges toward the inside, using the stabilizer as a guide. Fold the entire strap in half and press.
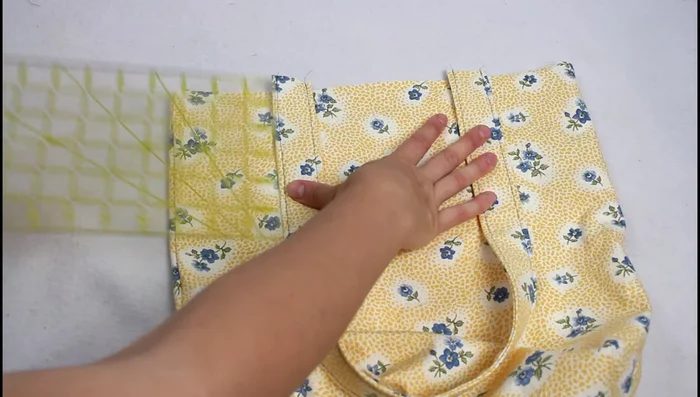
Make Straps Attach Straps to Bag
- Position straps on the top edge of the bag, ensuring even spacing from side seams. Sew across the strap ends to secure.
Attach Straps to Bag Attach and Finish Lining
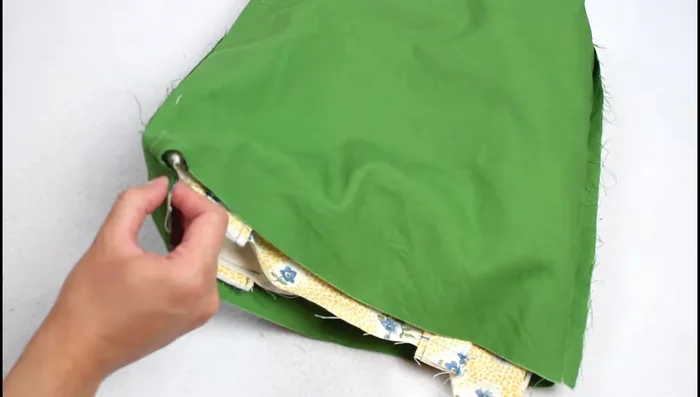
- Place the outer bag inside the lining (right sides together). Sew around the top edge with a 1/2 inch seam allowance.
- Turn the bag right side out through the opening left in the lining. Close the opening with a top stitch or hand-sew a ladder stitch. Press the top edge and top stitch around the bag.
Attach and Finish Lining
Read more: Sew a Lined Expandable Storage Bag: Easy Tutorial
Tips
- Backstitch at the beginning and end of each seam to prevent unraveling.
- When ironing stabilizer, do not slide the iron; set it down in one spot for several seconds before moving it to prevent stretching.
- Leave a little extra strap length extending past the top edge of the bag for secure stitching and prevent ripping.