For centuries, the hussif, a charming and practical sewing kit, has graced the workbaskets of seamstresses and homemakers. More than just a collection of needles and thread, a beautifully crafted hussif is a testament to both functionality and artistry. This elegantly designed, hand-sewn hussif offers a delightful project for experienced crafters and beginners alike, allowing you to create a personalized heirloom that's as lovely to look at as it is useful. Forget mass-produced sewing kits – this guide empowers you to make your own stylish and organized companion for all your mending and sewing needs.
Imagine a beautifully crafted little book, subtly showcasing your needlework skills, always ready at hand. This guide will walk you through each step of creating your own unique and elegant hussif, from selecting materials and cutting the fabric to the final stitching and embellishments. Follow along as we embark on this rewarding journey to create a truly special, hand-sewn sewing kit that you’ll cherish for years to come.
Preparation and Safety Guidelines
- Gridded pattern paper
- Silk fabrics (various colors)
- Green lambskin leather scraps
- Scissors
- Needle
- Thread (matching silk thread)
- Polyfill
- Wool fabric samples
- Pink ribbon
- ⅛ inch elastic
- Iron
- Sewing clips
- Measuring tape
- Pins
- Always use sharp, well-maintained needles and scissors to prevent injury. Never force a needle through fabric.
- Supervise children around needles and sharp objects at all times. Keep sewing supplies out of reach when not in use.
- If pricked by a needle, clean the wound thoroughly with soap and water and apply antiseptic. Seek medical attention if necessary.
Step-by-Step Instructions
Planning and Preparation
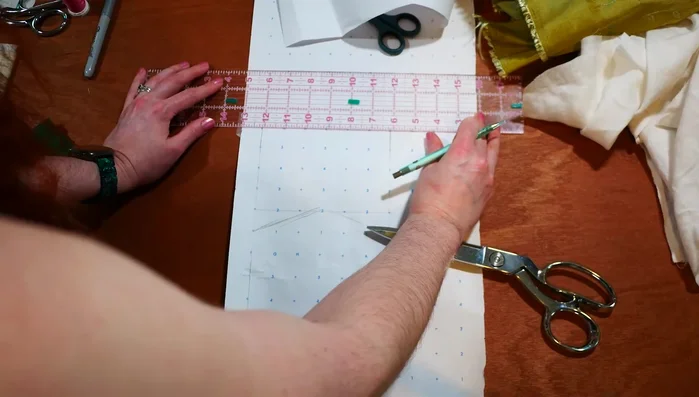
- Plan and design the sewing kit. Determine the dimensions (6 inches wide, 4-inch tall sections, extra for top flap).
- Create pattern pieces for pockets (6 inches x 4 inches), scissors pocket, and a small pincushion square.

Planning and Preparation Cutting and Pressing Fabrics
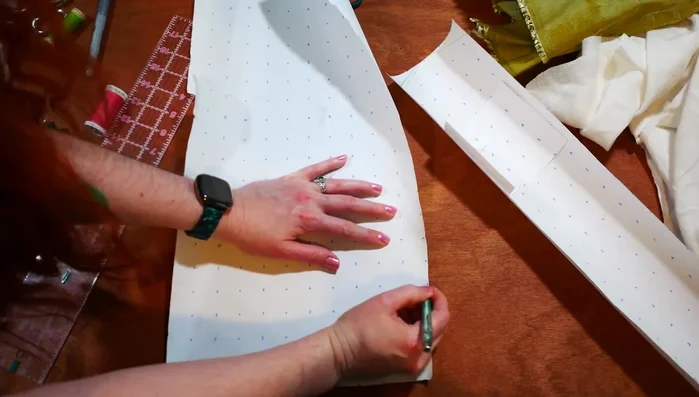
- Cut out pattern pieces from chosen fabrics and leather, piecing the leather if needed.
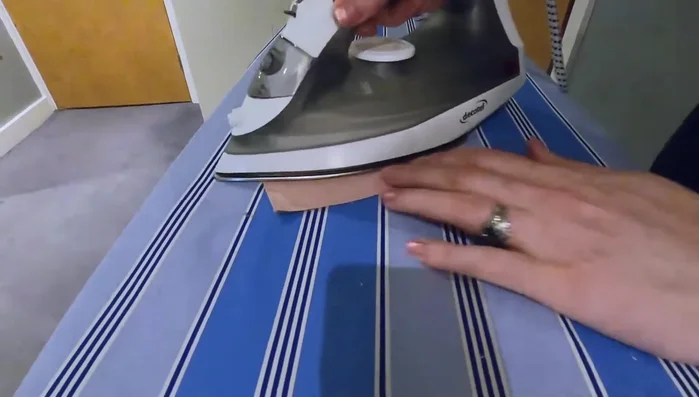
- Cut and prepare underpieces for pockets using heavier raw silk.
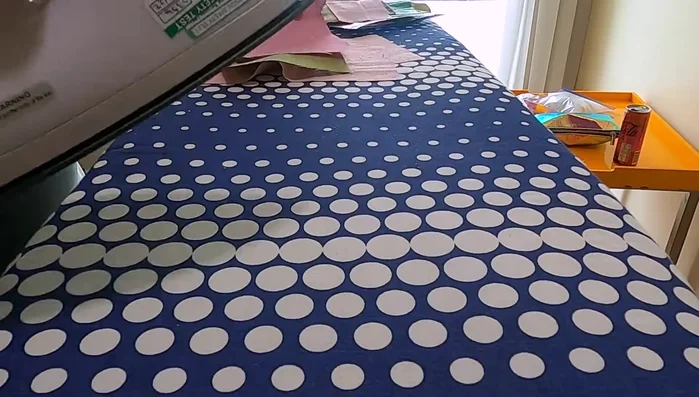
- Press all fabric and leather pieces using an iron.
Cutting and Pressing Fabrics Embroidering and Preparing Pockets
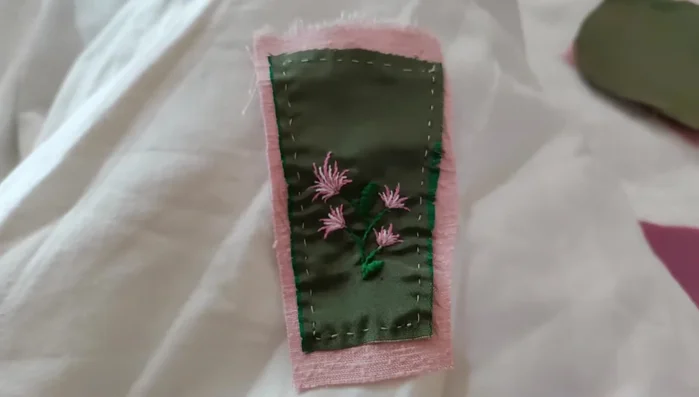
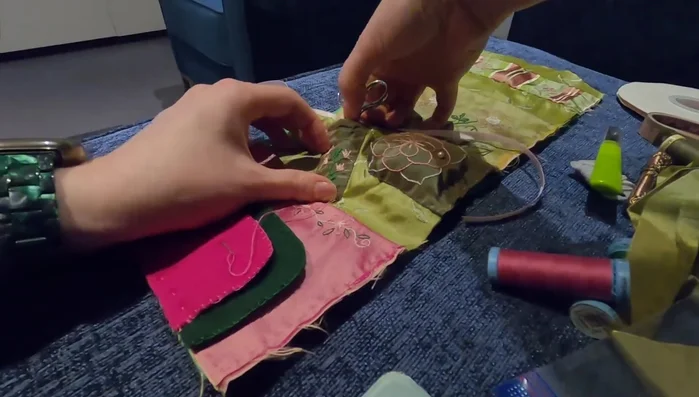
- Embroider desired designs onto the silk pieces for the pockets and pincushion. Baste embroidered pieces to raw silk backing.
- Press a quarter inch seam allowance into the top of each pocket, and press the bottom up.
Embroidering and Preparing Pockets Assembling the Pockets
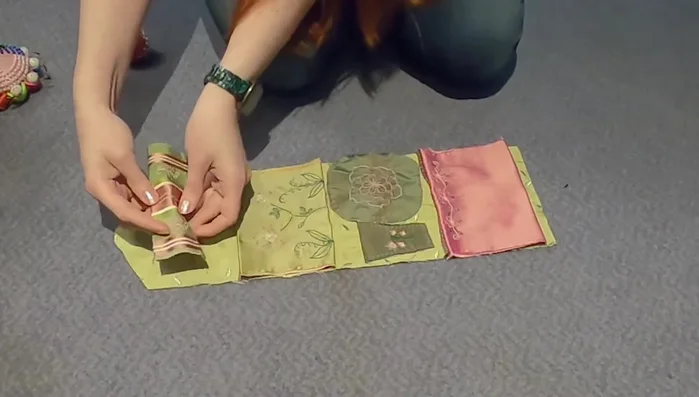
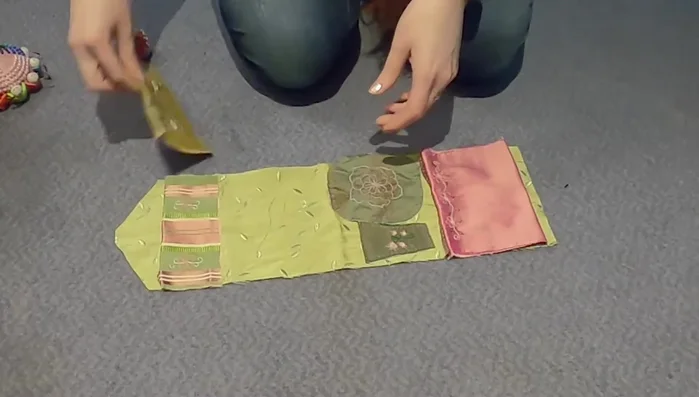
- Whip stitch the raw edges of the pockets and attach them to the lining.
- Attach the pockets to the lining piece, arranging them in the desired order.
Assembling the Pockets Creating and Attaching Needle Holders
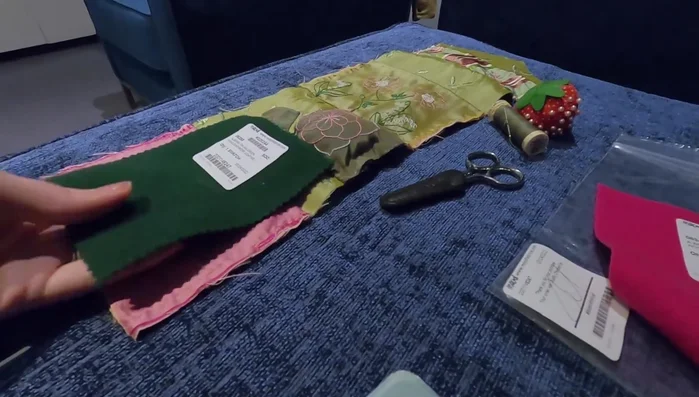
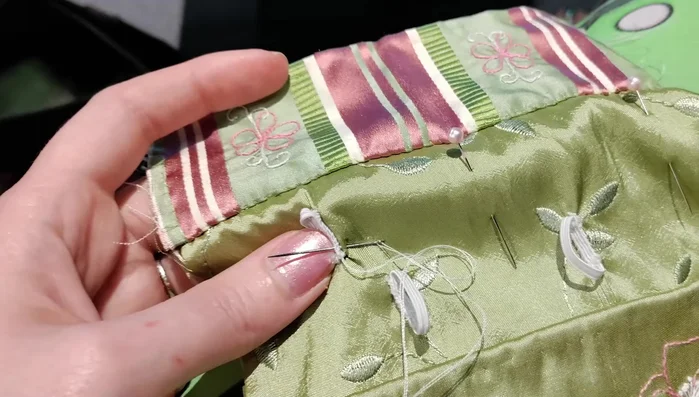
- Prepare needle holders from wool samples by blanket stitching the edges.
- Attach the needle holders to the bottom of the lining.
Creating and Attaching Needle Holders Adding Accessories
- Attach a ribbon loop to the scissors pocket.
- Create elastic loops for small items (seam ripper, needle holder).
- Attach the elastic loops to the lining.
Adding Accessories Attaching Lining and Binding
- Lay the lining over the leather outer layer, aligning edges and securing with clips.
- Attach the binding to the edges of the kit, using a double backstitch.
- Fold and whip stitch the binding to the inside to finish the edges.
Attaching Lining and Binding Finishing Touches
- Stuff the pincushion with polyfill.
- Fill the kit with sewing supplies.
- Roll up the finished kit and tie it with the ribbon.

Read more: Sew a Lined Expandable Storage Bag: Easy Tutorial
Tips
- Use high-quality fabrics and materials for durability and aesthetics.
- Pre-glue leather seams before sewing to prevent fraying.
- Consider using a good-quality iron for crisp results.
- Use matching thread for a more polished look.
- Take your time with embroidery and hand stitching for a professional finish.