In today's world, the humble face mask has taken on a new significance. More than just a fashion accessory, it's a vital tool in protecting ourselves and others from airborne illnesses. While readily available commercially, making your own masks offers a level of customization and control over materials, ensuring a comfortable and effective fit. This is particularly beneficial for individuals with sensitivities or specific needs, allowing them to choose fabrics that are gentle on the skin and breathable. Plus, crafting your own masks can be a surprisingly rewarding experience!
This simple step-by-step guide will walk you through the process of sewing a comfortable and effective face mask, even if you're completely new to sewing. No specialized equipment is required, making this a project accessible to everyone. Let's get started with the first step in creating your own protective and personalized face covering.
Preparation and Safety Guidelines
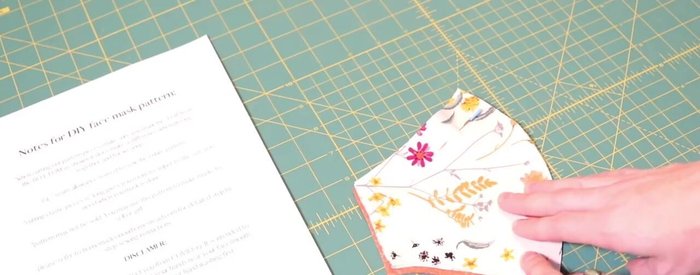
- 100% quilting cotton fabric or bandanas
- elastic cording
- scissors
- sewing pins
- iron
- ironing surface
- sewing machine
- Always wash your hands thoroughly with soap and water before and after handling fabric and the finished mask.
- Use clean fabric and ensure it's properly washed before sewing. Avoid using fabrics that are difficult to breathe through.
- This mask is intended as a supplementary measure and should not replace other recommended safety precautions such as social distancing and frequent handwashing. It does not guarantee complete protection against viruses.
Step-by-Step Instructions
Prepare Materials
- Download the sewing mask instructions and pattern from the website.
- Pre-wash and dry your fabric to prevent shrinkage after sewing.

Prepare Materials Cut Fabric
- Cut out your pattern pieces from both the exterior and lining fabrics, ensuring minimal waste.
Cut Fabric Sew Main Seams
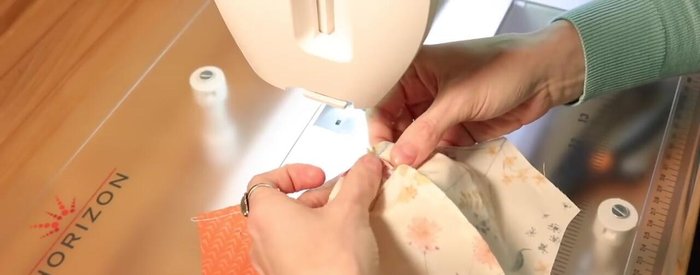
- Sew the exterior and lining fabric pieces together along their curved edges, right sides together. Clip curves to reduce bulk.
- Press the seams open on both the exterior and lining fabric pieces.
Sew Main Seams Assemble Mask
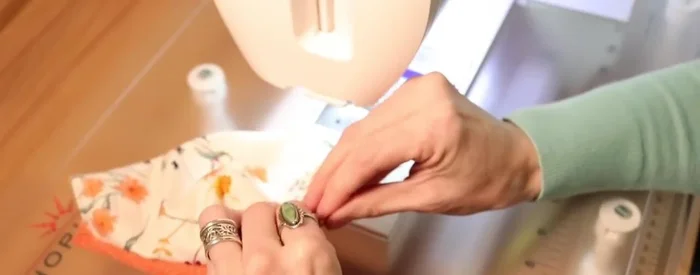
- Sew the exterior and lining pieces together at the top and bottom edges, right sides together, leaving the sides open to turn.
Assemble Mask Turn and Press
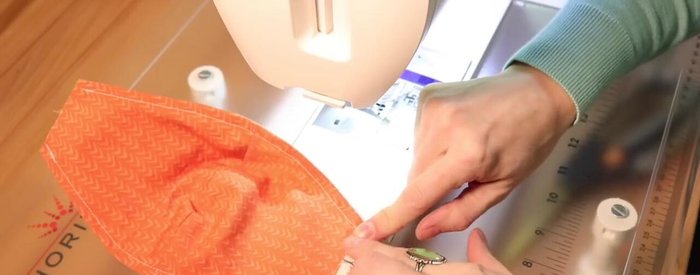
- Turn the mask right side out and press the seams flat.
Turn and Press Reinforce Seams
- Top stitch along the top and bottom edges of the mask, and optionally along the nose bridge, for reinforcement and a clean finish.
Reinforce Seams Prepare Elastic Cording
- Fold and press the edges where the elastic will be attached.
Prepare Elastic Cording Attach Elastic
- Attach the elastic cording, ensuring it can be easily adjusted.
Attach Elastic


Read more: Sew a Lined Expandable Storage Bag: Easy Tutorial
Tips
- Use breathable fabric like 100% cotton for comfort.
- Pre-washing and ironing fabric prevents shrinkage.
- Use a rotary cutter carefully if preferred; scissors are recommended for ease of use, especially around curves.
- Backstitch at the beginning and end of each seam to reinforce stitches.
- Ease seams (clip curves) for better fabric flow.