Tired of bulky, boring wallets that never seem to hold everything you need? Wish you could express your personal style with a unique accessory? Then get ready to unleash your inner crafter! This tutorial will guide you through creating a beautiful and functional fabric wallet, all from the comfort of your own home. No advanced sewing skills are required, making this project perfect for beginners looking to explore the world of DIY. You'll be surprised at how easy it is to transform simple fabric scraps into a stylish and practical everyday item.
This easy-to-follow tutorial will show you how to make a charming fabric wallet in just a few simple steps, utilizing basic sewing techniques and readily available materials. Forget expensive, mass-produced wallets – learn to create a personalized accessory that reflects your individual taste. Let's dive into the step-by-step process and create your very own handmade masterpiece!
Preparation and Safety Guidelines
- Fabric
- Interfacing
- Quarter (for measuring)
- Sewing machine
- Iron
- Scissors
- Button
- Button Snaps
- Always use sharp fabric scissors to ensure clean cuts and prevent fraying. Dull scissors can lead to uneven edges and make sewing more difficult.
- Before starting to sew, pre-wash and iron your fabric to avoid shrinkage and ensure a smooth finish. This prevents your wallet from shrinking after completion.
- Choose a durable fabric like canvas or cotton duck for a long-lasting wallet. Avoid fabrics that are too delicate or easily torn.
Step-by-Step Instructions
Create the Wallet Template
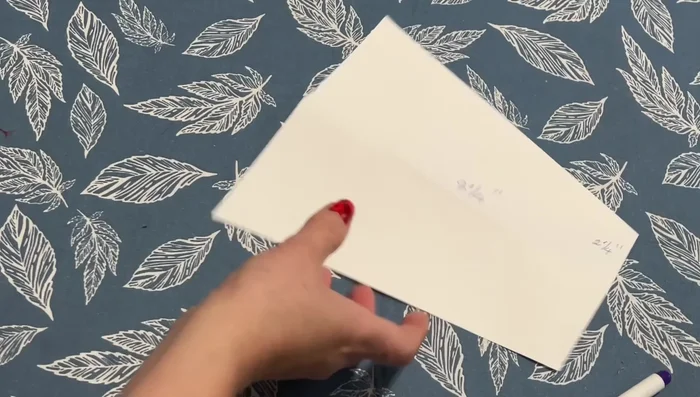
- Fold an 8.25" x 13.25" piece of paper in half. Mark 1.25" from the fold on the right side, then measure up 3.75" (almost 4 inches) from that mark. Connect this point to the fold to create your template shape.
Cut Fabric and Interfacing
- Place the template on interfacing, cut it out, then repeat with your chosen fabric, adding a quarter-inch seam allowance.

Cut Fabric and Interfacing Sew Side Seam
- Sew the two ends of the fabric pieces together following the interfacing's shape (only one seam).
Create and Attach the Pocket
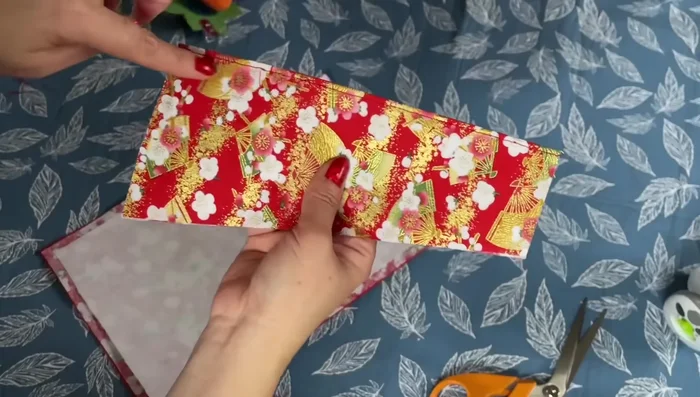
- Fold one cut fabric piece in half with right sides together and sew close to the edge.
- Turn the pocket piece inside out, iron flat. Attach the pocket to the main wallet piece by sewing along the top edge.
Create and Attach the Pocket Construct the Wallet Body
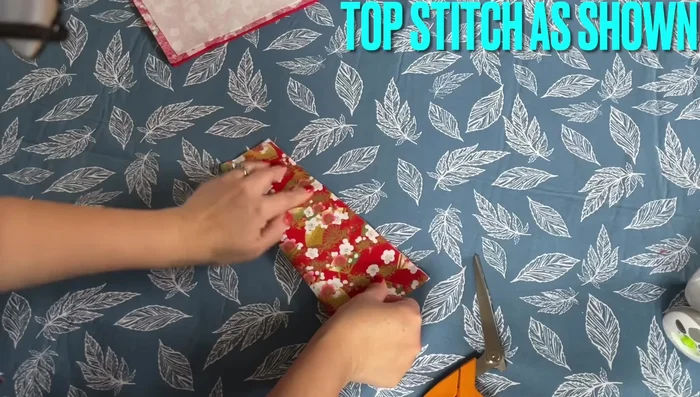
- Turn the main wallet piece inside out, iron, then topstitch around the edges, creating the wallet's shape and securing the pocket.
Sew Wallet Closure
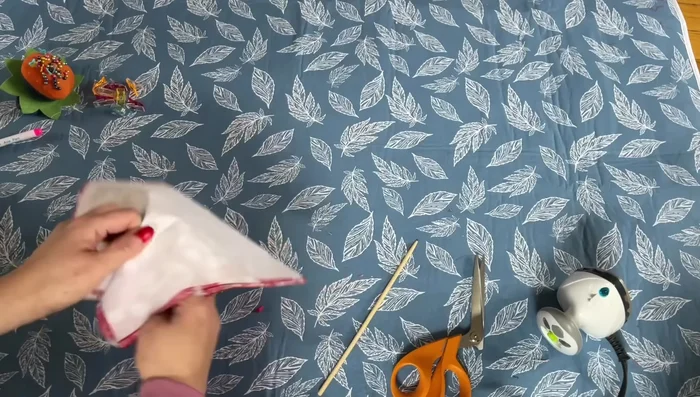
- Fold the top portion of the wallet in half, matching the edges. Sew a seam allowance along this edge.
Attach Closure Hardware
- Mark a spot on the flap for the button. Create a buttonhole and attach the button. On the other side, attach a matching snap closure.
Attach Closure Hardware Finishing Touches
- Trim corners, iron, and admire your finished wallet!
Finishing Touches

Read more: Sew a Lined Expandable Storage Bag: Easy Tutorial
Tips
- Use a quarter for accurate 1/4 inch measurements.
- Maintain a 1/4-inch seam allowance while cutting and sewing.
- Don't stress about perfectly straight lines; the interfacing helps.
- When attaching snaps, attach the larger part first to the wallet, then the smaller part for secure fastening.