Fabric flowers offer a charming and versatile way to add a touch of handmade elegance to any project, from clothing embellishments to home décor. Their soft texture and customizable colors provide endless possibilities, transforming ordinary items into something truly special. But crafting realistic and visually stunning fabric blooms can seem daunting. Many techniques require intricate stitching and complex patterns, leaving aspiring crafters feeling overwhelmed.
This article, however, simplifies the process, presenting a surprisingly easy shaping technique that yields remarkably beautiful results. Forget fiddly seams and time-consuming assembly; we’ll guide you through a streamlined method that even beginners can master, producing professional-looking fabric flowers in a fraction of the time. Ready to transform simple fabric scraps into breathtaking blossoms? Let's dive into the step-by-step instructions.
Preparation and Safety Guidelines
- Fabric
- Lady Design Flower dies (9 & 12)
- Scrap paper
- Die-cutting machine
- Iron
- Stamps
- Ink
- Mini iron with curved smooth tip
- UHU glue
- Stamens/buttons
- Always use sharp scissors to ensure clean cuts and prevent fraying. Dull scissors will create jagged edges and make shaping difficult.
- Avoid using fabrics that fray excessively, such as linen or rayon, unless you plan to use a fabric sealant or finish. Choose fabrics with a tighter weave for easier shaping and a more polished look.
- Be mindful of the heat from your iron or heat gun. Test the heat setting on a scrap of fabric first to avoid burning or melting your chosen material.
Step-by-Step Instructions
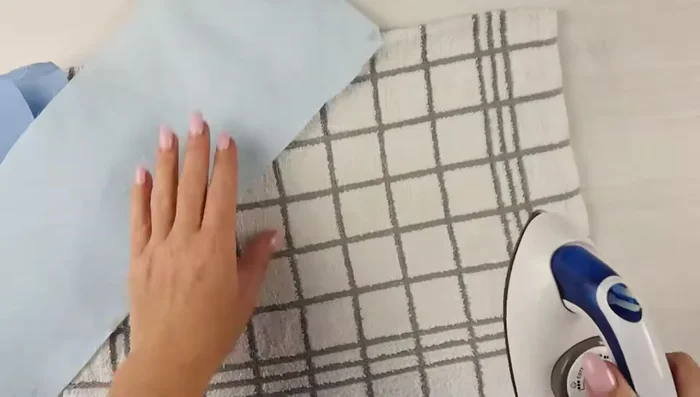
Fabric Preparation
- Iron the fabric before die-cutting.

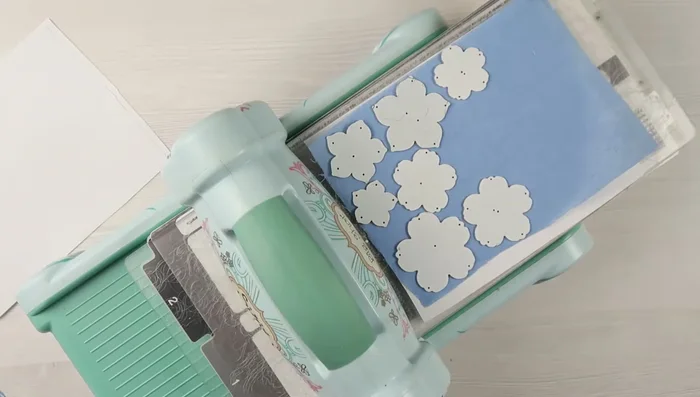
Fabric Preparation Die Cutting
- Die-cut the fabric flowers using scrap paper underneath for a crisp cut.
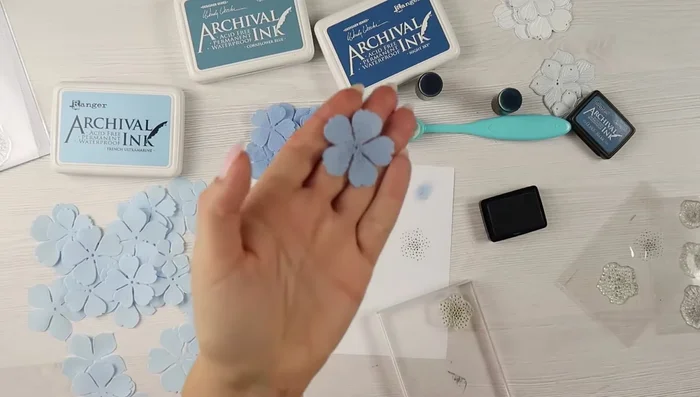
Die Cutting Center Detailing
- Stamp the centers of the flowers with your desired design (optional).
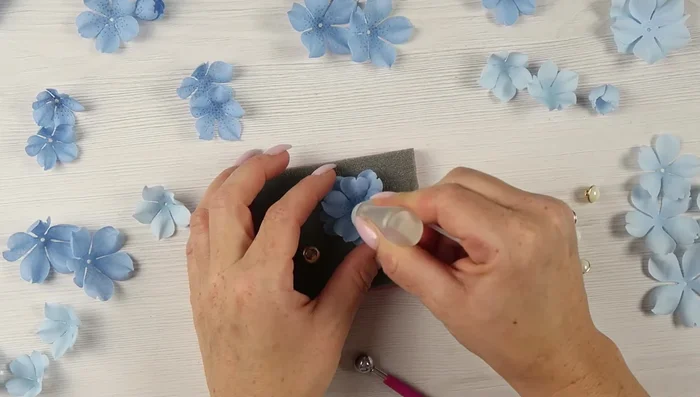
Center Detailing Flower Shaping
- Shape the flowers using a mini iron with a curved smooth tip. Go from the top of the petal towards the center on one side, flip, and repeat on the other side.
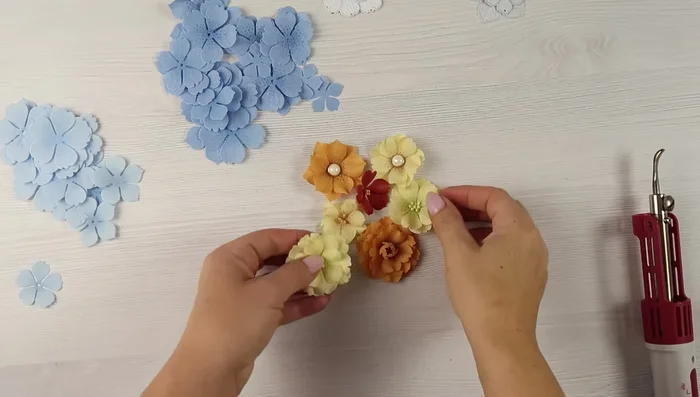
Flower Shaping Flower Assembly
- Assemble the flowers using UHU glue, layering petals without overlapping.
- Add stamens or buttons to the center of the flower.
Flower Assembly

Read more: Sew a Lined Expandable Storage Bag: Easy Tutorial
Tips
- Use scrap paper under the fabric when die-cutting for easier cutting and a crisper result.
- Choose ink colors that complement your fabric for a cohesive look.
- Use a small amount of glue to assemble the layers.
- When assembling, try not to overlap the petals.
- Experiment with different numbers of layers (1-5) to create variety in your flower designs.