Scrapbooking is a cherished hobby for many, allowing us to preserve memories and create personalized keepsakes. While commercially available albums are readily available, the joy of crafting a truly unique and personal scrapbook is unparalleled. This tutorial will guide you through the process of creating a beautiful and tactile fabric-covered scrapbook album using a soft binding technique, allowing you to express your creativity in every detail, from the carefully chosen fabric to the individual embellishments adorning each page. Forget the limitations of stiff, pre-made albums; imagine the satisfying feel of soft, custom-designed covers cradling your precious photos and mementos.
This DIY project is surprisingly accessible, requiring only basic crafting skills and readily available materials. We'll explore the step-by-step process of preparing the fabric, constructing the album's pages using the soft binding method, and finishing with a professional-looking cover. Get ready to unleash your inner artist and create a one-of-a-kind scrapbook that's as unique and cherished as the memories it holds; let's dive into the detailed instructions!
Preparation and Safety Guidelines
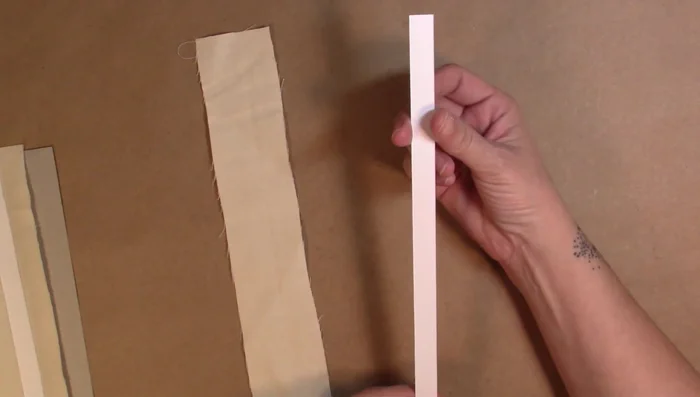
- Fabric
- Paper
- Canvas
- Lace
- Pearls
- Flowers
- Metal embellishments
- Ribbon
- Chipboard
- Fabric glue
- Vellum
- Craft paper
- Martha Stewart paper molds
- Ruler
- Scissors
- Needle and thread
- Always use sharp, well-maintained scissors or a rotary cutter to prevent accidents and ensure clean cuts. Never leave sharp tools unattended, especially around children.
- When working with needles and thread, exercise caution to avoid pricking yourself. Use a thimble if needed.
- Ensure your work area is well-lit and clutter-free to minimize the risk of accidents and enhance precision.
Step-by-Step Instructions
Prepare the first gusset
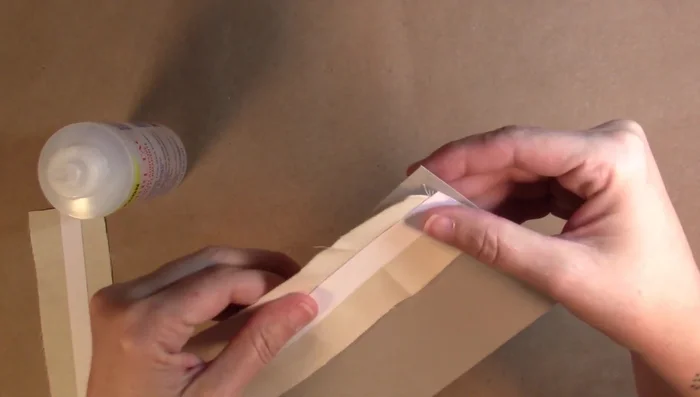
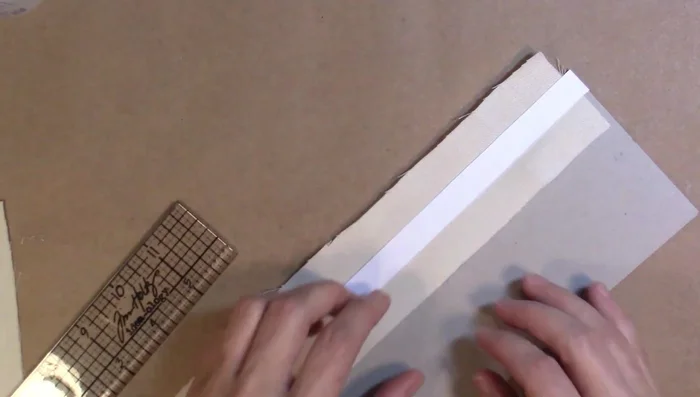
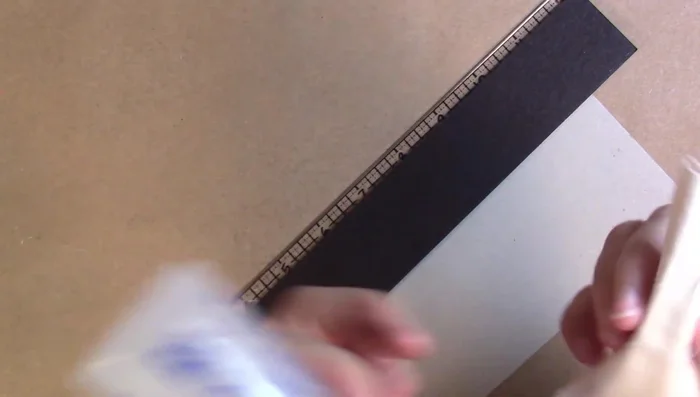
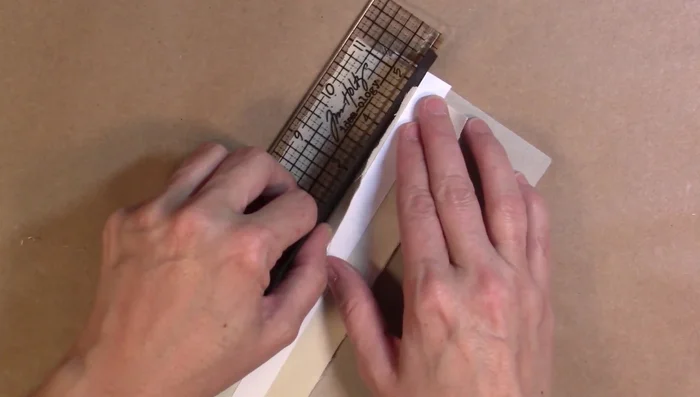
- Prepare the gusset piece (paper) and fabric canvas. Glue the gusset into the center of the fabric, leaving an overhang.

Prepare the first gusset Attach the first gusset to the spine
- Glue the fabric-covered gusset to the back binding (lightweight chipboard). Ensure the paper gusset reaches the edge of the chipboard.
Attach the first gusset to the spine Secure the fabric overhang
- Fold the overhanging fabric over the chipboard and secure with a scrap piece of chipboard to hold it in place.
Secure the fabric overhang Repeat for all pages
- Repeat steps 1-3 for each page, adding more gussets and fabric pieces to the back binding.
Repeat for all pages Insert page chipboards
- Once all gussets are in place, insert the chipboard pieces that will serve as pages.
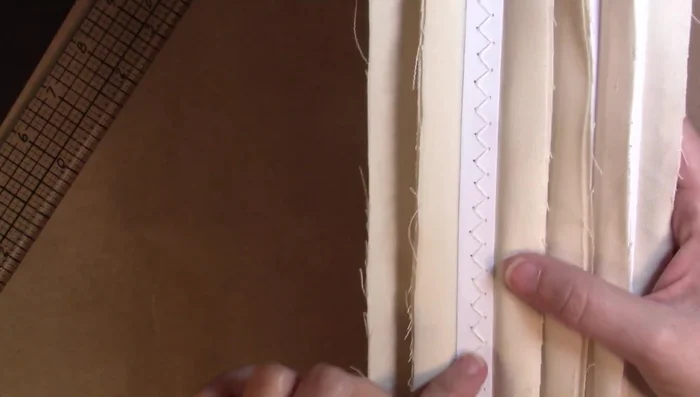
Insert page chipboards Stitch the pages
- Stitch the pages to the chipboard spine to secure them.
Stitch the pages Attach outer fabric cover
- Glue the outer flaps of the fabric to the cover of the album.
Attach inner fabric cover
- Glue the inner flaps of the fabric to the cover to complete the binding.
Read more: Sew a Lined Expandable Storage Bag: Easy Tutorial
Tips
- Use lightweight chipboard for the back binding to make it easier to work with.
- Use fabric glue for quick and secure adhesion of fabric and paper.
- Press firmly on the paper gussets to ensure they adhere well to the chipboard.
- Use stitching to reinforce the binding and add a decorative element.