Spring is in the air, and what better way to celebrate the season than with fresh, vibrant décor? But who says beautiful spring decorations need to break the bank? This guide will show you how to create stunning, spring-themed crafts using only materials sourced from your local Dollar Tree – think affordable fabrics, repurposed wood, and a whole lot of creativity. We'll transform inexpensive finds into charming pieces that will add a touch of springtime elegance to your home without emptying your wallet. Forget expensive boutique crafts; unleash your inner artisan with these surprisingly simple projects.
Prepare to be amazed by how much you can achieve with minimal cost and maximum imagination! From transforming plain fabric scraps into delightful flower arrangements to upcycling basic wooden pieces into personalized spring signs, this article will take you through each step of the process, providing clear instructions and inspiring ideas. Let's dive into the detailed, step-by-step instructions to create your own Dollar Tree DIY spring masterpieces!
Preparation and Safety Guidelines
- Fabric from Dollar Tree
- Wood rounds from Dollar Tree
- Glue stick
- Mod Podge
- Chalk Couture transfer
- Chalk paste
- Scissors
- Picture frame from Dollar Tree
- Small screwdriver
- Wooden dowel
- Galvanized bucket
- Floral foam
- Moss
- Ceramic dishes from Dollar Tree
- Paint
- Chip brush
- Measuring tape
- Hot glue gun
- Always supervise children when using crafting tools like scissors, hot glue guns, or paintbrushes. Dollar Store items may not be as durable as higher-end materials, increasing the risk of accidental injury.
- Properly ventilate your workspace when using paints, stains, or other potentially harmful chemicals. Read product labels carefully and follow all safety instructions.
- Before upcycling fabric, check for any visible damage, and wash fabrics thoroughly to remove any potential allergens or chemicals. Always pre-treat wood with sealant or primer if painting or staining to prevent bleed-through and ensure a smooth finish.
Step-by-Step Instructions
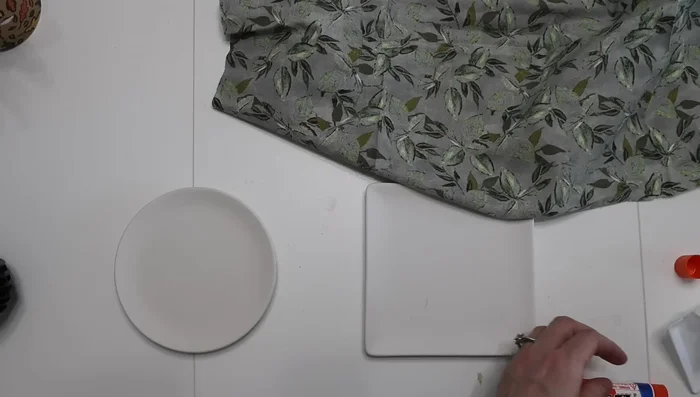
Fabric-Covered Wood Coasters
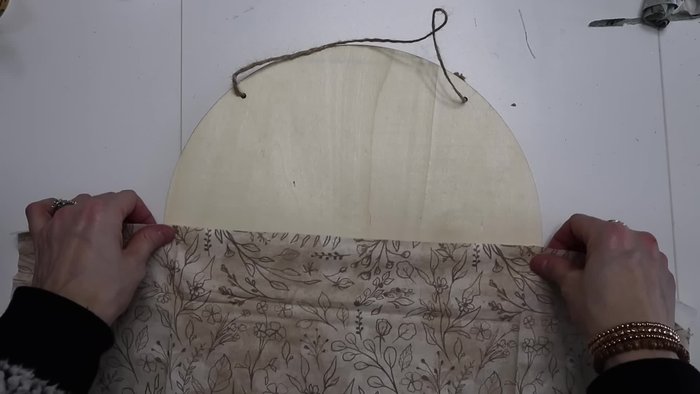
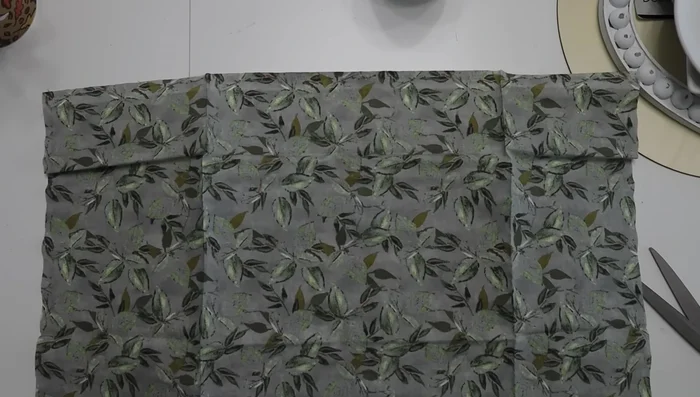
- Create Fabric-Covered Wood Coasters:
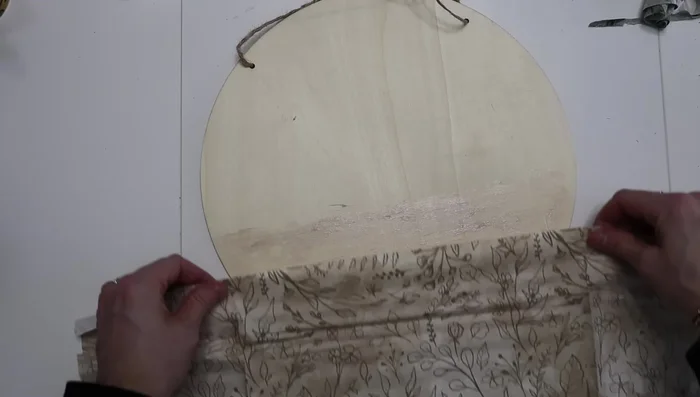
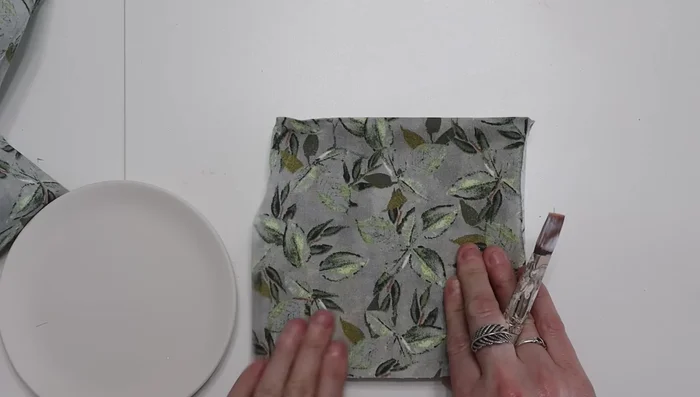
- Cut fabric to size and adhere it to the wood round using a glue stick.
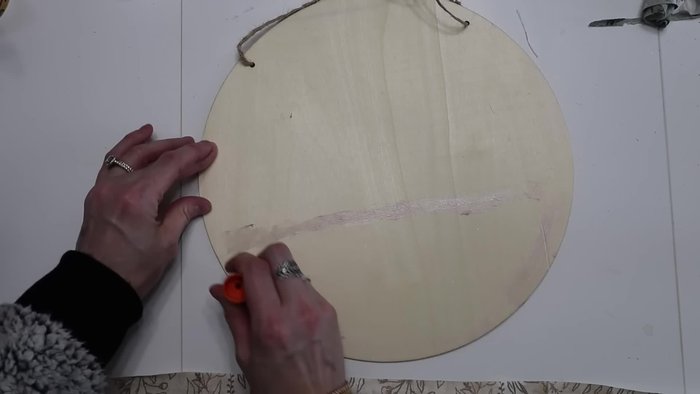
- Apply Mod Podge over the fabric to secure it and add a smooth finish.
- Trim excess fabric once the Mod Podge is dry.

Fabric-Covered Wood Coasters - Use a Chalk Couture transfer to add a design to the coaster.
- Create a bow from fabric scraps and attach it to the coaster with a wood rose.
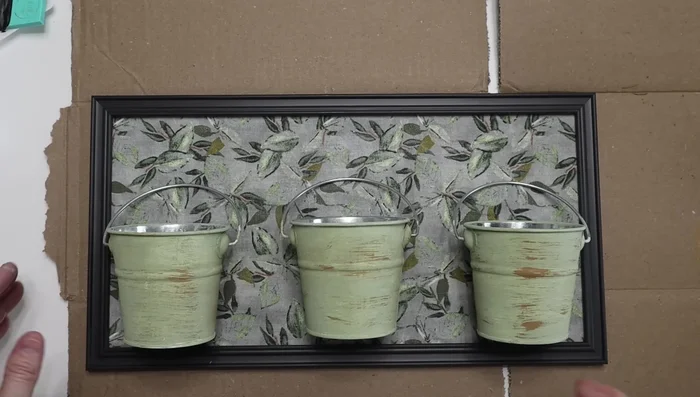
Repurposed Picture Frame
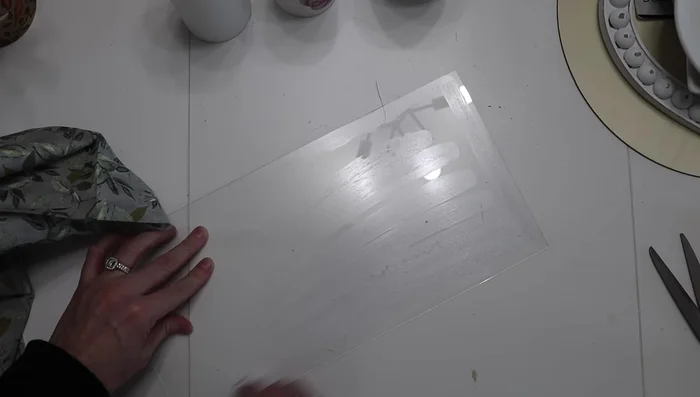
- Repurpose a Picture Frame:
- Disassemble the picture frame.
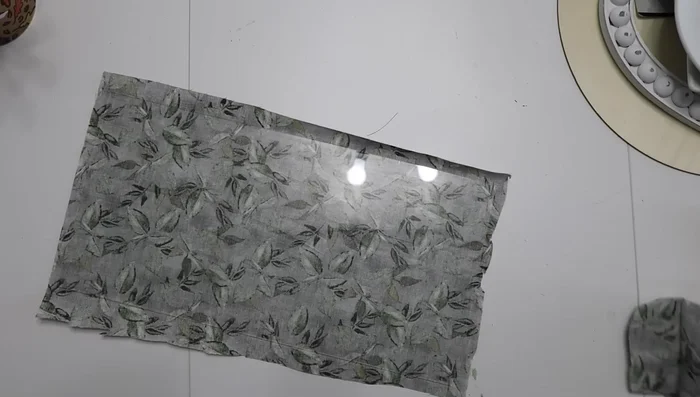
- Glue fabric onto the glass using a glue stick, then apply Mod Podge for a finished look.
- Reassemble the frame.
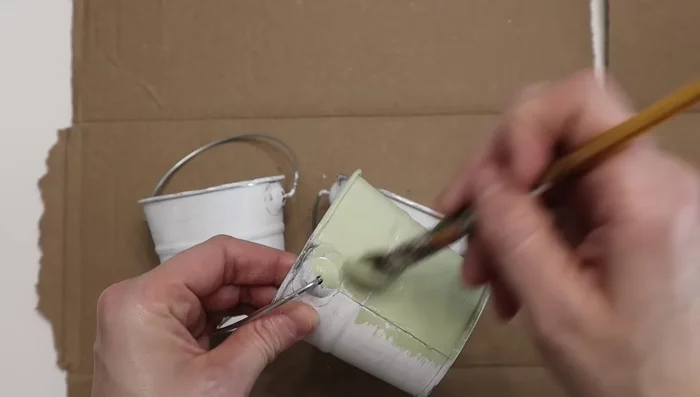
Repurposed Picture Frame Decorated Small Pales
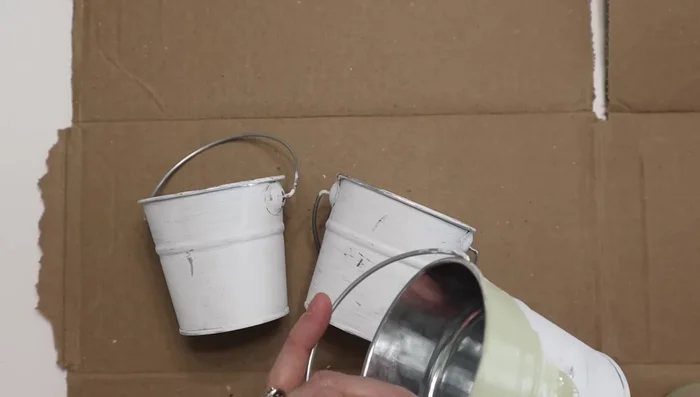
- Decorate Small Pales:
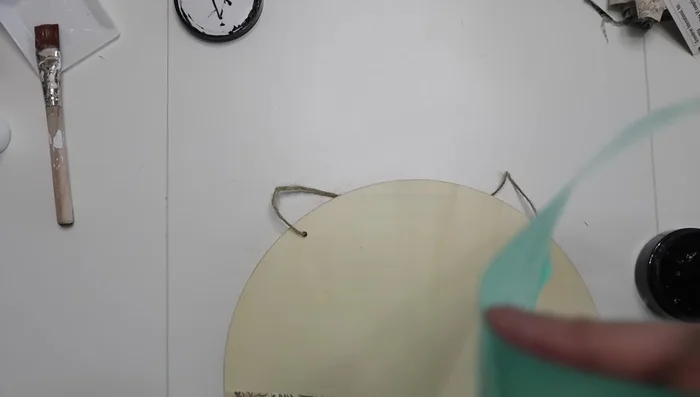
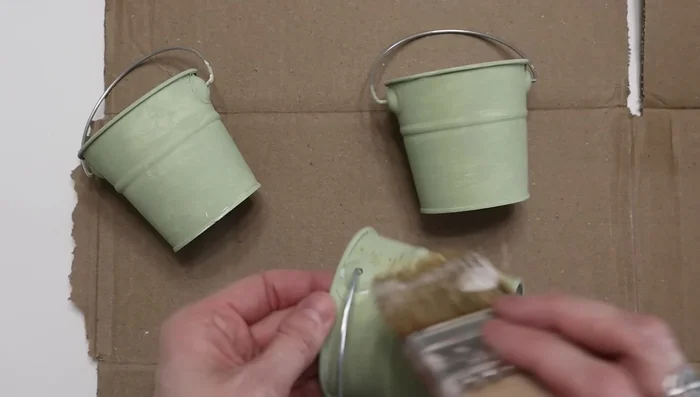
- Paint the pales with Waverly chalk paint.
- Distress the edges with a darker paint color (e.g., hazelnut).
- Attach the pales to the repurposed frame using hot glue.
Decorated Small Pales - Add florals to the pales.
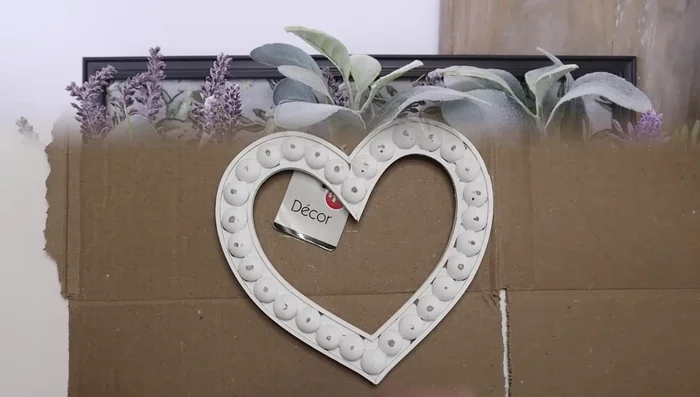
Decorated Small Pales Hanging Heart Decoration
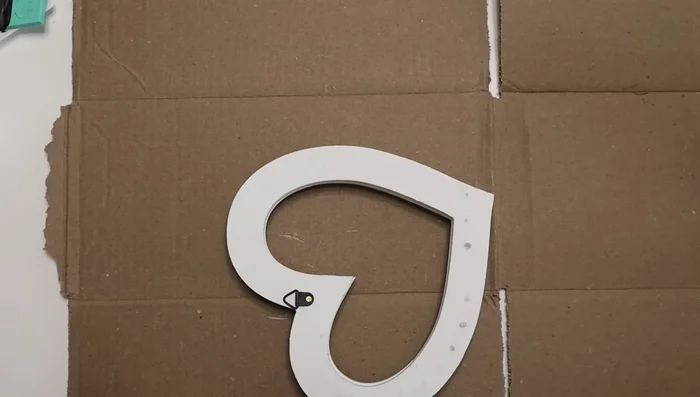
- Create a Hanging Heart Decoration:
- Remove the backing and hanging hardware from the heart decoration.
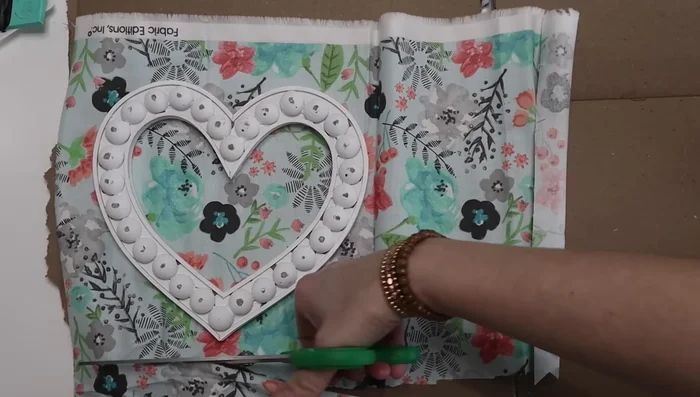
- Glue fabric to the back of the heart using a glue stick and Mod Podge.
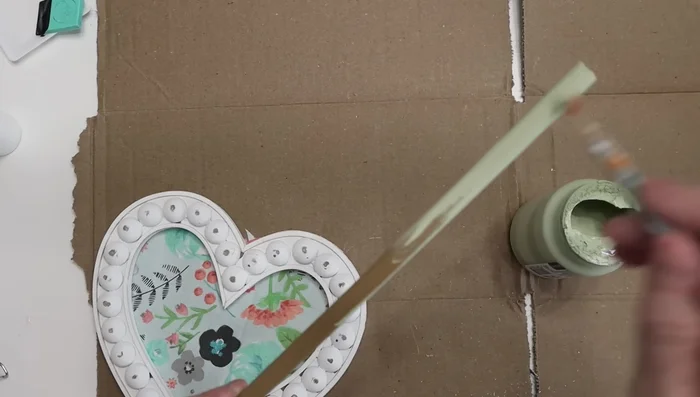
- Attach a painted wooden dowel to the back of the heart.
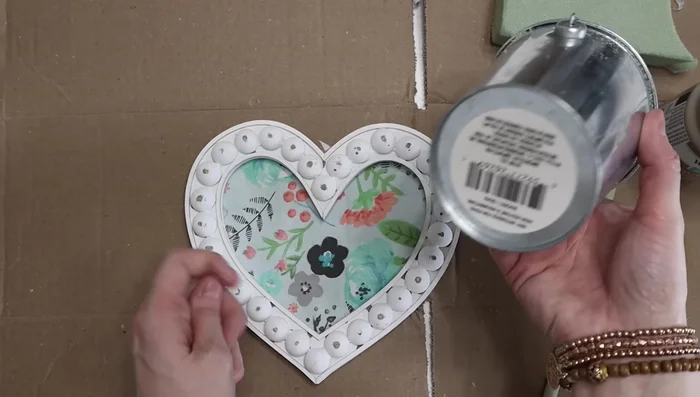
Hanging Heart Decoration - Insert the dowel into floral foam inside a galvanized bucket and add moss to hide the foam.
Hanging Heart Decoration Fabric-Covered Trinket Trays
- Make Fabric-Covered Trinket Trays:
- Cover the ceramic dishes with fabric using Mod Podge.
Fabric-Covered Trinket Trays

Read more: Sew a Lined Expandable Storage Bag: Easy Tutorial
Tips
- Using a glue stick in conjunction with Mod Podge provides strong adhesion for fabric.
- Small sizes of Mod Podge are economical for small projects.
- Overlapping fabric slightly when covering curved surfaces ensures a smooth finish.