Winter's chill can be a delightful experience, but only if your hands are warm! Nothing beats the cozy comfort of a pair of handmade mittens, perfectly tailored to your size and style. Forget flimsy store-bought gloves; this winter, embrace the satisfying craft of creating your own pair of wonderfully warm and uniquely personalized mittens. Imagine the feeling of soft, snug fabric against your skin, shielding you from the biting wind and snow. The beauty of DIY projects lies not just in the end result, but in the journey itself; the gentle rhythm of the sewing machine, the careful placement of each stitch, all culminating in a tangible expression of creativity.
This guide will equip you with everything you need to embark on your mitten-making adventure. We'll walk you through each step, from selecting the perfect fabric to the final, satisfying stitch, ensuring even the most novice sewist can create a pair of cozy, winter-ready mittens. Let's get started with our comprehensive, step-by-step sewing guide.
Preparation and Safety Guidelines
- Fabric (outer and inner)
- Mitten pattern
- Marker
- Sewing machine
- Pins
- Scissors
- Use sharp sewing needles and pins to avoid accidental pricks. Handle with care and keep them away from children.
- Always unplug your sewing machine before changing needles, making adjustments, or cleaning.
- If working with wool or other natural fibers, pre-wash your fabric to prevent shrinkage after the mittens are completed.
Step-by-Step Instructions
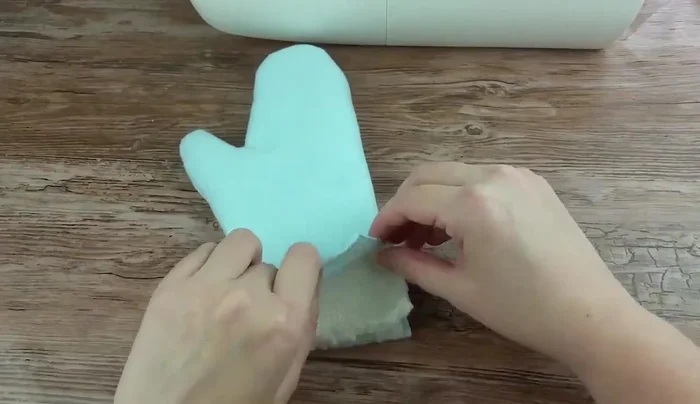
Prepare the Pattern and Fabric
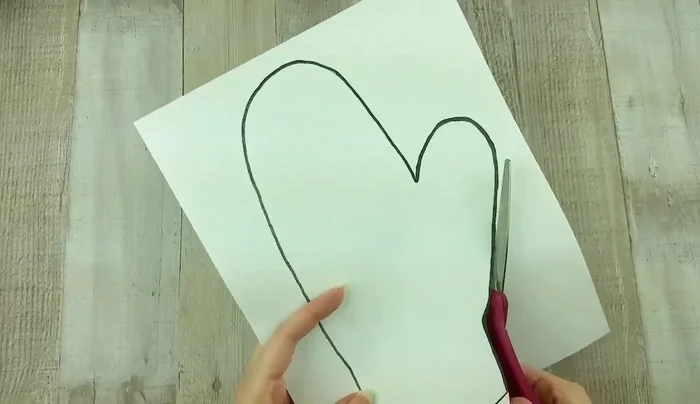
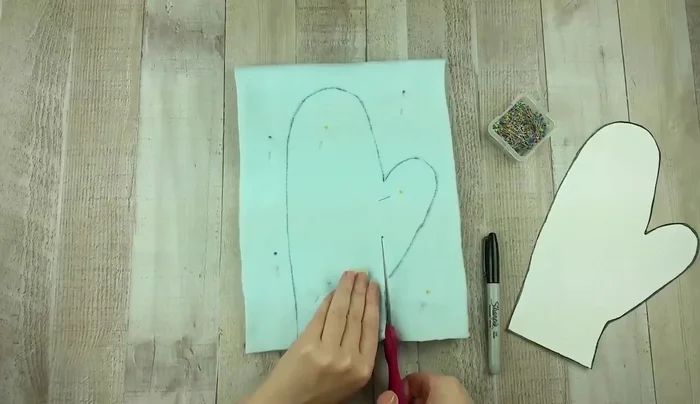
- Print and cut out the free mitten pattern.
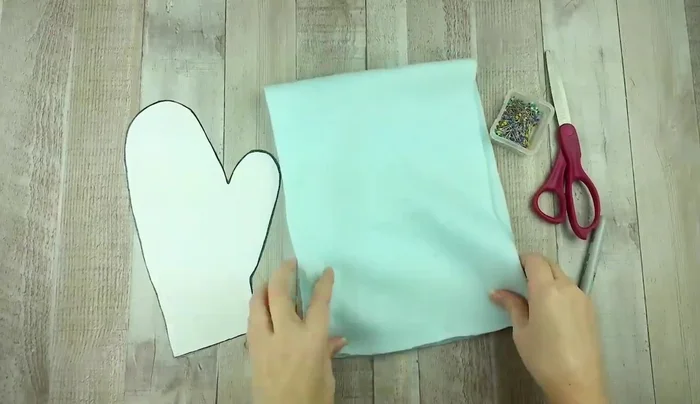
- Lay two layers of outer fabric together, smooth it out, and pin it.
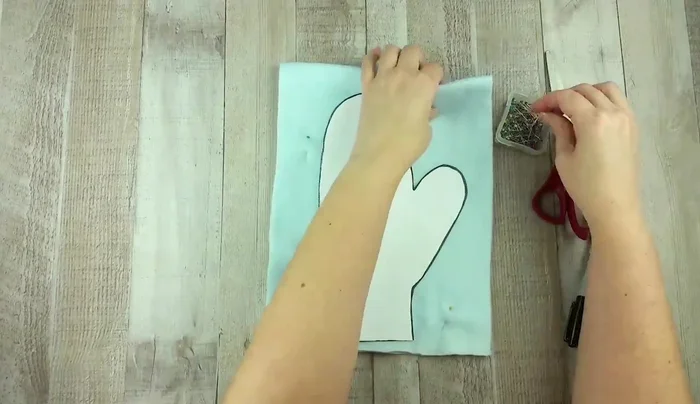
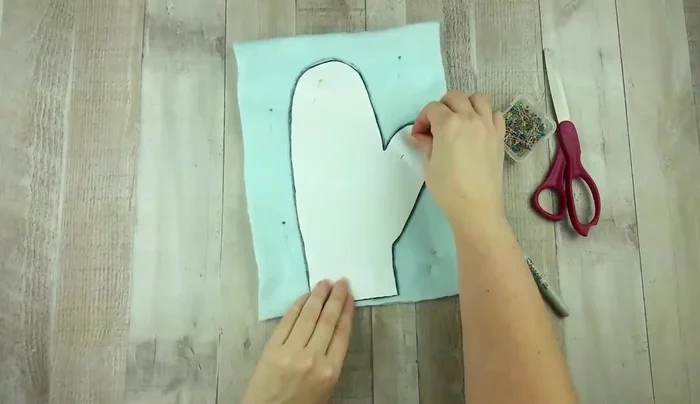
- Pin the mitten pattern on top and trace around it with a marker.
- Cut out both layers of fabric along the traced line, ensuring they remain together.

Prepare the Pattern and Fabric - Repeat steps 2-4 for the inner fabric.
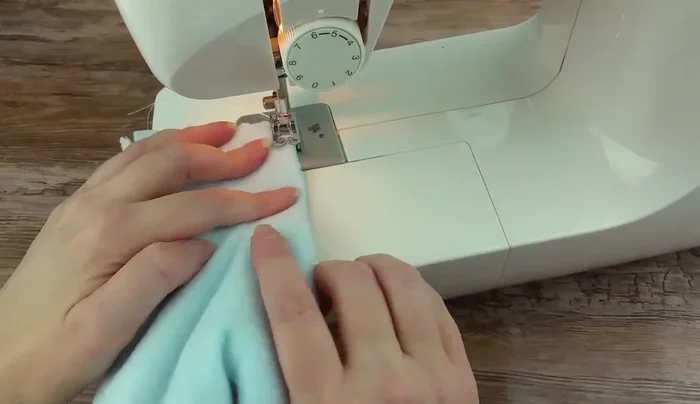
Prepare the Pattern and Fabric Sew the Outer Mitten
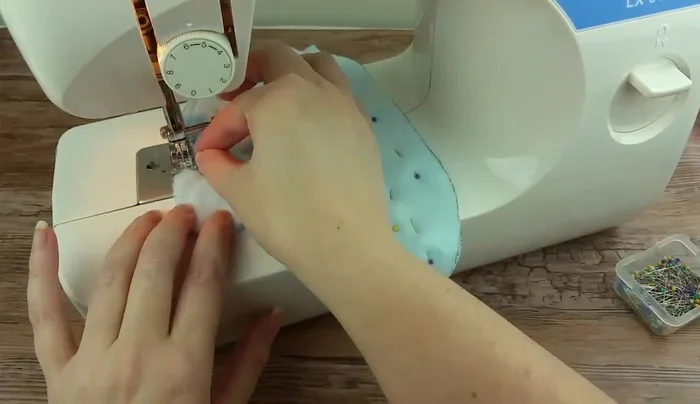
- Sew around the edge of the outer fabric cutout using a ¼ inch seam allowance, starting at the base of the thumb, leaving the wrist area open.
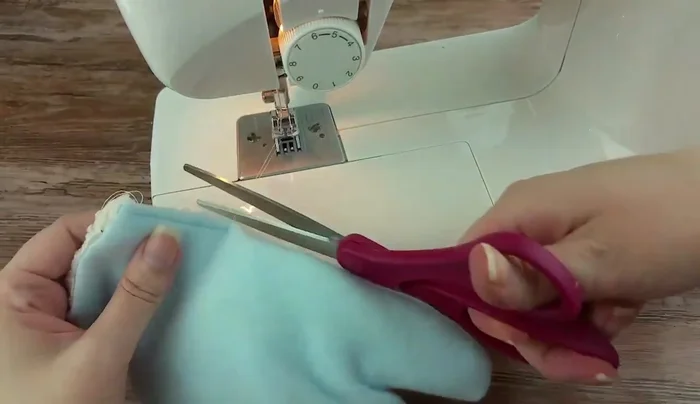
- Backstitch at the beginning and end. Trim excess fabric, avoiding the stitching.
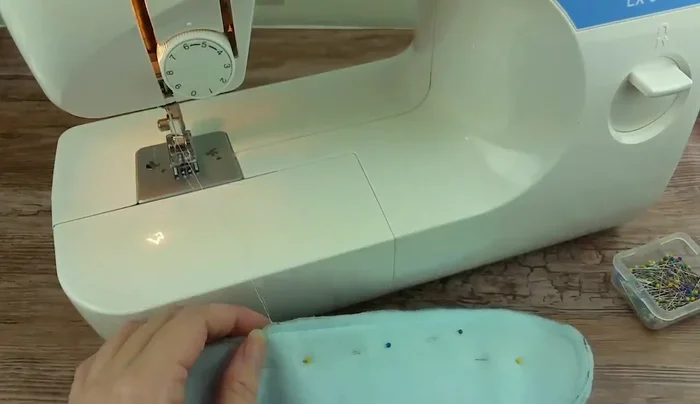
- Turn the mitten right side out.
Sew the Outer Mitten Sew the Inner Mitten
- Repeat steps 6 & 7 for the inner fabric cutout.
Sew the Inner Mitten Insert Inner Mitten and Close Wrist Opening
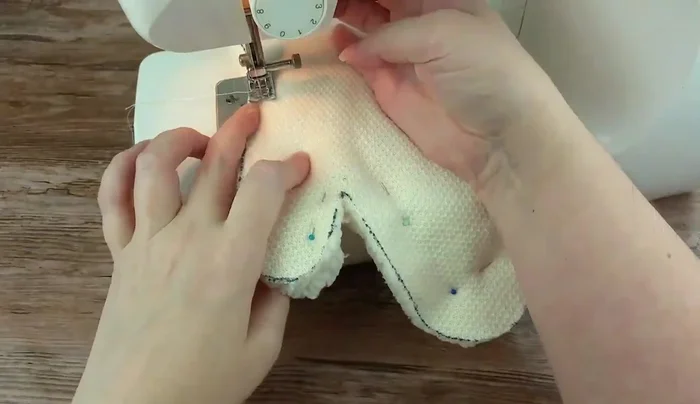
- Insert the inside-out inner fabric into the right-side-out outer fabric.
- At the wrist flap area, fold the top fabric edge in about ¼ inch at an angle. Fold the inner fabric just under it.
- Sew the two folds together, backstitching at the start and finish. Leave about ¼ inch unsewn at the end.
- Repeat step 12 for the remaining three edges of the mitten.
Insert Inner Mitten and Close Wrist Opening - Trim ¼ inch off the top fabric. Fold the inner fabric ends in by ¼ inch, then fold it over by ¼ inch on the long side. Fold it up over the top fabric by about ½ inch and stitch across, using a backstitch. Sew only one side of the wrist, leaving the opening for your hand.
Insert Inner Mitten and Close Wrist Opening Make the Second Mitten
- Repeat steps 6-14 for the second mitten.
Make the Second Mitten


Read more: Sew a Lined Expandable Storage Bag: Easy Tutorial
Tips
- Ensure fabric layers are smooth and even before pinning and sewing.
- Carefully trim excess fabric to avoid cutting into your stitching.
- Use backstitching at the beginning and end of each seam for durability.