Step back in time with this easy-to-make DIY wide retro headband! This stylish accessory is perfect for adding a touch of vintage charm to any outfit, whether you're rocking a casual daytime look or getting ready for a glamorous evening out. Forget expensive boutique headbands; with just a few simple supplies and a bit of basic sewing, you can create your own perfectly customized, wide headband that's both comfortable and incredibly chic. The inclusion of wire allows for a truly adaptable fit and the ability to shape the headband to perfectly frame your face.
This tutorial will guide you through each step of crafting your own retro headband, from choosing your fabric to adding the finishing touches. We’ll show you how to incorporate the wire for a secure and shapeable fit, ensuring your headband stays perfectly in place all day long. Ready to get started? Let's dive into the step-by-step process and create your own fabulous, wide retro headband!
Preparation and Safety Guidelines
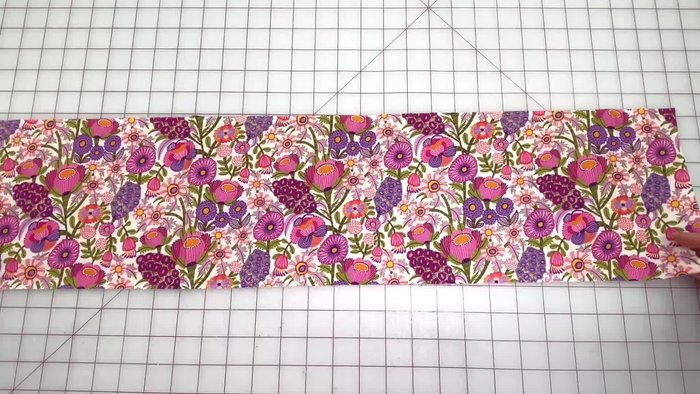
- Fabric (7 inches wide by 40 inches long)
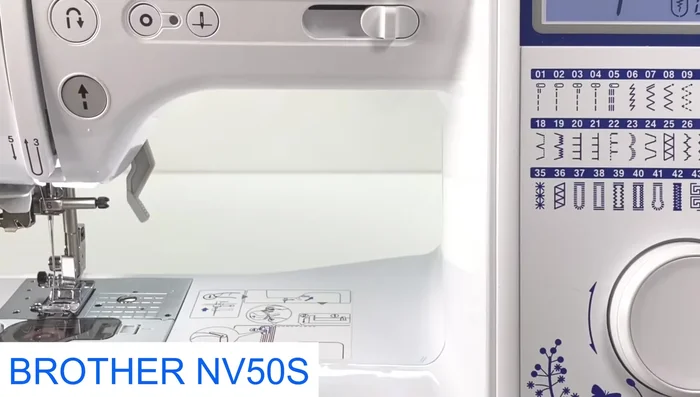
- Sewing machine
- Scissors
- Pins or Clips (optional)
- Quilting template (optional)
- 19 gauge craft wire
- Side cutters
- Pliers
- Knitting needle or chopstick
- Always use sharp scissors and handle the wire carefully to avoid cuts and injuries. Keep the wire away from children.
- Be mindful of the headband's tightness. Ensure it's comfortable and doesn't restrict blood flow. Adjust the wire accordingly before sewing.
- If using a sewing machine, be sure to use the appropriate needle and stitch for your fabric. Always unplug the machine before making adjustments or cleaning.
Step-by-Step Instructions
Prepare Fabric
- 7 inches wide by 40 inches long
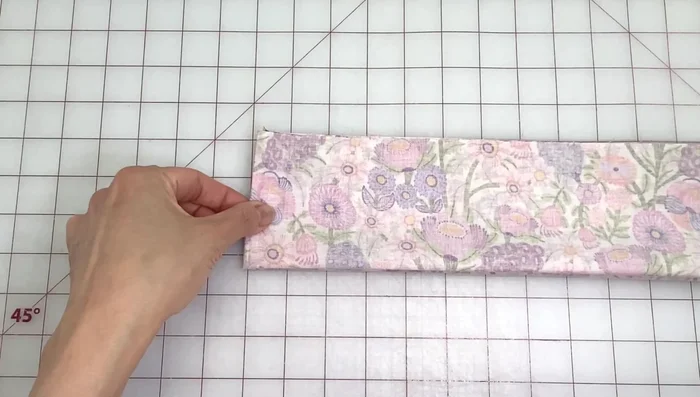
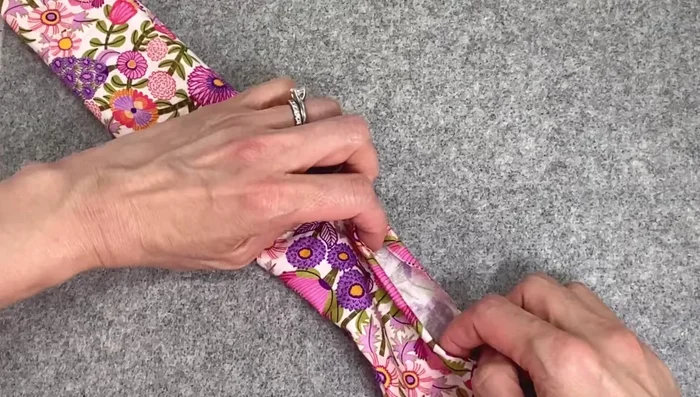
- Fold fabric in half lengthwise, right sides together. Then fold in half again, bringing short edges together.
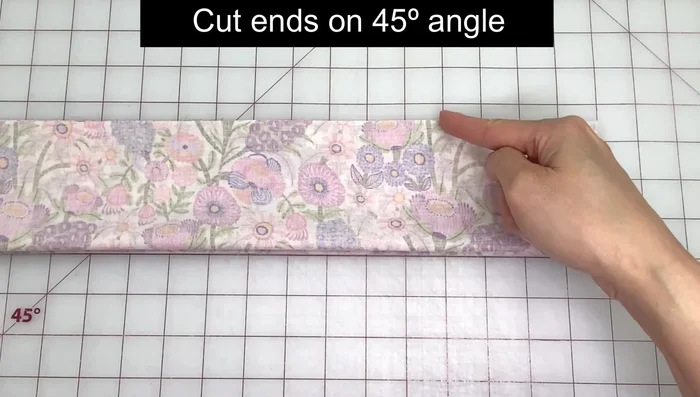
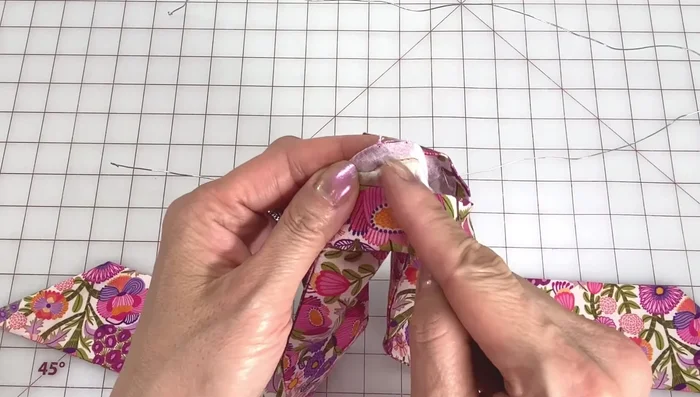
- Cut ends at a 45-degree angle. Use a quilting template or crease the fabric to mark the angle.

Prepare Fabric Mark and Sew Fabric
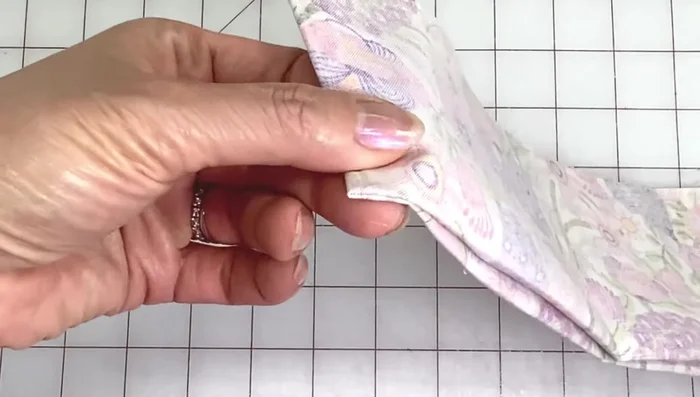
- Measure 2 inches from the fold on one side and cut small notches.
- Cut a small hole (about 1/4 inch) on the bottom folded corner.
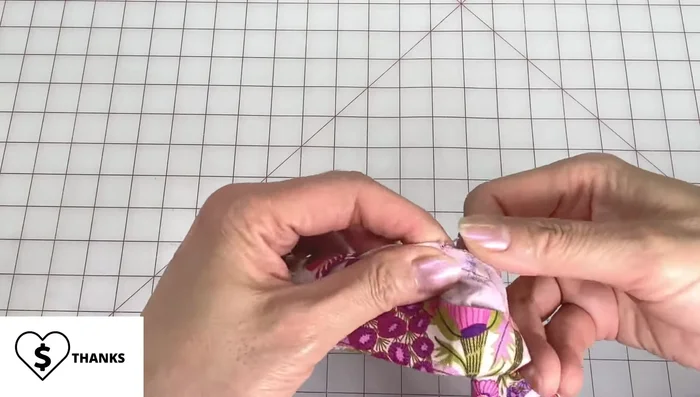
- Pin or clip notches and ends.
- Sew along the notches using a 1/4 inch seam allowance. Pivot at corners and sew along the folded edge.
Mark and Sew Fabric Finish Fabric Tube
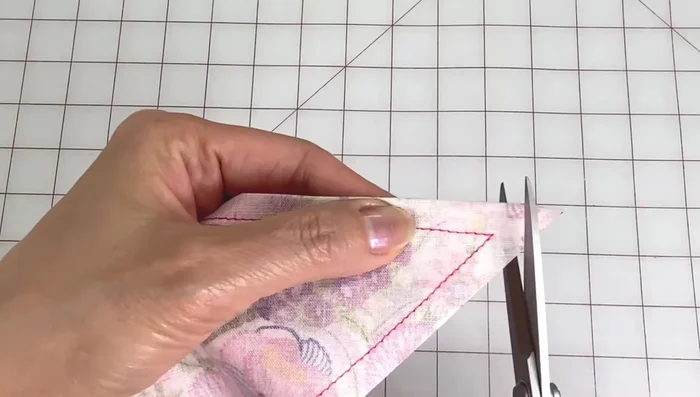
- Trim corners, avoiding stitching. Trim sides with a slight curve.
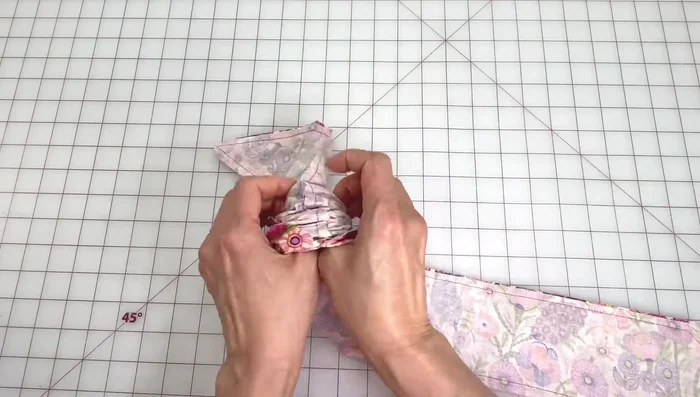
- Turn right side out using a knitting needle or chopstick.
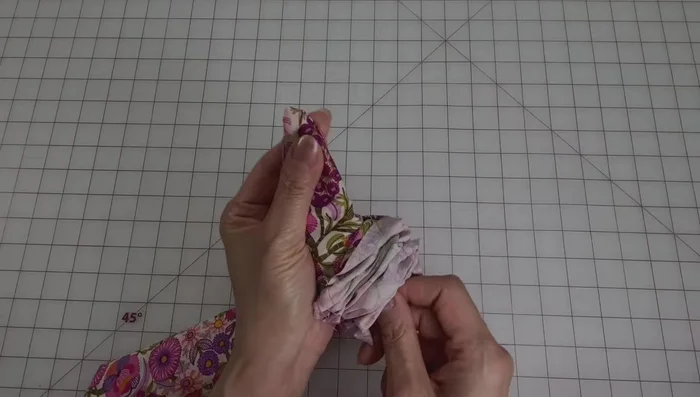
- Adjust seams to center and press the band.
- Fold and press the opening seams.
Finish Fabric Tube Prepare and Insert Wire
- Cut 38 inches of 19-gauge craft wire and round out the ends.
- Insert wire into the opening, ensuring it goes through the channel.
Prepare and Insert Wire Close and Style
- Straighten the wire inside the channel and sew the opening closed.
- Wrap it around your head and twist the ends into desired shape.
Close and Style


Read more: Sew a Lined Expandable Storage Bag: Easy Tutorial
Tips
- Use a quilting template or crease the fabric for accurate 45-degree angle cuts.
- Back tack at the beginning and end of seams for durability.
- Use a knitting needle or chopstick to easily turn the headband right side out.