Baby-led weaning and those adorable first attempts at self-feeding often come with a delightful side effect: a spectacular mess! While those messy moments are precious memories in the making, protecting your little one's clothes (and your sanity) is key. That’s where a DIY waterproof baby bib comes in. Forget expensive, disposable options; this ultimate guide will empower you to create custom, reusable, and utterly adorable bibs perfectly tailored to your baby's needs and your style. You’ll learn how to select the perfect fabrics, master essential sewing techniques (or explore no-sew alternatives!), and add personal touches that make each bib unique.
This guide provides a comprehensive, step-by-step approach to crafting your own waterproof wonder. Whether you’re a seasoned sewist or a complete beginner, we'll walk you through the entire process, from choosing materials to finishing touches, ensuring you'll create bibs that are not only functional but also incredibly charming. Ready to dive into the world of DIY baby bibs and say goodbye to messy mealtimes forever? Let's get started!
Preparation and Safety Guidelines
- Sewing machine
- Fabric (polypropylene, laminated fabric, pretty fabric)
- Pins
- Scissors
- Template
- Rib knitting
- Cam snaps
- Medical forceps (optional)
- Seam ripper (optional)
- Always supervise your baby while wearing the bib, even waterproof ones. Spills can still occur, and a wet bib doesn't prevent choking hazards.
- Choose fabrics and materials that are free from harmful chemicals and are specifically designed for baby use. Avoid using anything that could leach toxins.
- Ensure all seams are securely stitched and there are no loose threads or small parts that could pose a choking hazard. Regularly inspect the bib for wear and tear.
Step-by-Step Instructions
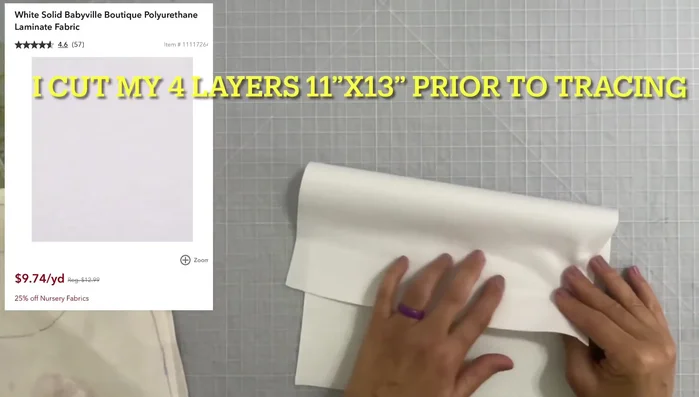
Prepare Fabric Layers
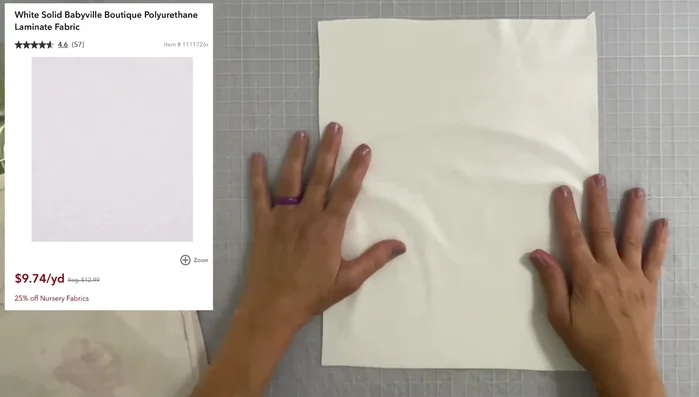
- Lay down the Babyville boutique polyurethane laminate fabric.
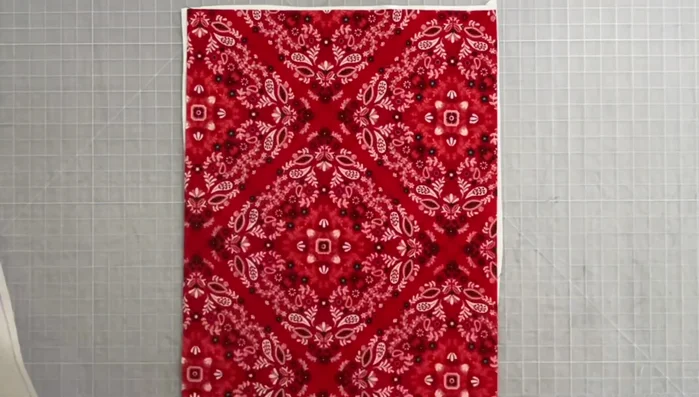
- Place a pretty fabric (right side up) on top of the laminate fabric.
- Lay another pretty fabric (face down) on top, fussy cutting for design.
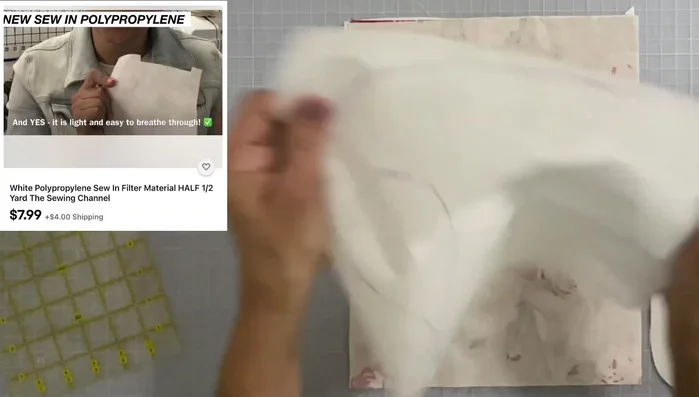
- Add a layer of CDC-approved polypropylene on top.

Prepare Fabric Layers Sew and Cut Bib
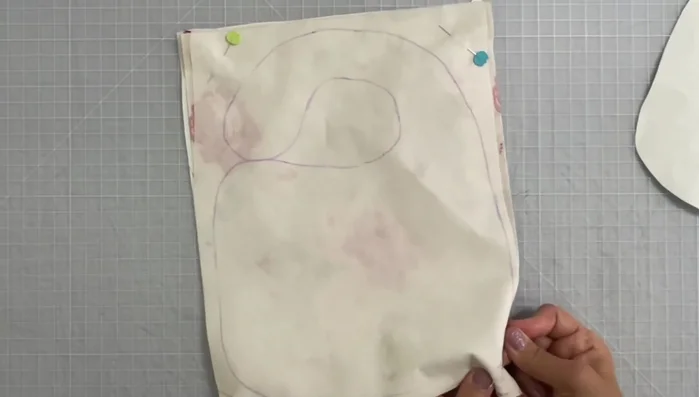
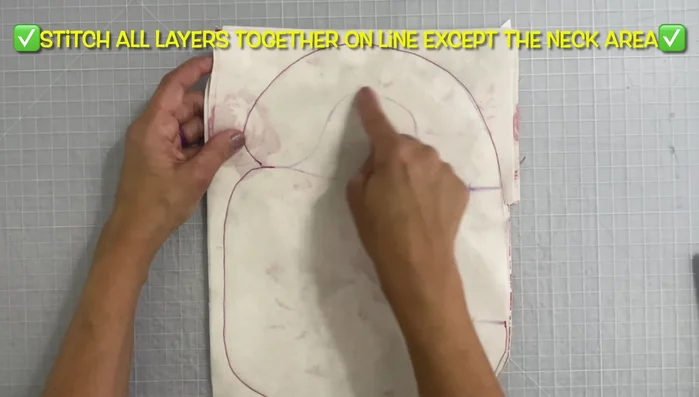
- Pin the four corners (avoid the center).
- Sew around the edges, leaving the neck area and one side open for turning.
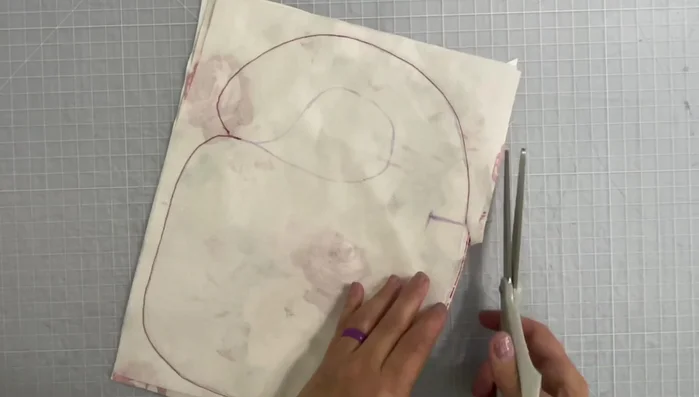
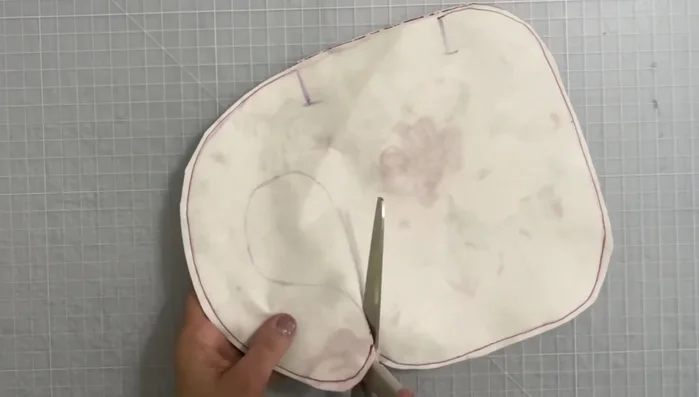
- Cut around the stitched bib, leaving a seam allowance.
- Cut into the neck area along the traced pattern line.
Sew and Cut Bib Prepare and Attach Neckband
- Prepare 9 inches of rib knitting (1.5 inches wide).
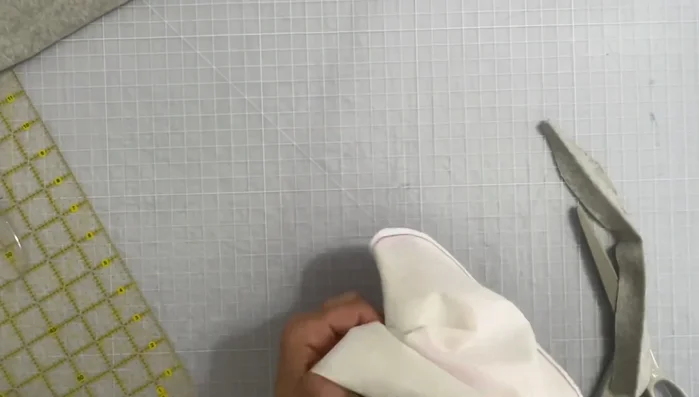
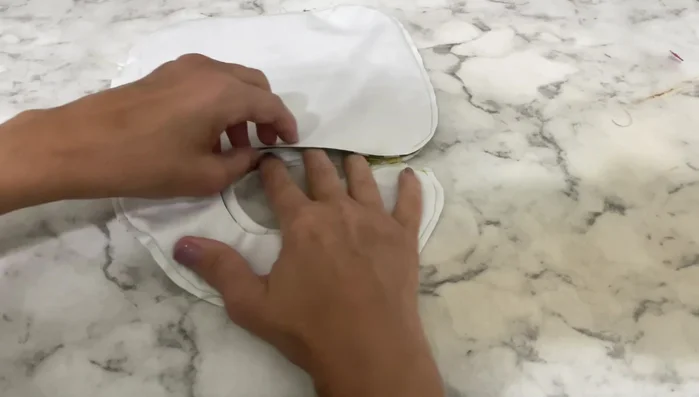
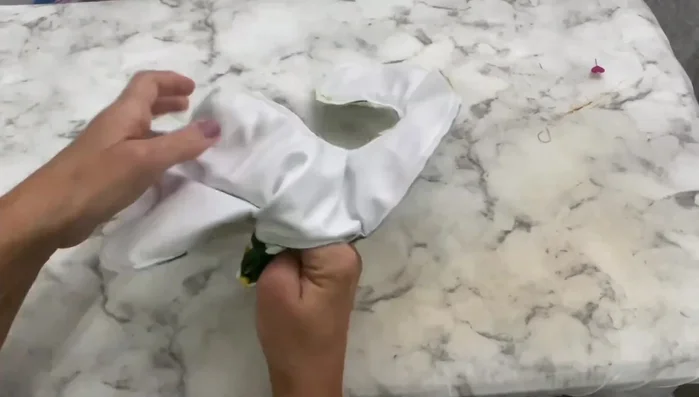
- Turn the bib right side out through the open side.
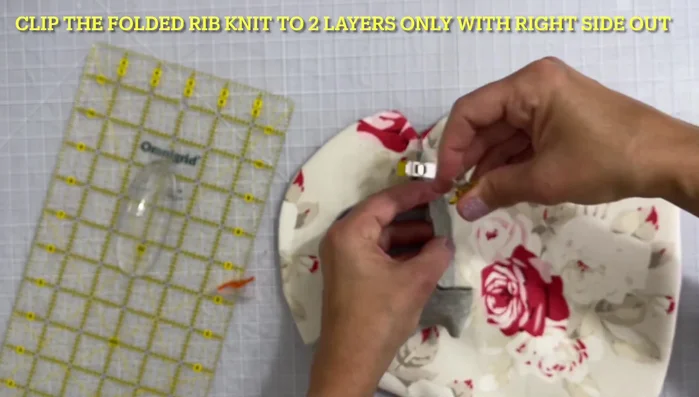
- Attach the rib knitting to two layers (pretty fabric and inner layer) using clips.
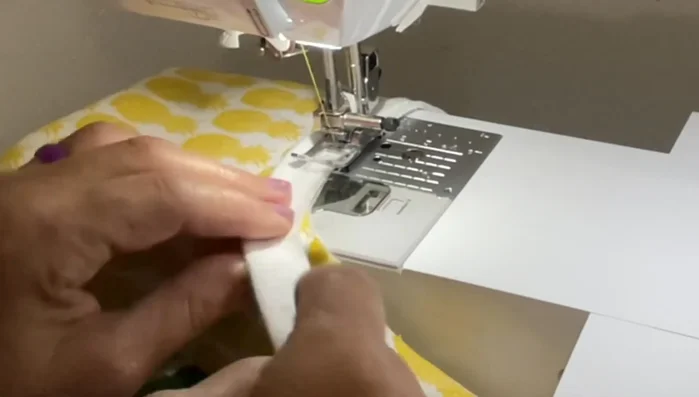
- Sew the rib knitting to the bib, tucking the angled end neatly.
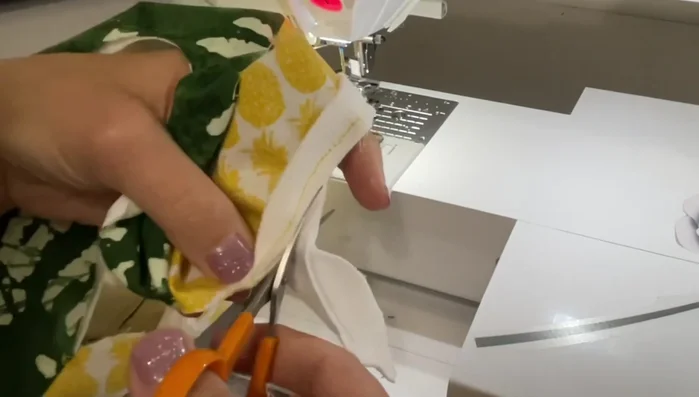
Prepare and Attach Neckband - Trim excess rib knitting.
Prepare and Attach Neckband Attach Remaining Layers and Finish
- Turn the bib inside out again.
- Attach the remaining two layers to the rib knitting by clipping and sewing.
- Turn the bib right side out, press well, and fold the opening in before top stitching.
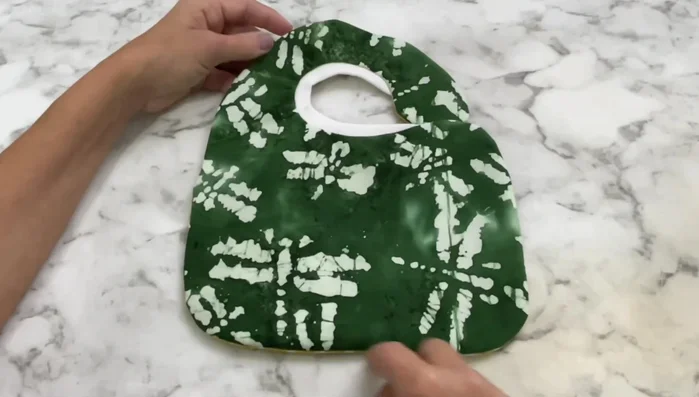
- Top stitch around the entire bib and neck area.
Attach Remaining Layers and Finish - Attach cam snaps or other closure method.
Read more: Sew a Lined Expandable Storage Bag: Easy Tutorial
Tips
- Use a titanium needle to prevent skipped stitches on the laminated fabric.
- Take your time and ensure all layers are properly aligned, especially during step 15.
- Consider leaving extra openings in the neck area to ease turning if needed.