Do you adore the charm of vintage doll clothes? That delicate lace, the perfectly placed buttons, the whimsical prints… they evoke a sense of nostalgia and timeless elegance. Creating these beautiful miniature garments yourself doesn't have to be a daunting task; in fact, it can be a wonderfully rewarding and creative outlet. With a little patience and the right materials, you can breathe new life into your beloved dolls, transforming them into stylish icons of a bygone era, or crafting entirely new wardrobes for your collection.
This guide offers a delightful journey into the world of DIY vintage-inspired doll dresses, providing a step-by-step process that will empower you to design and sew your own unique creations. From selecting the perfect fabrics to mastering simple sewing techniques, we'll walk you through each stage, ensuring you create stunning miniature masterpieces you’ll cherish for years to come. Let's get started!
Preparation and Safety Guidelines
- Fabric (Teemu prints recommended)
- Scissors (fabric scissors preferred)
- Ruler
- Iron
- Silk pins
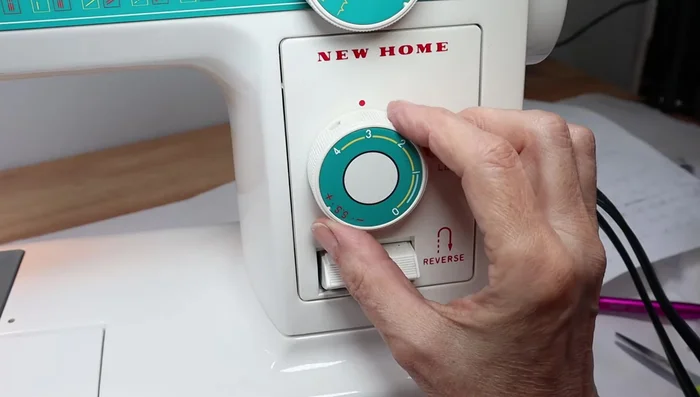
- Sewing machine
- Fray Check
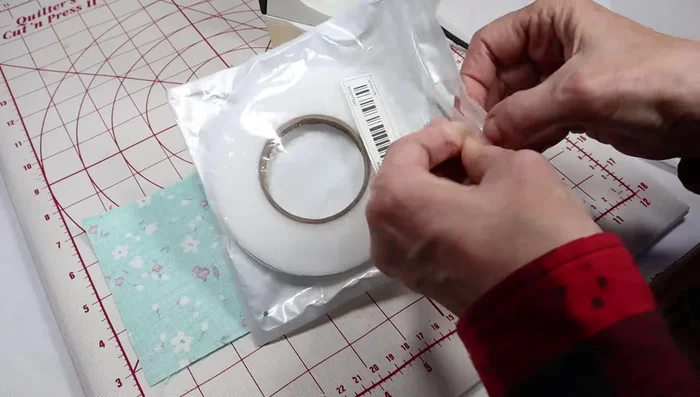
- Stitch Witchery (optional)
- Velcro or Snaps (optional)
- Adult supervision is required at all times, especially when using sharp objects like scissors or needles.
- Always use fabric-safe glue and avoid materials that could present a choking hazard for small children who may play with the dolls.
- Wash your hands thoroughly before and after handling materials to prevent the spread of germs.
Step-by-Step Instructions
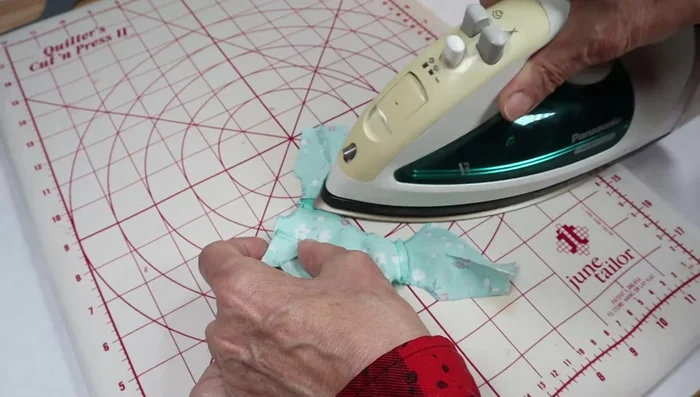
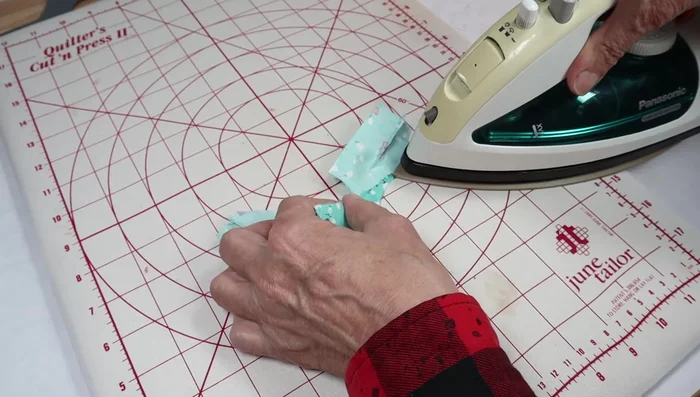
Prepare the Fabric
- Prepare the fabric by ironing.

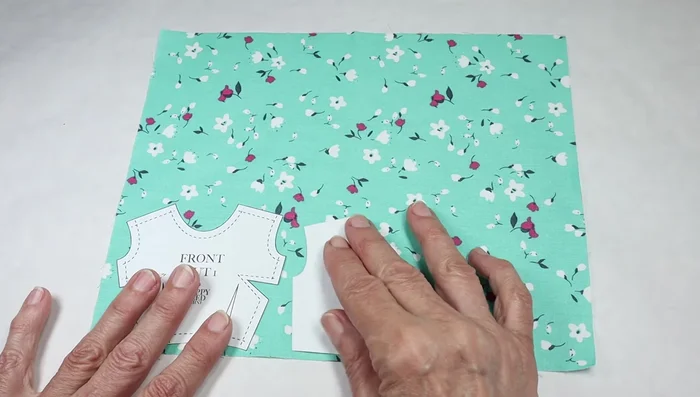
Prepare the Fabric Cut Fabric Pieces
- Place the pattern onto the fabric and trace it using a pen.
- Cut out the fabric pieces following the traced pattern.
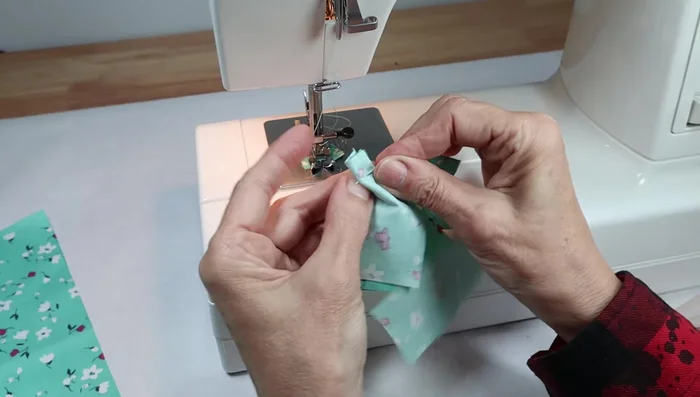
Cut Fabric Pieces Assemble Bodice
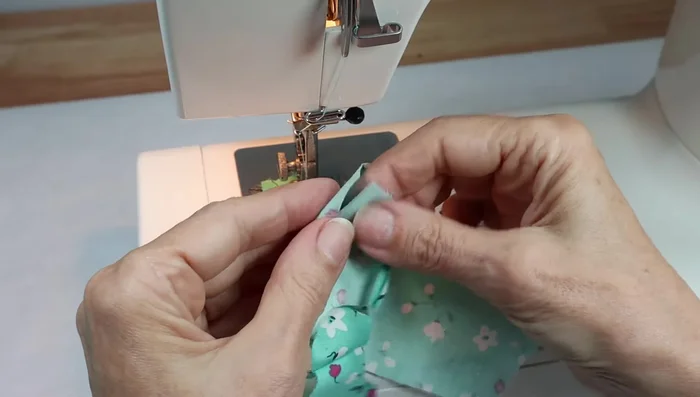
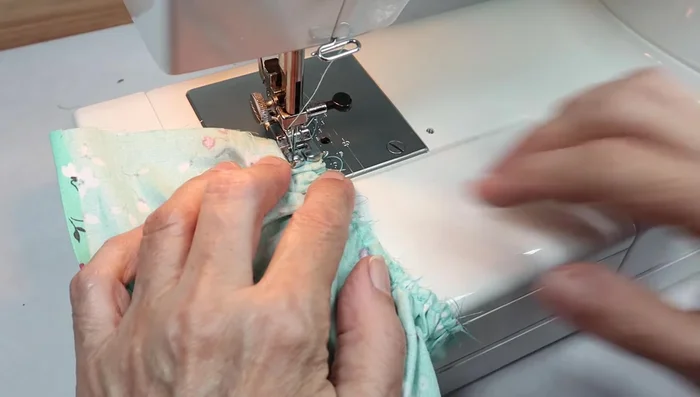
- Pin the shoulder seams and sew across, back stitching to secure.
- Pin and sew the side darts.
- Fold and pin the bottom darts.
- Apply Fray Check to the neckline and shoulders to prevent fraying.
Assemble Bodice - Iron the seams and darts.
- Fold and press the armholes.
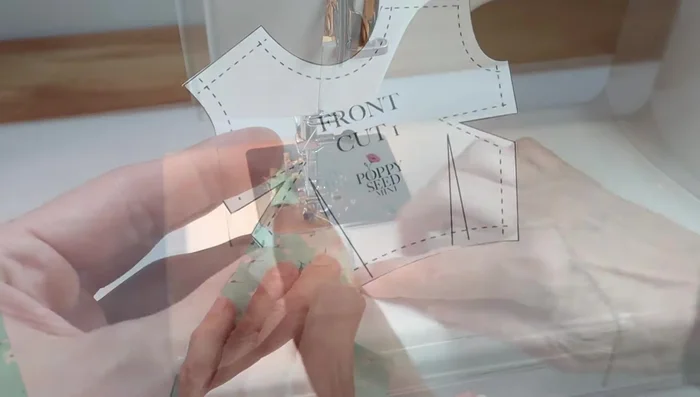
Assemble Bodice Create Hem & Attach Skirt
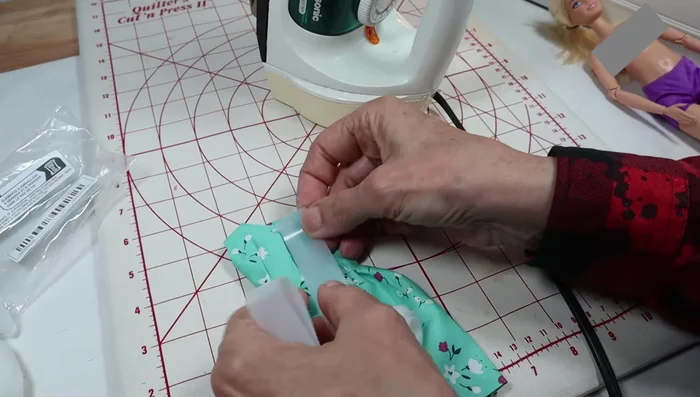
- Create the hem using Stitch Witchery.
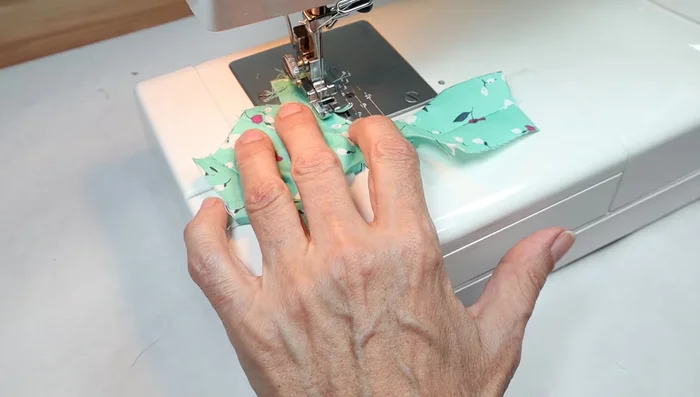
- Gather the skirt using basting stitches and draw the thread to gather.
- Pin the gathered skirt to the bodice.
- Sew the skirt to the bodice, hiding the gathering stitches.
Create Hem & Attach Skirt Finish Dress
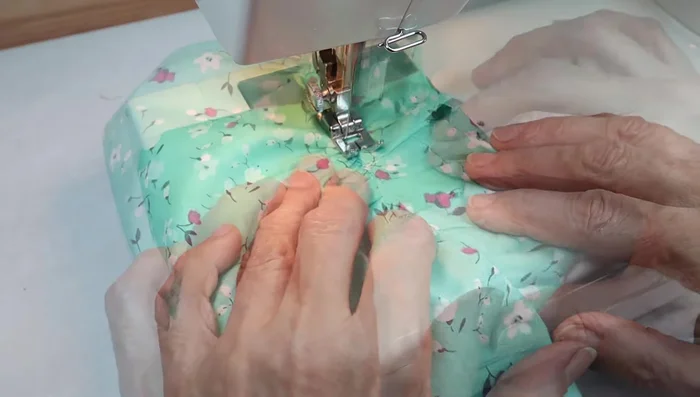
- Sew along the shoulders and neckline, back stitching.
- Sew the side seams, leaving a small gap for turning.
- Top stitch along the neckline.
- Attach Velcro or snaps for closure.
Finish Dress


Read more: Sew a Lined Expandable Storage Bag: Easy Tutorial
Tips
- Use fabric scissors to prevent dulling your blades.
- Use silk pins for precise pinning, especially with delicate fabrics.
- Always back stitch to secure seams and prevent unraveling.
- Use a piece of fabric to prevent your thread from pulling inside the machine.
- Iron seams open for a neater finish.