Step back in time and add a touch of charming nostalgia to your kitchen with this delightful DIY vintage apron project! Forget complicated patterns and hours of meticulous measuring; this project is designed for the beginner crafter, promising a rewarding experience with minimal fuss. Embrace the imperfectly perfect aesthetic of vintage style, where slight imperfections only add to the unique character of your creation. Imagine yourself effortlessly whipping up culinary masterpieces while sporting a one-of-a-kind apron, brimming with personality and reflecting your individual style. The best part? You won't need any prior sewing experience!
This guide will walk you through a simple, no-pattern approach to creating your own beautiful vintage apron using readily available materials. Whether you prefer a classic gingham, a floral print, or a bold solid color, the possibilities are as limitless as your imagination. Get ready to unleash your creativity and discover the joy of making something truly special with your own two hands. Let's dive right in and begin the step-by-step process of crafting your very own unique vintage apron!
Preparation and Safety Guidelines
- Fabric (floral print or solid color)
- Pinking shears
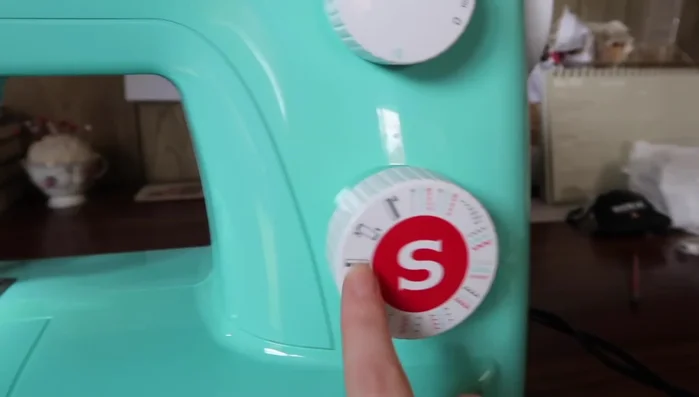
- Sewing machine
- Measuring tape
- Iron
- Optional: White bed sheet for trim
- Optional: Interfacing
- Always use sharp scissors or fabric shears for clean cuts to avoid injury. Dull blades require more force and increase the risk of accidents.
- If using vintage fabric, pre-wash it to remove any potential lingering dirt, chemicals, or staining before sewing. This will also prevent shrinkage after your apron is finished.
- When using a sewing machine, ensure your fingers are kept away from the needle at all times. Use a seam guide and finger guard if available to help maintain a safe distance.
Step-by-Step Instructions
Design and Prep
- Design your apron. Look at images for inspiration (40s/50s style). Draw your design.
- 48 inches wide x 22 inches high).
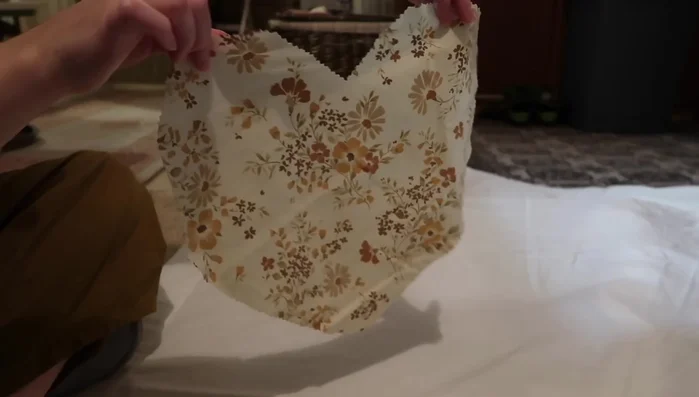
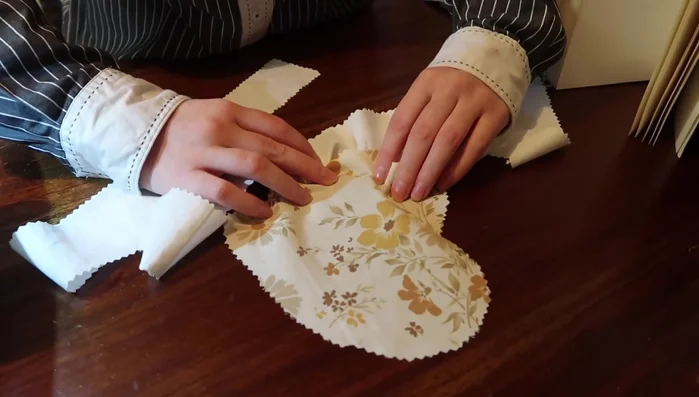
- Cut out the heart-shaped bodice. Fold fabric in half to ensure a symmetrical heart.
- Measure and cut the straps (approx. 43-44 inches long x 4 inches wide).

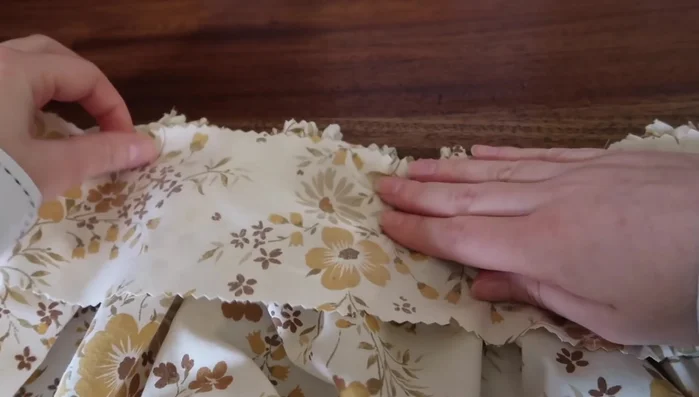
Design and Prep - Cut out the trim (optional). I used a white bedsheet. Measure the circumference of the heart and pocket, double it, and cut the ruffle strips.
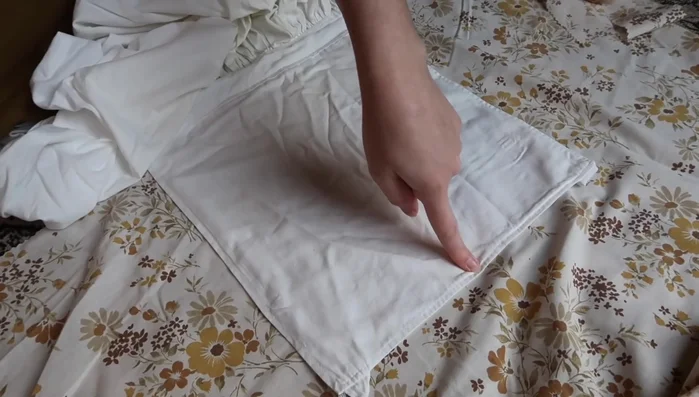
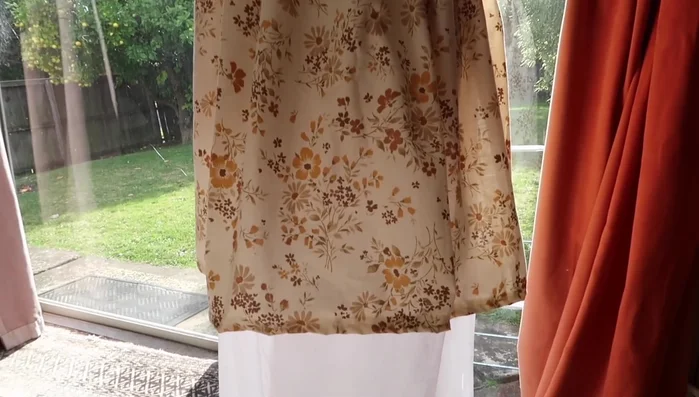
Design and Prep Prepare the Apron Skirt
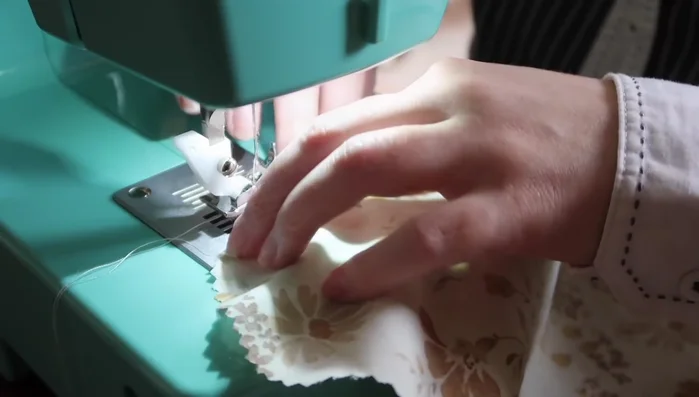
- Hem the apron skirt (using pinking shears to prevent fraying).
- Create gathers on the top of the skirt using a long stitch length on your sewing machine. Pull the threads to gather.
- Pin and sew the waistband to the gathered skirt, extending the waistband edges to create belt loops.
- Try on the apron to check the fit and adjust gathers as needed.
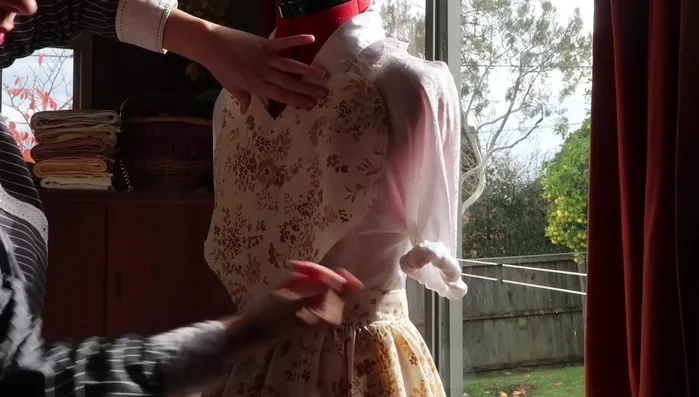
Prepare the Apron Skirt Attach Bodice and Pocket
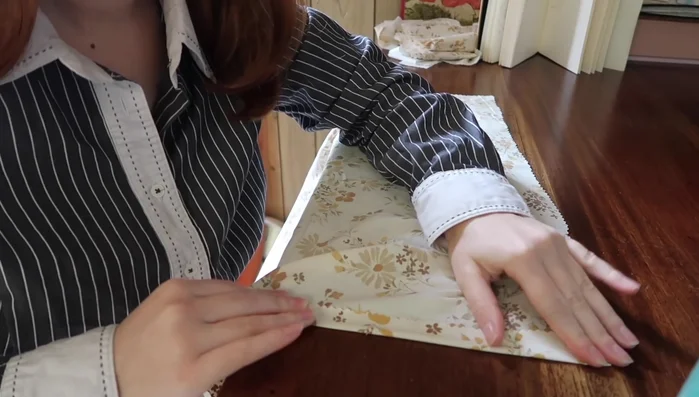
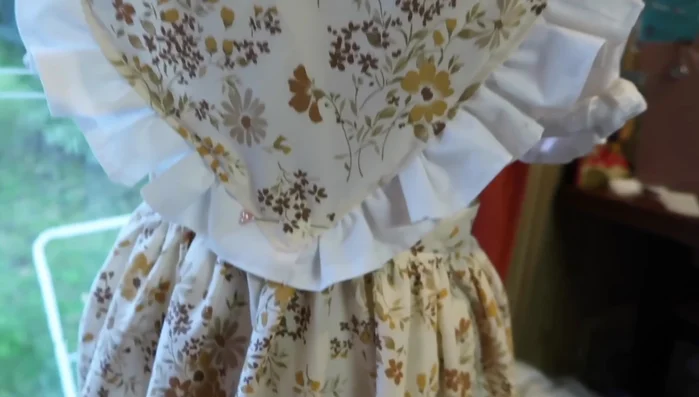
- Attach the bodice to the waistband. Add darts to the bodice if necessary.
- Finish the edges of the heart pocket and bodice by folding and sewing.
- Create ruffles for the heart pocket, similar to the bodice ruffles, and attach to the pocket.
Attach Bodice and Pocket Make and Attach Straps
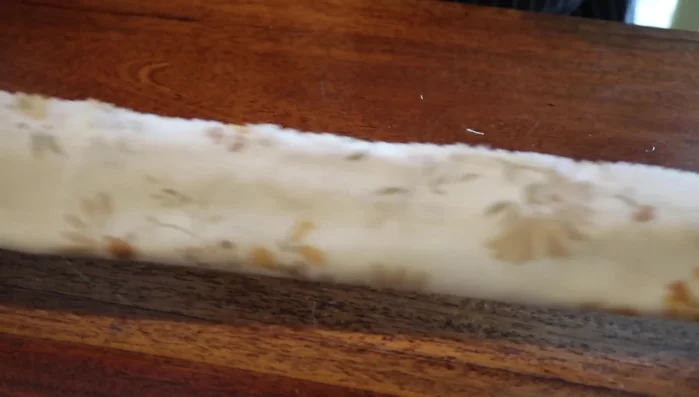
- Make the straps by folding fabric in half, sewing, turning right side out, and ironing.
- Attach the straps to the bodice and waistband.
Make and Attach Straps Finishing Touches
- Add a bow (optional).
Read more: Sew a Lined Expandable Storage Bag: Easy Tutorial
Tips
- Use pinking shears for a professional finish without hemming.
- Fold fabric in half when cutting heart shapes for symmetry.
- Don't back stitch when creating gathering stitches.
- Iron frequently for a neat and professional finish.
- Use interfacing to add sturdiness and durability.