Are you tired of tangled and damaged scroll brushes cluttering your makeup bag or art supplies? Do you dream of a stylish and protective home for your delicate brushes, one that reflects your personal style and doesn't break the bank? Then look no further! This tutorial will guide you through creating your own personalized scroll brush case, a charming and practical solution for keeping your brushes organized and in pristine condition. Forget expensive, mass-produced options; crafting your own allows for complete customization, ensuring a perfect fit for your brush collection.
This DIY project is surprisingly simple, requiring only basic crafting skills and readily available materials. From choosing the perfect fabric to adding your own unique embellishments, you'll be empowered to create a truly one-of-a-kind case. Ready to transform your jumbled brush collection into an organized masterpiece? Let's dive into the step-by-step process and create your very own scroll brush case!
Preparation and Safety Guidelines
- Pure linen fabric (two colors)
- Interfacing (double ring)
- Sewing machine
- Iron
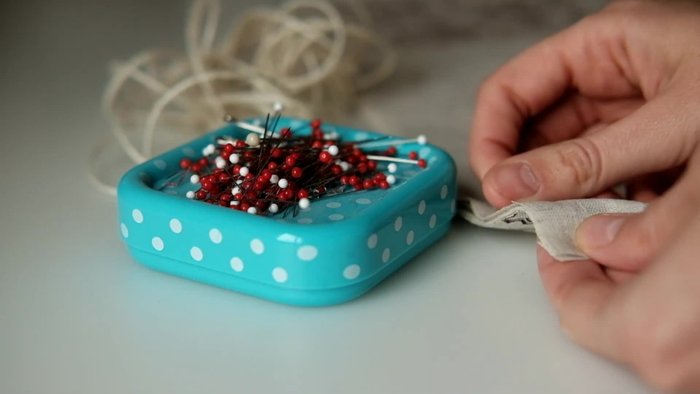
- Sewing pins
- Cotton string (1 meter)
- Scissors
- Measuring tape
- Always use sharp, clean scissors and a cutting mat to prevent injury and ensure clean cuts when working with fabric.
- If using a sewing machine, be mindful of your fingers and ensure proper needle placement to avoid accidental pricks or injury.
- Handle your brushes with care to avoid damaging the bristles or the handle during the creation and use of the case. Firmly secure them to prevent them from falling out.
Step-by-Step Instructions
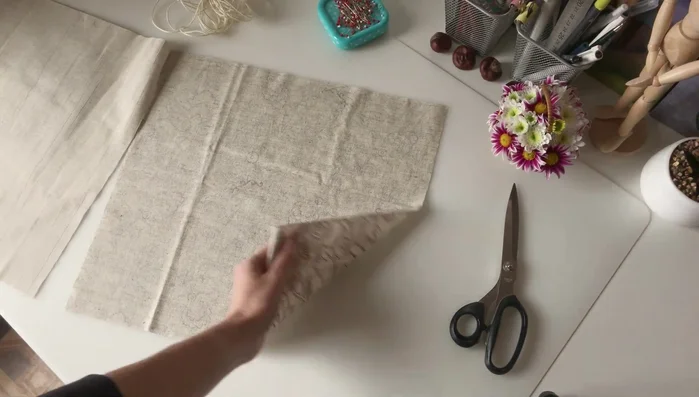
Prepare Fabric Pieces
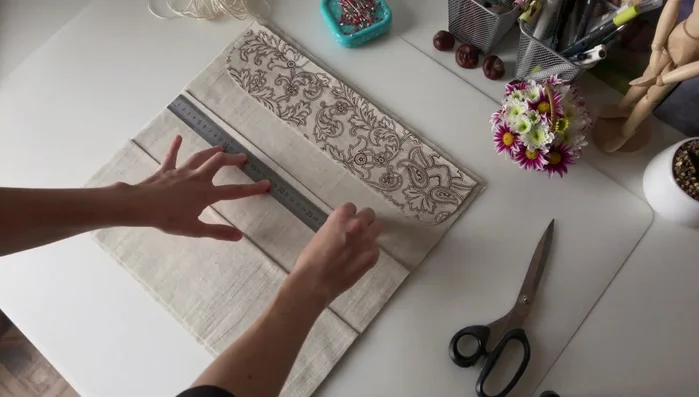
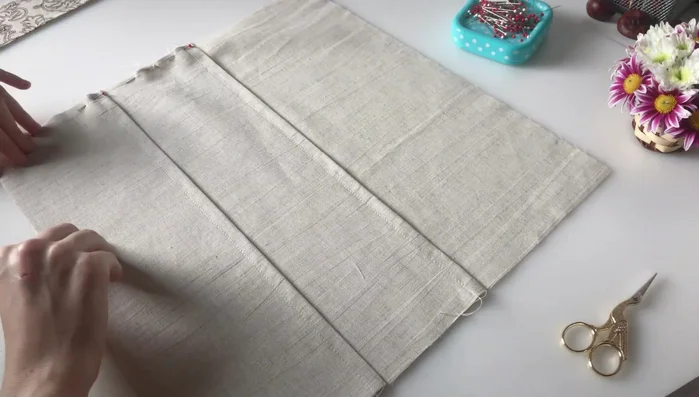
- Cut two main details (one printed, one plain), two cap details (one printed, one plain), and pocket details according to the measurements shown on screen. The pockets are double-layered.

Prepare Fabric Pieces Reinforce Main Fabric
- Place the printed main detail on top of the interfacing and iron to adhere.
Reinforce Main Fabric Create Pockets
- Create a decorative seam 1 cm from the top of each pocket.
Create Pockets Assemble the Cap
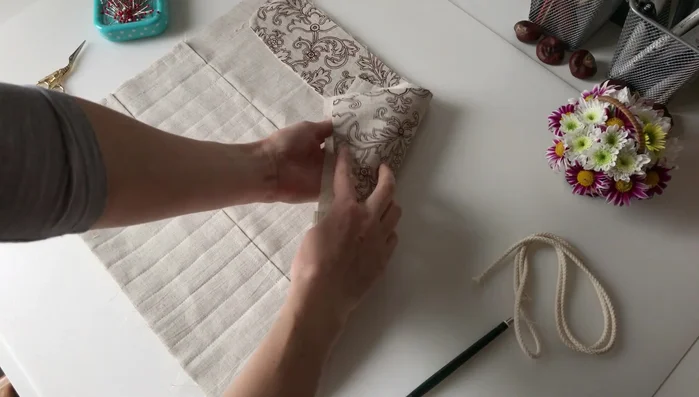
- Stitch the two cap details together face-to-face, leaving the top open. Trim excess fabric, turn right side out, and iron.
Assemble the Cap Attach Pockets to Main Body
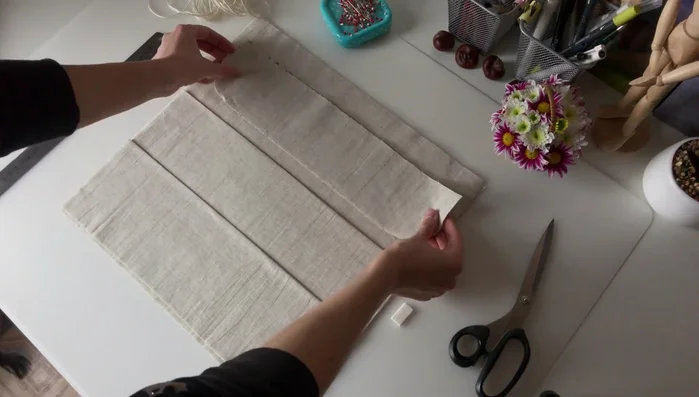
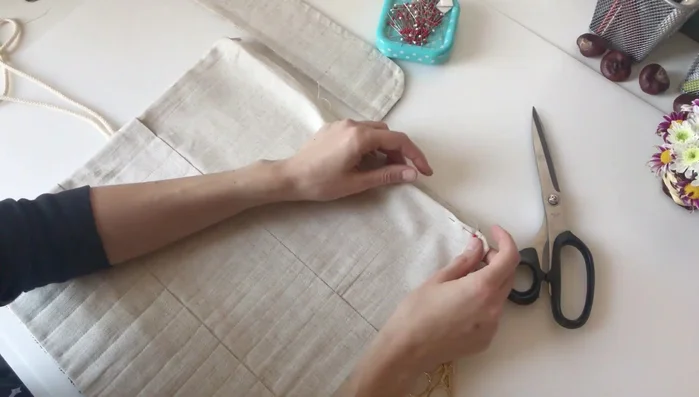
- Pin the three parts together (two pocket details and one plain main detail), aligning the pockets to create a series of pockets with varying widths (two 2.5cm pockets and one 9cm pocket). Stitch in place.
Attach Pockets to Main Body Join Main Body and Cap
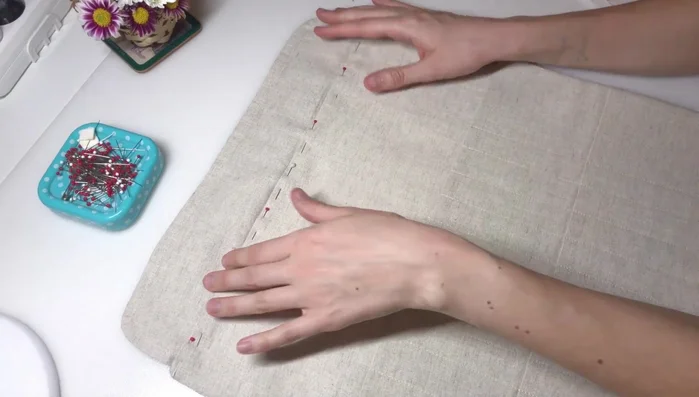
- Pin the inner and outer sides of the case together face-to-face. Insert cotton string at the midpoint of the case.
Join Main Body and Cap Stitch the Case
- Stitch the joined pieces along three sides (bottom, left, and right) and 1 cm of the top. Turn right side out and iron.
Stitch the Case Insert Stiffening
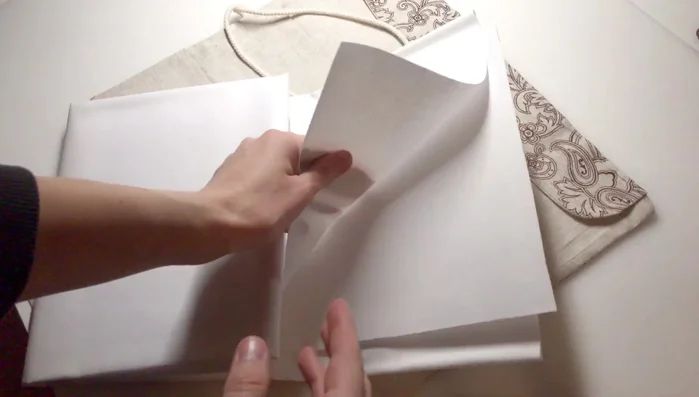
- Place a piece of thick interfacing inside the case to maintain its shape. This is crucial for keeping the case from collapsing when empty.
Insert Stiffening Attach the Cap to the Case
- Measure 1 cm down from the top of the cap, stitch it to the inside of the case using sewing pins to keep everything aligned.
Attach the Cap to the Case Final Decorative Stitching
- Create a decorative seam 1cm from the edge on all four sides of the case to secure everything together.
Final Decorative Stitching

Read more: Sew a Lined Expandable Storage Bag: Easy Tutorial
Tips
- Use double-layered pockets for extra durability.
- Pay attention to which side of the interfacing you use (glue side down).
- Adding thick interfacing is crucial for maintaining the shape of the case, especially when empty.