Uncomfortable with your tub chair? Transform it from drab to fab with a custom-made, perfectly fitted cushion! This DIY project guides you through creating a beautifully rounded tub chair cushion, offering a comfortable and stylish upgrade for your home. Forget expensive, ill-fitting store-bought options – you'll be surprised how easy it is to craft a bespoke cushion tailored precisely to your chair's unique shape. We'll provide you with a simple, downloadable template ensuring a perfect fit every time, eliminating the guesswork and frustration often associated with upholstery projects.
This guide focuses on achieving a professional-looking finish using readily available materials and straightforward sewing techniques. Whether you're a seasoned sewer or a complete beginner, our clear instructions and accompanying illustrations will walk you through each step of the process, from measuring your chair to adding the final touches. Ready to get started? Let's dive into the step-by-step guide and create your dream tub chair cushion!
Preparation and Safety Guidelines
- Fabric (main & lining)
- Pencil or Chalk
- Measuring Tape
- Scissors
- Sewing Machine
- Piping Cord
- Zipper
- Electric Rotary Cutter (optional)
- Stuffing (e.g., Dacron)
- Pins
- Always use sharp scissors and pins to prevent accidental injury during cutting and pinning fabric.
- Ensure your sewing machine needle is appropriate for the fabric type to avoid broken needles or damage to the fabric.
- Before starting the final sewing, test your stitch length and tension on a scrap piece of fabric to ensure a neat and durable seam.
Step-by-Step Instructions
Create the Pattern
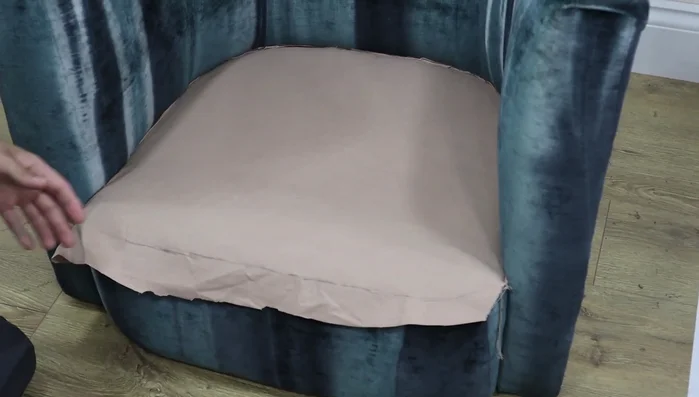
- Place the old cushion on a piece of lining fabric, tucking in excess fabric. Trace the outline, focusing on the shallowest points of the cushion to account for the thickness of the new padding.
- Add seam allowances (1/2 inch to 1 inch, depending on area) to the traced outline. Double-check measurements to ensure accuracy and symmetry.

Create the Pattern Cut Fabric Pieces
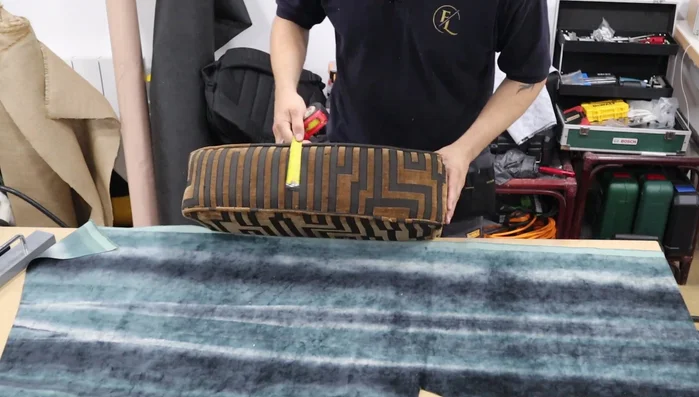
- Cut out two identical cushion pieces from the main fabric, adding seam allowances. Ensure the fabric pile is running in the desired direction.
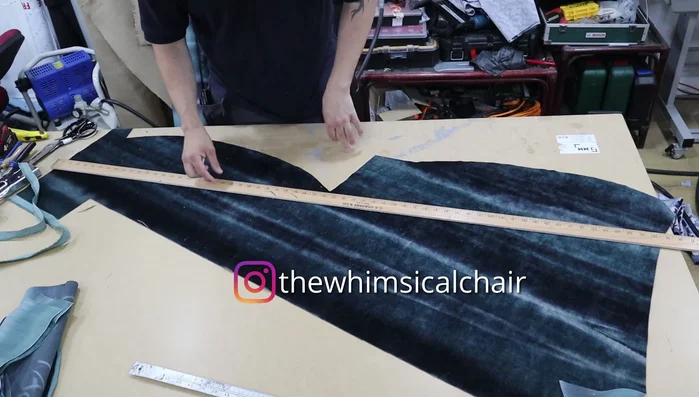
- Cut a continuous strip of fabric (5.5 inches wide, twice the desired length), add seam allowance(4 inches), and fold in half.
- Cut a strip of fabric for the border (6.5 inches wide, adjust length as needed to fit the cushion's perimeter), adding a seam allowance.
- Cut bias strips of fabric slightly wider than the piping cord. Fold the strips multiple times, creating a channel for the cord. Use an electric rotary cutter for efficiency. Mark the fabric's pile direction with chalk before cutting to ensure consistency.
Cut Fabric Pieces Prepare Piping and Attach
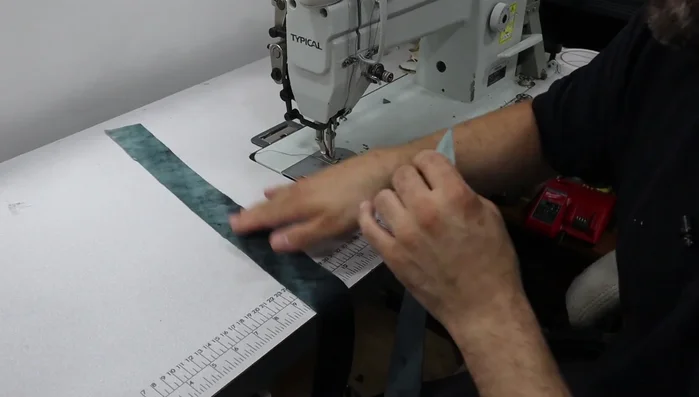
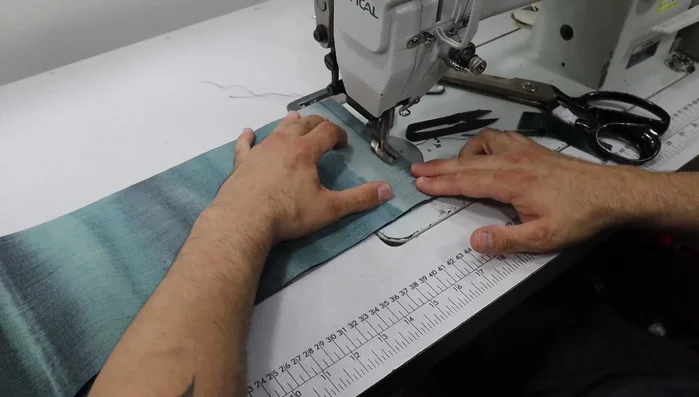
- Insert the piping cord into the bias strips, fold over, and stitch close to the cord using a piping foot. Join piping pieces carefully, making neat joints. Attach the piping to the cushion pieces, using small snips along curves to ensure a flat finish.
Prepare Piping and Attach Assemble Cushion Cover
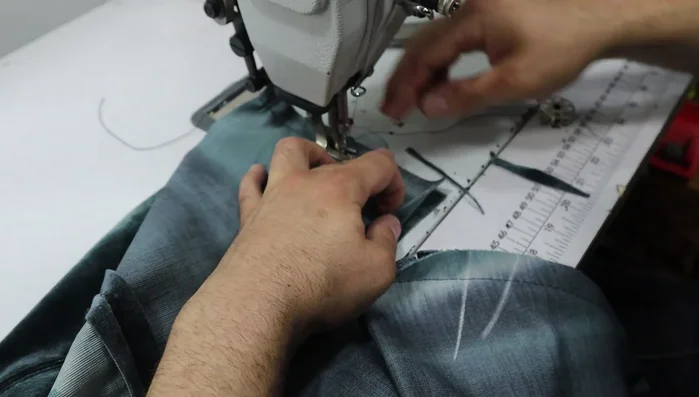
- Attach the zip border to the cushion pieces, leaving gaps for the zipper. Stitch the cushion pieces together, right sides facing, leaving an opening for turning.
- Insert the zipper. Finish sewing the border and cushion pieces together.
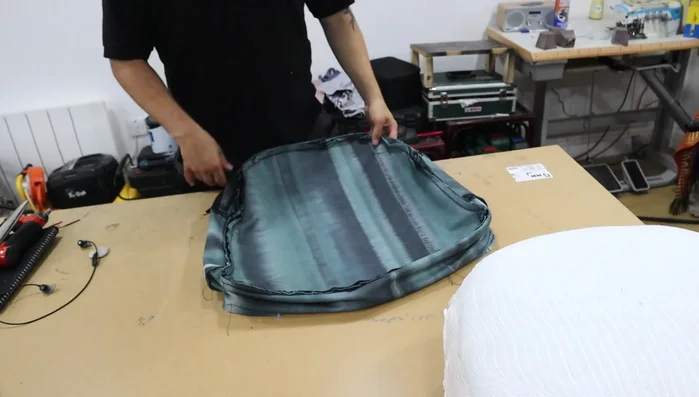
Assemble Cushion Cover Stuff and Finish
- Turn the cushion right-side out and fill with Dacron stuffing.
Stuff and Finish

Read more: Sew a Lined Expandable Storage Bag: Easy Tutorial
Tips
- Always double-check measurements and seam allowances to ensure a perfect fit.
- Use an electric rotary cutter for efficient piping cutting.
- Use small snips along curves when attaching piping to prevent bunching.
- Make neat piping joints for a professional finish.