The holiday season is upon us, and you're scrambling for that perfect last-minute gift? Forget generic store-bought presents! This year, impress your loved ones with a heartfelt, handmade gift that's both beautiful and functional: a quilted journal cover. This charming project is surprisingly easy to complete, even for beginners, and requires minimal materials readily available at most craft stores. It’s a fantastic way to showcase your creativity and personalize a thoughtful gift, making it infinitely more special than anything you could find on a shelf. The unique texture of quilting adds a touch of elegance, turning a simple journal into a cherished keepsake.
Creating this DIY quilted journal cover is a wonderfully rewarding experience, and the recipient will undoubtedly appreciate the time and effort you've put into their personalized present. Forget stressful shopping trips and impersonal gifts; this project combines practicality with a handmade touch, creating something truly unique. Ready to get started on this delightful project? Let's dive into the step-by-step guide below and transform a plain journal into a stunning quilted masterpiece.
Preparation and Safety Guidelines
- Journal (any size)
- Paper
- Fabric (various pieces)
- Pencil
- Ruler
- Scissors
- Rotary Cutter (optional)
- Sewing Machine
- Pins
- Iron
- Basting Supplies (optional)
- Fabric Batting
- Use a rotary cutter and mat for safe and accurate fabric cutting. Never use scissors on a cutting mat.
- Always unplug your sewing machine before changing needles, making adjustments, or cleaning it.
- Be mindful of your needle and pins. Keep them stored safely when not in use to avoid accidental pokes.
Step-by-Step Instructions
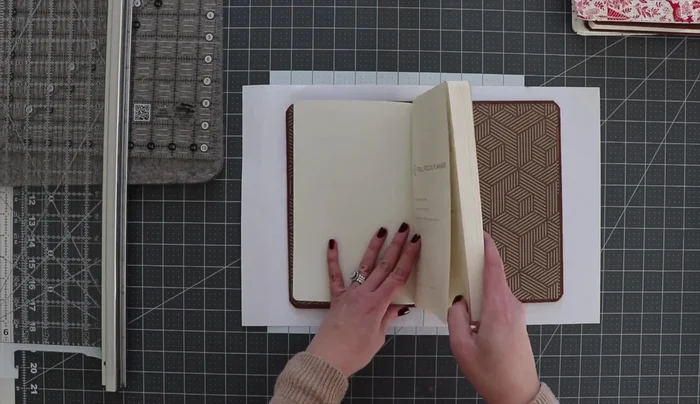
Prepare the Pattern
- Trace the journal onto paper, adding ½ inch beyond all edges to allow for seam allowance and quilting. Round the corners if needed.

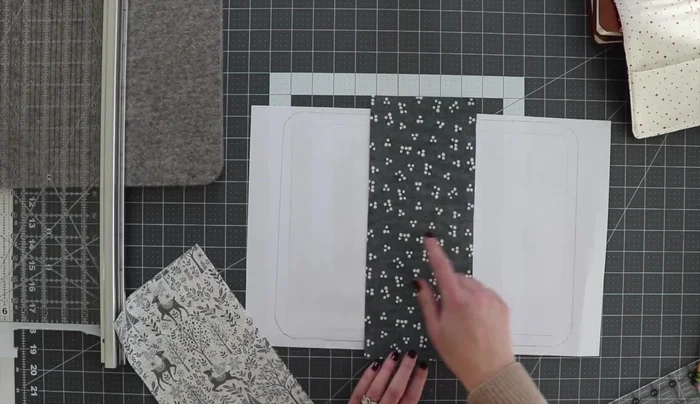
Prepare the Pattern Cut Fabric Pieces
- Cut fabric for the cover, larger than the template (allowing about an inch beyond the outer line). Create two different fabric pieces for a binding look. Cut additional pieces for the inside (including quilting backing). Account for seam allowances.
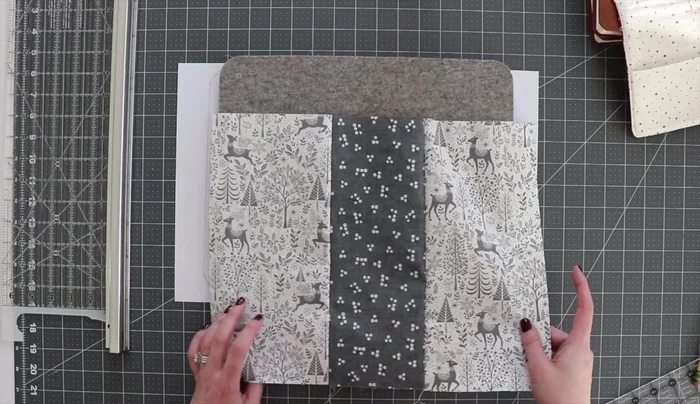
Cut Fabric Pieces Assemble the Cover
- Sew the fabric pieces together to form the cover, press seams open.
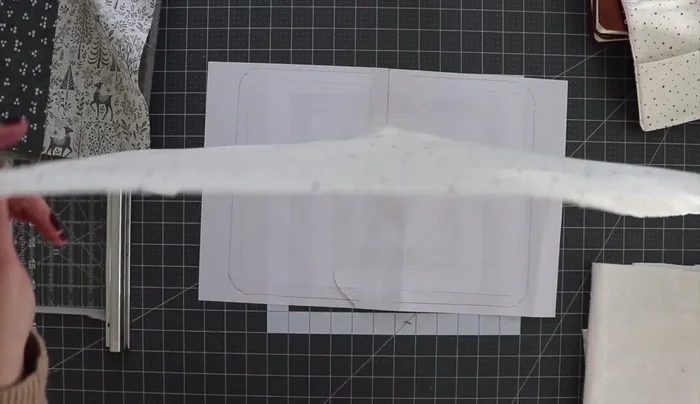
- Layer the cover fabric, batting, and backing fabric. Baste layers together and quilt. Cut the quilted cover using the template as a guide, cutting along the outermost line.
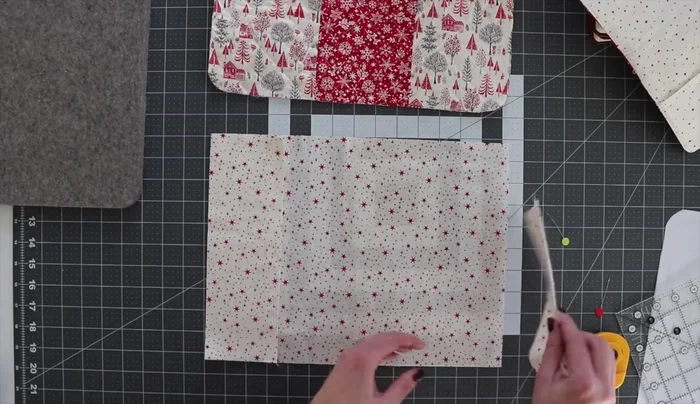
Assemble the Cover Create Interior Pockets
- Cut two identical rectangles matching the template size. Cut one in half to create pockets. Fold the pockets in half, right sides facing out, and topstitch along the folded edge.
- Position pockets onto the uncut rectangle, stitching them in place with a basting stitch.
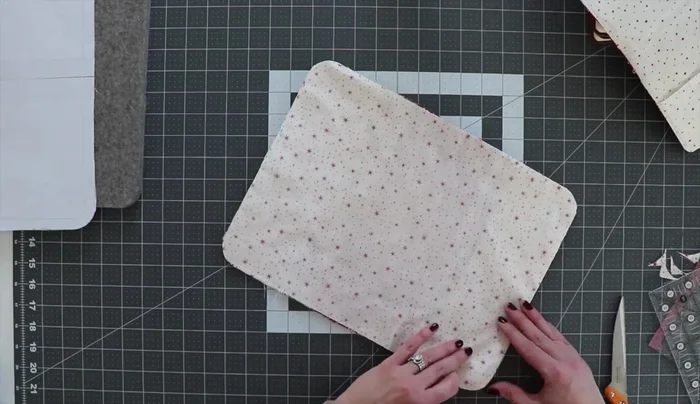
Create Interior Pockets Attach Interior to Cover
- Pin the quilted cover and pocket-attached rectangle, right sides together, ensuring edges and corners align. Sew along all four sides, leaving a 5-inch gap for turning.
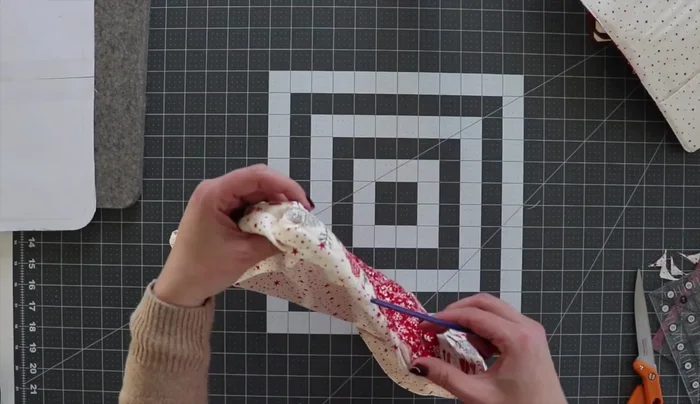
Attach Interior to Cover Finish and Insert Journal
- Turn the sewn piece inside out. Use a blunt object to push out corners. Fold and press the gap edges, topstitch around the entire edge to close the gap and secure the binding.
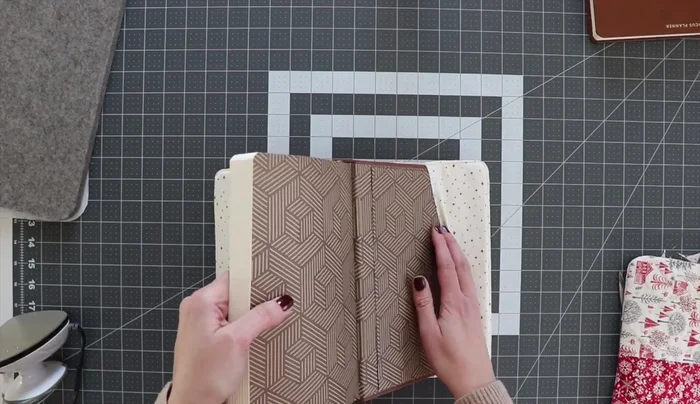
- Insert the journal into the finished cover, tucking it into the pockets.
Finish and Insert Journal

Read more: Sew a Lined Expandable Storage Bag: Easy Tutorial
Tips
- Use a rotary cutter to make cutting fabric quicker and more precise.
- Use clips to hold seams together while sewing.
- Press thoroughly for a professional finish.