The world of plushie making is often approached with a charmingly haphazard spirit, relying on intuition and a dash of creative license. But what if we could infuse this delightful craft with the precision and elegance of mathematics? This article explores the fascinating intersection of sewing and geometry, demonstrating how to craft a meticulously designed cat plushie using a mathematically precise pattern. Forget vague estimations and frustrating trial-and-error; we'll be building a perfectly proportioned feline friend from the ground up, armed with nothing but fabric, thread, and a touch of mathematical know-how.
We’ll delve into the creation of a pattern based on geometric principles, ensuring your finished cat plushie boasts symmetrical features and accurately scaled body parts. This approach allows for greater control over the final product, leading to a more professional and satisfying result. Ready to embark on this mathematically precise crafting adventure? Let's dive into the step-by-step process of creating your own perfectly proportioned plush cat.
Preparation and Safety Guidelines
- Sewing machine
- Sewing needles
- Pins
- Fabric (furry fabrics, paint pour fabrics)
- Stuffing (polyfill)
- Eyes and nose (plastic or felt)
- Scissors
- Thread (matching colors)
- Measuring tape
- Pencil
- Cricut pointy tool (optional)
- Always use sharp, well-maintained sewing needles and scissors to prevent accidents and ensure clean cuts. Never sew while tired or distracted.
- Supervise children closely if they are participating in any part of the project. Keep small parts (buttons, beads, etc.) out of reach of young children to prevent choking hazards.
- Be mindful of fabric type and its suitability for your chosen sewing machine or hand-sewing techniques. Read fabric care instructions before beginning.
Step-by-Step Instructions
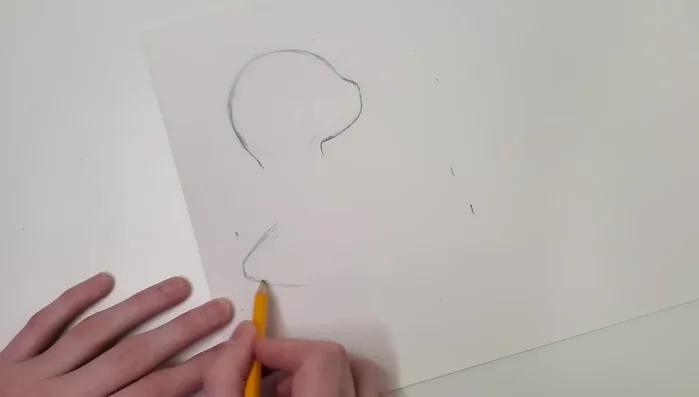
Pattern Creation
- Create a precise sewing pattern for the plushie.

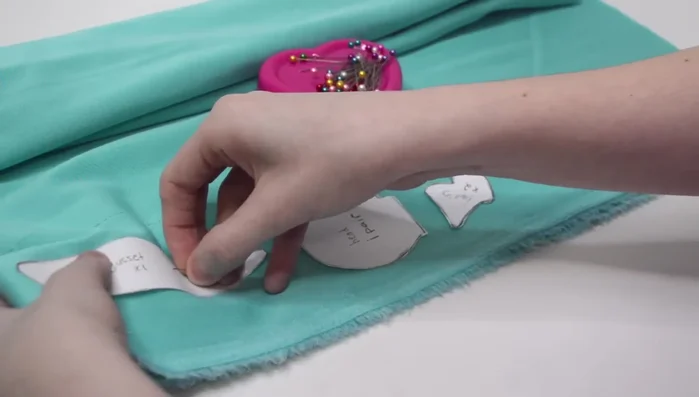
Pattern Creation Fabric Cutting
- Cut out fabric pieces according to the pattern. Use pins to secure stretchy fabric.
Fabric Cutting Head Construction
- Sew the head pieces together, leaving an opening for turning.
- Turn the head right side out and stuff it with polyfill.
- Sew the snout and neck opening, leaving a small opening for stuffing.
- Stuff the head with polyfill.
Head Construction - Attach the eyes and nose.
- Embroider the mouth using a needle and thread.
- Embroider the eyebrows.
Head Construction Body Construction
- Sew the legs to the body gusset.
- Sew the outer body fabric to the gusset, leaving an opening.
- Turn the body right side out and stuff with polyfill.
Body Construction Tail Construction & Attachment
- Sew the tail pieces together, turn right side out, and attach to the body.
Tail Construction & Attachment Final Assembly
- Close the opening of the body and attach the head.
Final Assembly


Read more: Sew a Lined Expandable Storage Bag: Easy Tutorial
Tips
- Use pins to help keep stretchy fabrics in place while cutting and sewing.
- Matching thread color helps stitches blend into the fabric.
- A ladder stitch is useful for attaching the tail and head securely.
- Using a pencil can help turn small fabric pieces right-side-out easily.