Adding a touch of handmade charm to your bedroom is easier than you think! This project focuses on crafting a beautiful, custom pillow featuring elegant cording, allowing you to personalize your space with a unique and stylish accessory. Whether you’re a seasoned crafter or a complete beginner, this DIY project is designed to be accessible and enjoyable, resulting in a pillow that perfectly complements your existing décor or introduces a bold new accent. Forget expensive store-bought pillows; you can create something truly special for a fraction of the cost.
Learning to sew a pillow with cording adds an extra level of sophistication to a classic project. From selecting your favorite fabrics to mastering the simple cording technique, we'll guide you through every step of the process. Ready to transform your pillow dreams into a cozy reality? Let's dive into the detailed, step-by-step guide below.
Preparation and Safety Guidelines
- Pillow form
- Fabric (two pieces)
- Cording/Piping
- Straight pins
- Scissors
- Sewing machine
- Thread
- Always use sharp, clean scissors to prevent fabric snags and injuries. Handle your sewing machine needles and pins with care.
- If using a sewing machine, ensure your fingers are clear of the needle at all times. Use a finger guard if necessary.
- When working with cording, be mindful of its potential to fray. Secure the ends properly to prevent unraveling during the sewing process and ensure a clean finish.
Step-by-Step Instructions
Prepare Materials
- Get a pillow form, fabric cut to the same size (14x14 inch in this example), cording, pins, scissors, sewing machine, and thread.
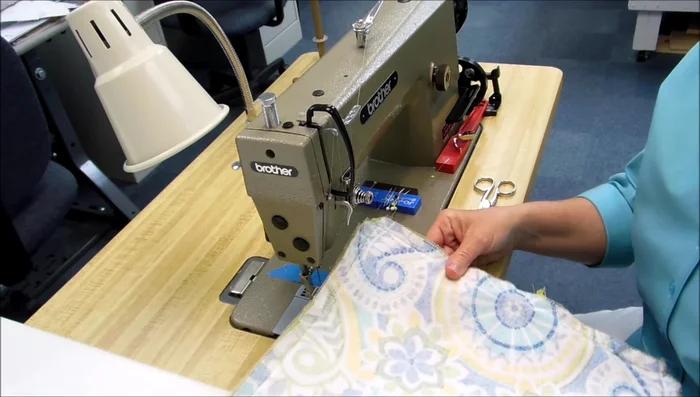
Attach Cording
- Using a zipper foot, sew the cording onto one side of the pillow fabric, starting at the bottom edge. Ease in the cording slightly to avoid puckering. Clip the cording at corners to help it turn smoothly.

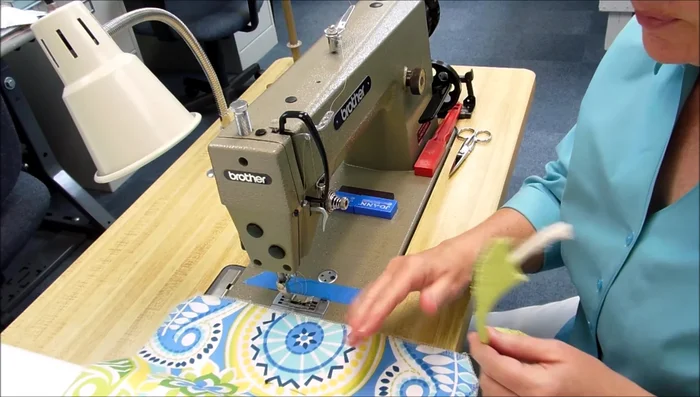
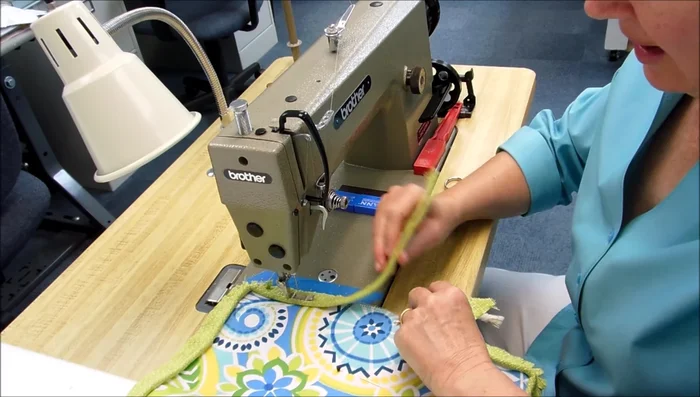
Attach Cording Join Cording Ends
- When you reach the starting point, stop a few inches away. Open the ends of the cording, cut them at an angle to create a seamless join, and sew together.
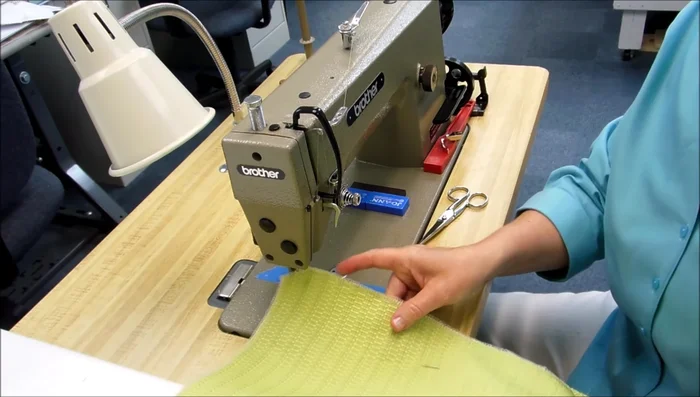
Join Cording Ends Attach Second Fabric Piece
- Pin the back fabric to the front fabric, leaving a gap for the pillow insert.
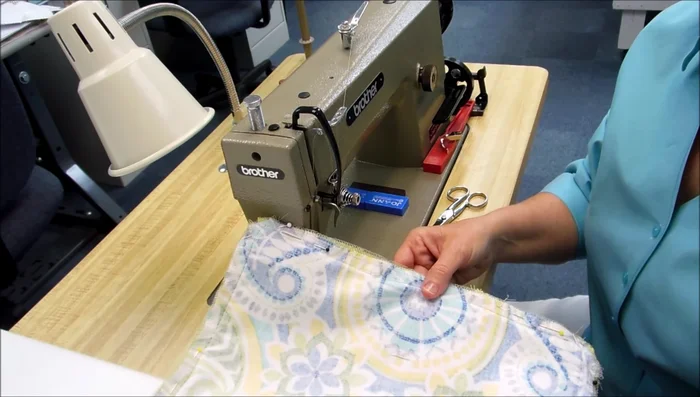
Attach Second Fabric Piece Sew Pillow Cover
- Sew around three sides of the pillow cover, using a cording foot or zipper foot to get close to the cording.
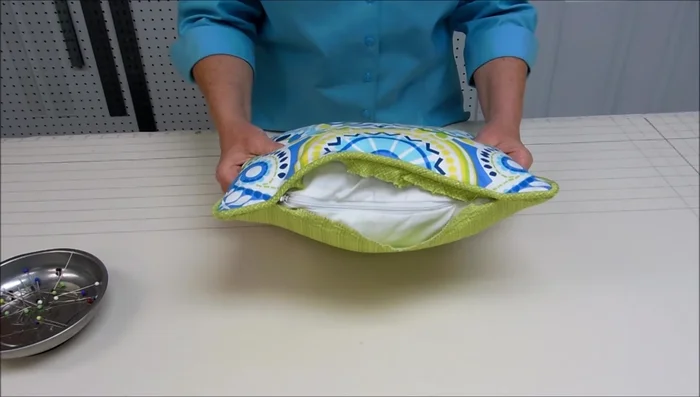
Sew Pillow Cover Insert Pillow Form
- Carefully turn the pillow cover right side out and insert the pillow form. Make sure all corners are aligned.
Insert Pillow Form Hand Sew Closing
- Fold the bottom edge of the back fabric under, align it with the cording, and hand-stitch the opening closed.
Hand Sew Closing
Read more: Sew a Lined Expandable Storage Bag: Easy Tutorial
Tips
- Use a zipper foot for sewing close to the cording.
- Don't stretch the cording while sewing; ease it in to prevent puckering.
- Cut the cording at angles when joining the ends for a smooth, seamless look.
- Backstitch at the beginning and end of seams to prevent unraveling.