Tired of flimsy eyeglass cases that offer little protection for your precious spectacles? Do you constantly worry about scratches, dents, or even worse – breakage? Then you're in the right place! This guide unveils the fastest and most effective method for creating a custom, padded eyeglass case using readily available materials. Forget expensive, mass-produced cases that lack personality and adequate safeguarding; you'll be surprised at how quickly and easily you can build superior protection for your eyewear.
We'll bypass complicated sewing and intricate designs, focusing instead on a straightforward technique that maximizes impact absorption while minimizing your time commitment. This DIY project is perfect for beginners and seasoned crafters alike, offering a satisfying blend of practicality and personalization. Ready to get started on creating the ultimate protective haven for your glasses? Let’s dive into the step-by-step instructions!
Preparation and Safety Guidelines
- Fabric (two pieces 7.5 inches square)
- Pellon Flexi Foam (7 inches high, 7.5 inches wide)
- Sewing Machine
- Fabric Clips
- Iron
- Ruler
- Seam Ripper (optional)
- Always use sharp scissors or a rotary cutter with caution to avoid injury. Adult supervision is recommended, especially when children are involved.
- Ensure the fabric you choose is sturdy enough to protect your glasses from impacts and scratches. Avoid thin, flimsy materials.
- Before sewing, test your stitching on a scrap piece of fabric to ensure the chosen stitch and thread strength are adequate for the chosen material.
Step-by-Step Instructions
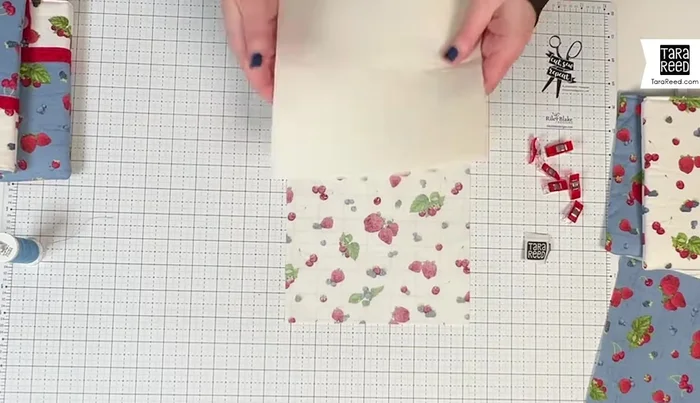
Prepare Outer Fabric
- Fuse Pellon Flexi Foam to Outer Fabric

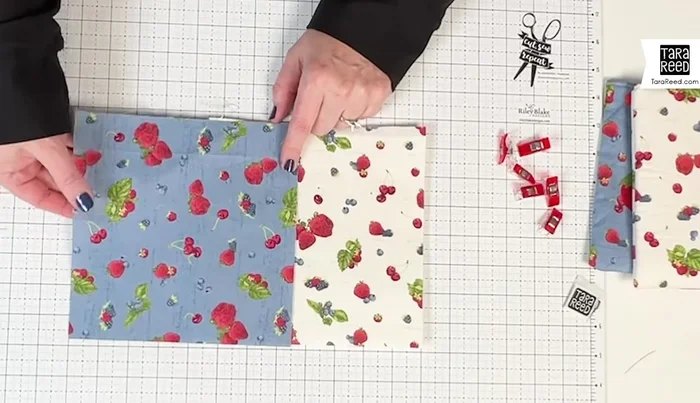
Prepare Outer Fabric Assemble and Sew Main Seam
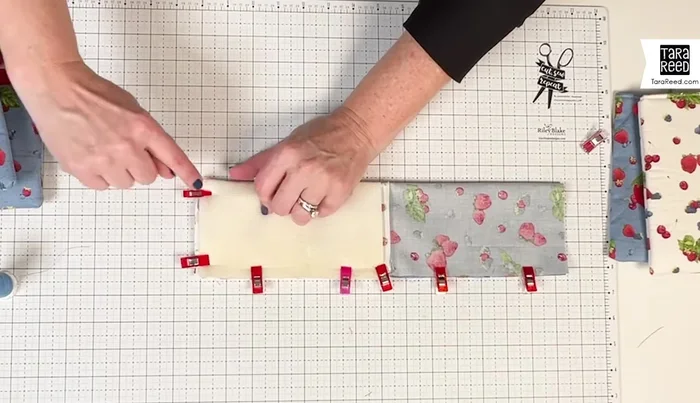
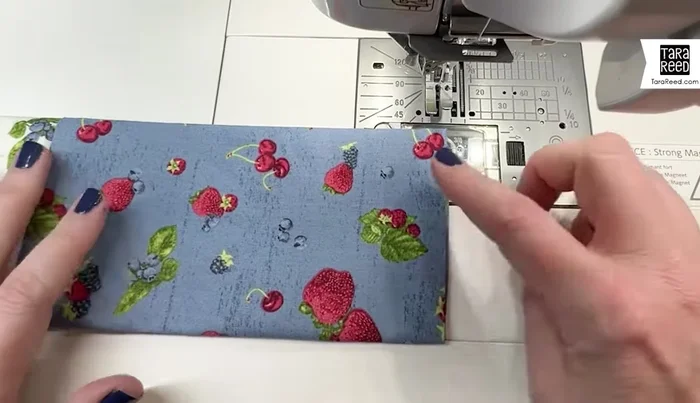
- Place fabrics right sides together, aligning edges and patterns
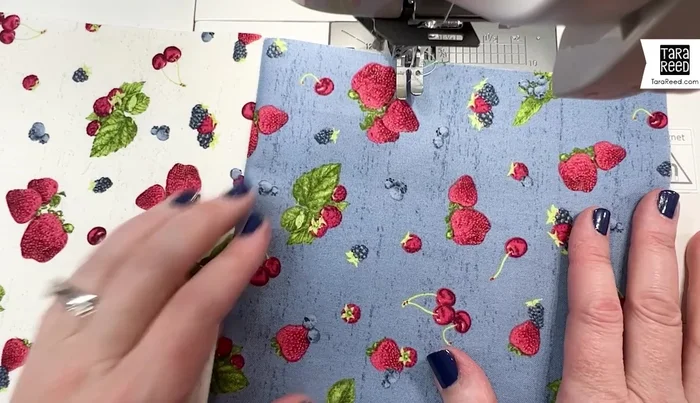
- Sew around the perimeter with a 1/4 inch seam allowance
- Press the seam allowance towards the lining
Assemble and Sew Main Seam Prepare for Turning
- Fold the sewn piece in half, matching seams and edges. Clip to secure
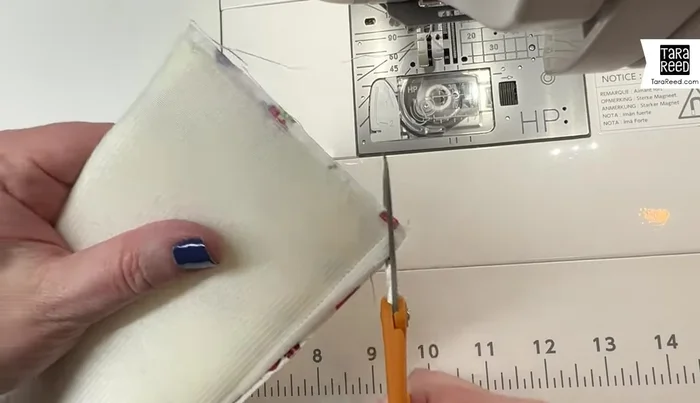
- Sew along the remaining three sides with a 1/4 inch seam allowance, leaving one edge open for turning
- Clip corners to facilitate turning
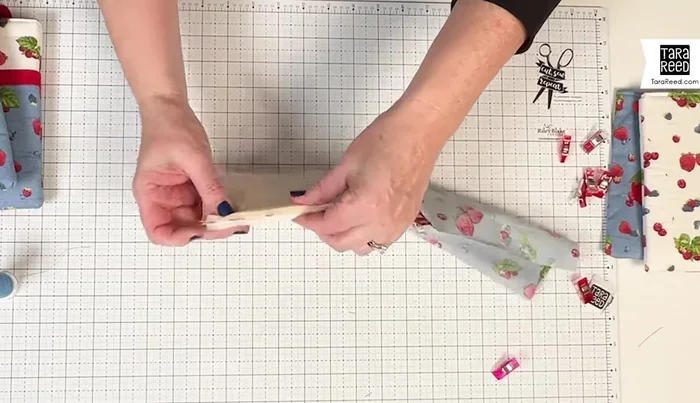
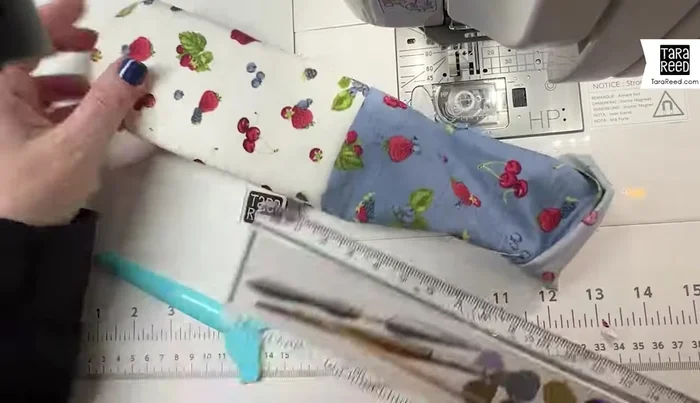
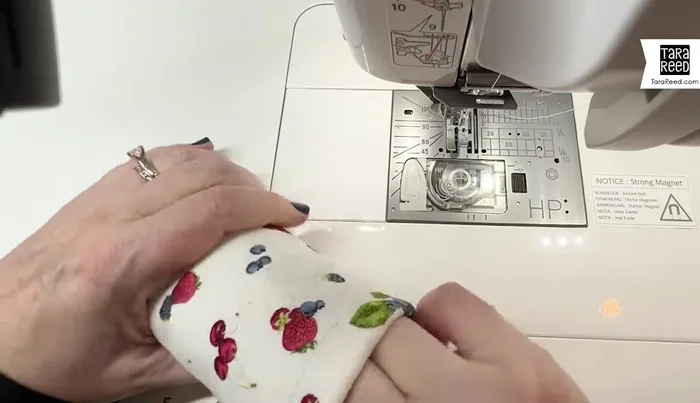
Prepare for Turning Turn and Shape
- Turn right side out using a ruler or point turner to help with corners
Turn and Shape Finish Lining
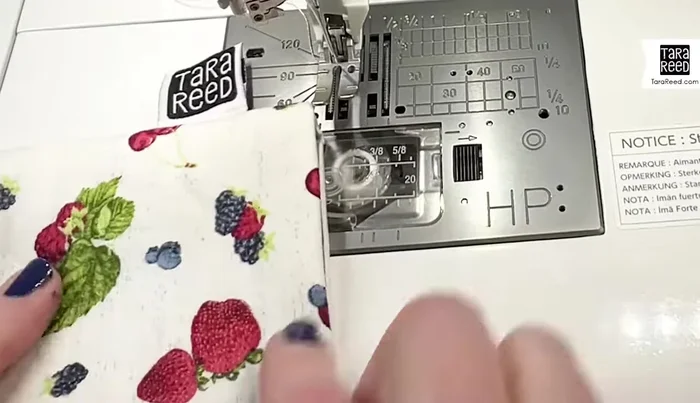
- Press the raw edge of the lining fabric 3/8 to 1/2 inch inwards
- Top stitch along the lining edge
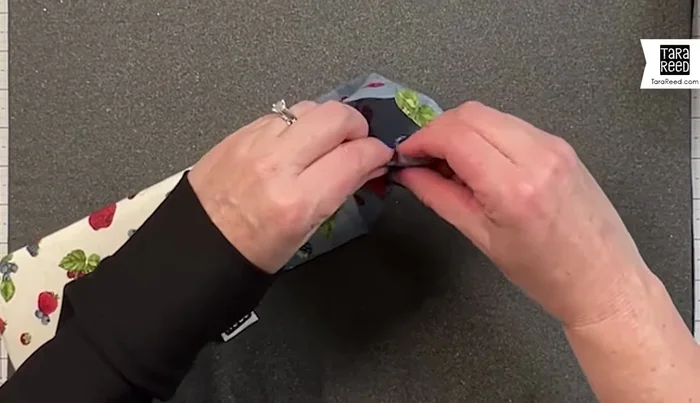
Finish Lining Insert and Secure Lining
- Push the lining into the case, using a ruler to assist if needed
- Top stitch around the top edge to secure
Insert and Secure Lining

Read more: Sew a Lined Expandable Storage Bag: Easy Tutorial
Tips
- Use Pellon Flexi Foam for superior protection compared to batting.
- Pay attention to the directionality of your fabric.
- Don't press directly onto the foam, use a pressing cloth or flip the fabric.
- Use fabric clips to prevent fabric from shifting during sewing.
- Go slowly when sewing over thicker seams to prevent needle breakage.