Looking for a unique and thoughtful way to present your gifts this year? Forget the generic store-bought bags and embrace the charm of handmade packaging! These no-sew fabric gift bags offer a delightful alternative, allowing you to personalize your presents with beautiful fabrics and a touch of your own creativity. They're perfect for birthdays, holidays, or any special occasion, adding a personal and eco-friendly element to your gift-giving. The best part? No sewing machine is required!
Creating these charming bags is incredibly simple and surprisingly quick, making them ideal for last-minute gifting needs or crafting sessions with friends and family. Using readily available materials and straightforward techniques, you can transform scraps of fabric into beautiful, reusable gift bags in minutes. Ready to get started crafting your own unique and beautiful gift bags? Let's dive into the step-by-step instructions below.
Preparation and Safety Guidelines
- Fabric (scraps or whole pieces)
- Scissors
- Measuring tape (optional)
- Fabric glue
- Drawstring
- Always supervise children if they are assisting with any part of the project, especially when handling scissors or other sharp objects.
- Ensure fabrics are pre-washed to prevent shrinkage or color bleeding after the bag is made. Air dry fabrics prone to shrinking.
- Use strong, reliable adhesive. Test the adhesive on a scrap piece of fabric first to ensure it adheres properly and won't damage your chosen material.
Step-by-Step Instructions
Prepare Fabric
- Prepare two identical fabric rectangles. Size doesn't matter, adjust as needed.
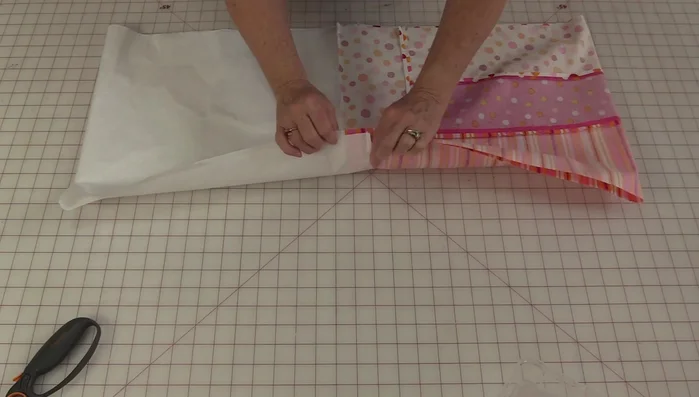
Create Fabric Tube
- Place the two rectangles together, right sides facing. Sew along the edges to create a tube.

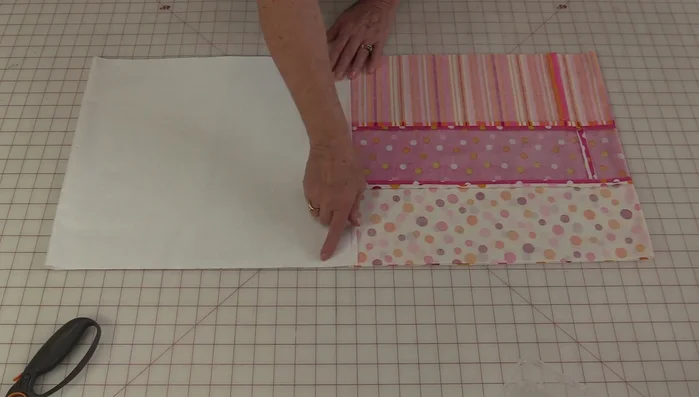
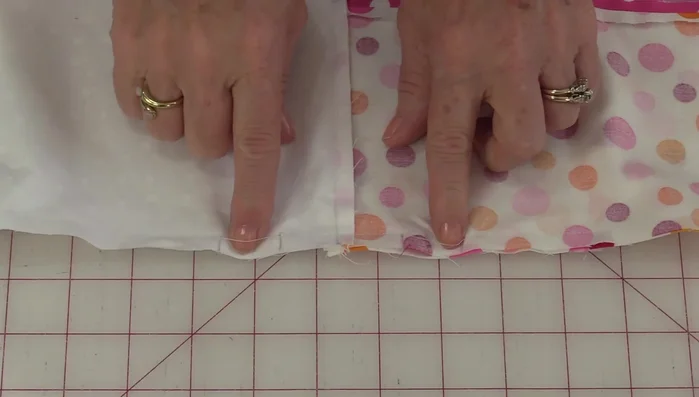
Create Fabric Tube Press Seams
- Press one seam open in one direction, the other seam in the opposite direction.
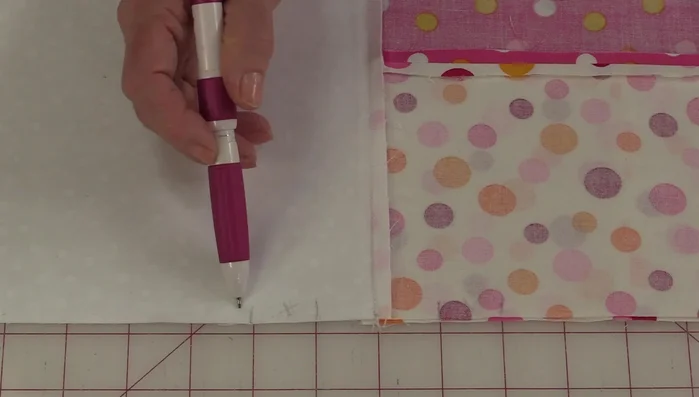
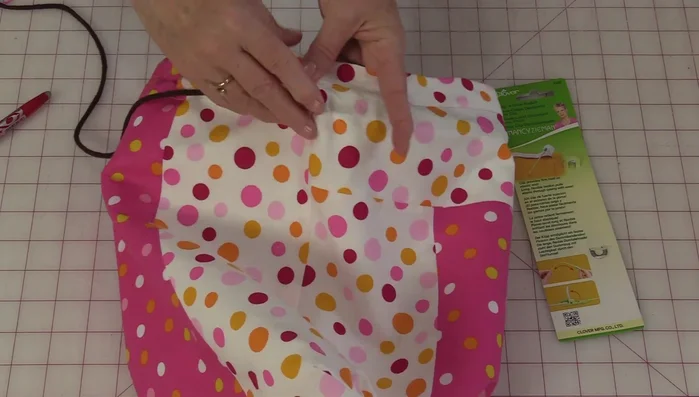
Press Seams Mark and Stitch Casings
- Mark casing lines. For a standard-sized bag, mark 1 inch down from the top edge and then another 1 inch below that. (Adjust measurements based on bag size).
- Stitch along the marked lines to create casings, leaving small openings on both sides for turning and inserting the drawstring.
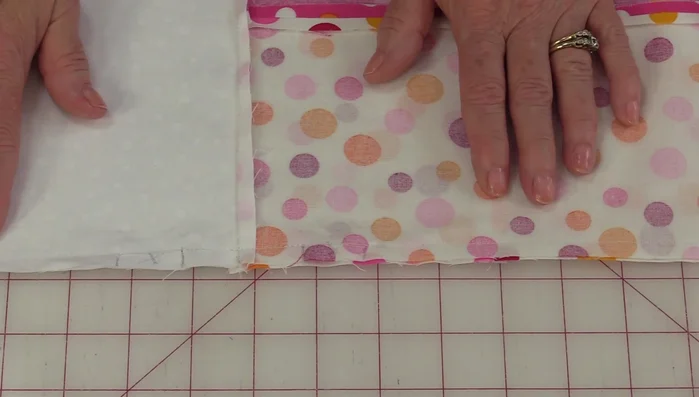
Mark and Stitch Casings Secure Casing Edges
- Apply fabric glue to the edges of the casing openings to prevent fraying and secure the seams.
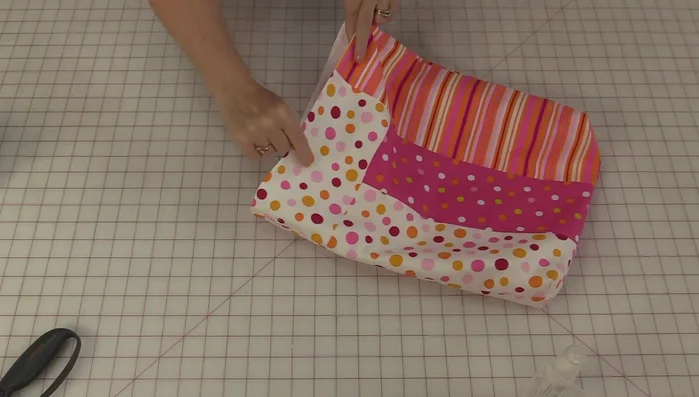
Secure Casing Edges Turn Right Side Out
- Turn the bag right side out through the unstitched openings.
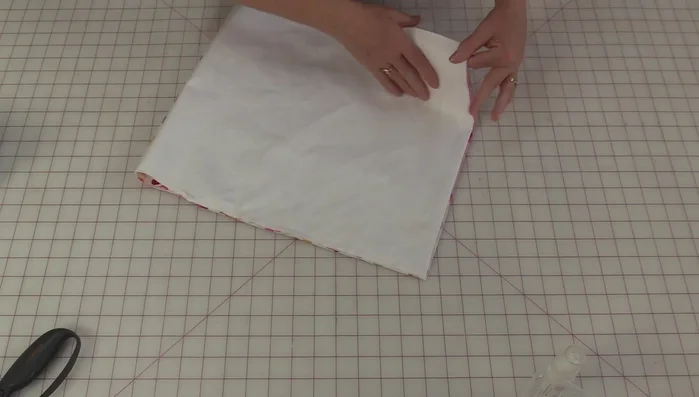
Turn Right Side Out Create Square Corners (Optional)
- Fold the bag in half twice, cut a small square out of each corner, and stitch the seam closed.
Create Square Corners (Optional) Close Openings
- Stitch the openings closed.
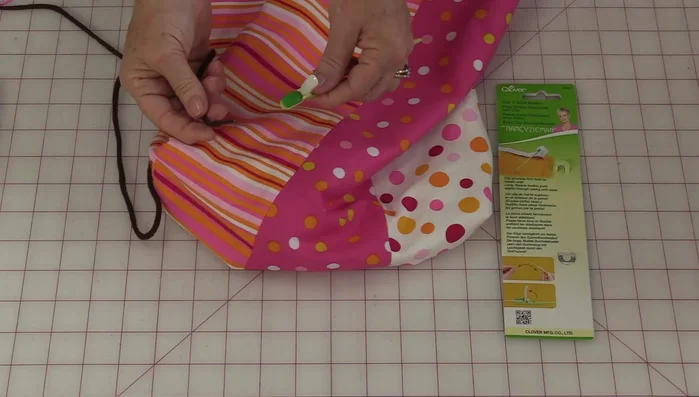
Close Openings Insert and Tie Drawstring
- Insert the drawstring through both casings using a tool to help navigate the ends.
- Tie the ends of the drawstrings together on both sides. Tuck the knots to the inside of the bag.
Insert and Tie Drawstring

Read more: Sew a Lined Expandable Storage Bag: Easy Tutorial
Tips
- Use any fabric you like – scraps work perfectly!
- Adjust casing measurements (1 inch, 2 inches etc) depending on bag size.
- To determine fabric size: Measure desired bag length and width, add seam allowance and casing measurements.