Tired of the same old gift wrap? Yearning for a more sustainable and personalized way to present your thoughtful gifts? Then look no further! DIY fabric gift bags offer a charming and eco-friendly alternative to paper, allowing you to showcase your creativity while minimizing waste. These reusable bags become treasured keepsakes, adding a special touch to any present, from birthday celebrations to holiday gatherings. Forget fussy projects and complicated sewing techniques; this method emphasizes simplicity and speed.
This guide focuses on a quick and easy no-lining method, perfect for beginners and busy crafters alike. We’ll be skipping the extra steps and focusing on a streamlined approach that gets you from fabric to finished gift bag in minutes. Ready to transform your fabric scraps into beautiful, reusable gift bags? Let's dive into the step-by-step process below.
Preparation and Safety Guidelines
- Fabric scraps
- Sewing machine
- Pins
- Ruler
- Scissors
- Iron
- Ribbon (optional)
- Textile markers (optional)
- Always use sharp scissors or a rotary cutter to ensure clean cuts and prevent injury. Blunt tools require more force and increase the risk of accidents.
- If using a hot glue gun, exercise extreme caution. Keep the gun pointed away from yourself and others, and be mindful of hot glue dripping. Allow glue to cool completely before handling the bag.
- Wash and dry fabric before cutting and sewing to prevent shrinkage that could alter the finished bag size and shape.
Step-by-Step Instructions
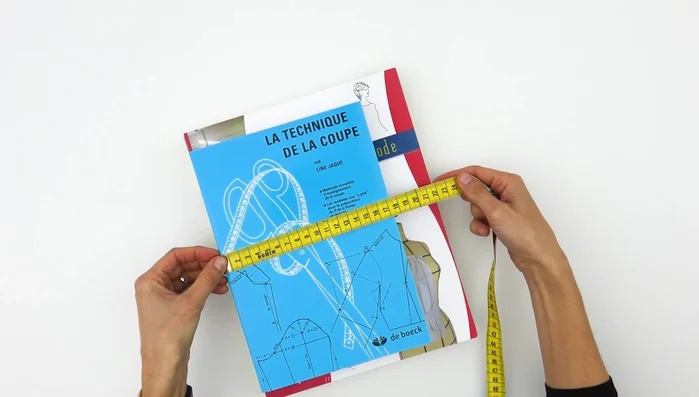
Measure and Calculate
- Determine the width and length, adding extra for seam allowance and ease.

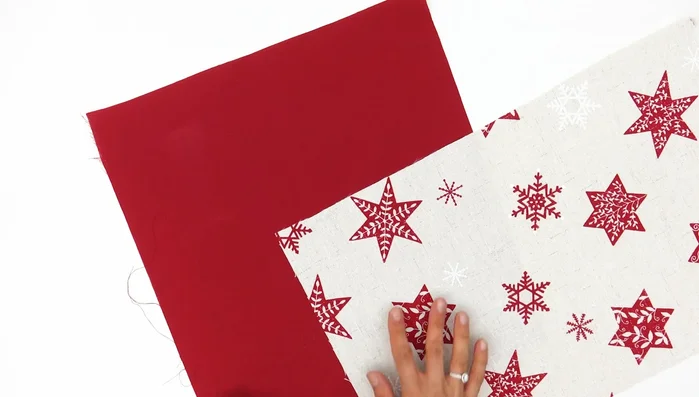
Measure and Calculate Cut Fabric Pieces
- Cut two rectangles (top and bottom) with added seam allowance (e.g., 2 cm). Consider using smaller scraps and mixing patterns.
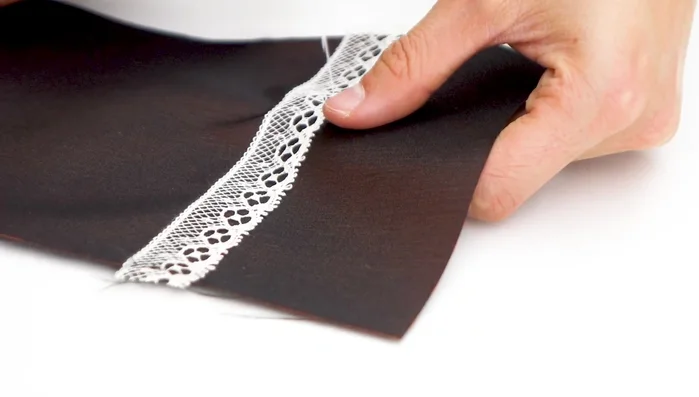
Cut Fabric Pieces Decorate (Optional)
- Add any embellishments (lace, ribbons, etc.) before sewing.
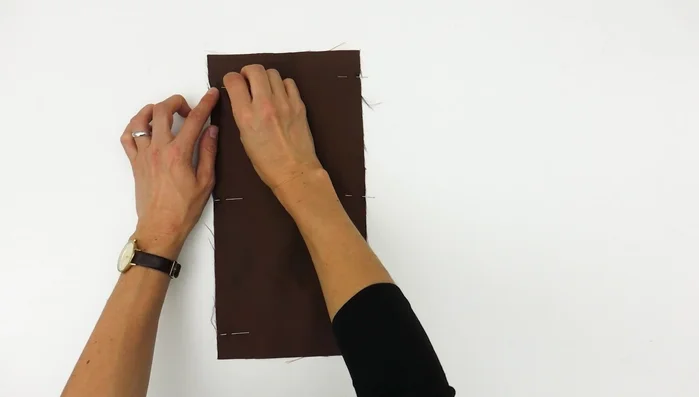
Decorate (Optional) Sew Side Seams
- Place right sides together, sew a 1cm seam allowance around 3 sides, leaving the top open. Reinforce the beginning and end of your stitching.
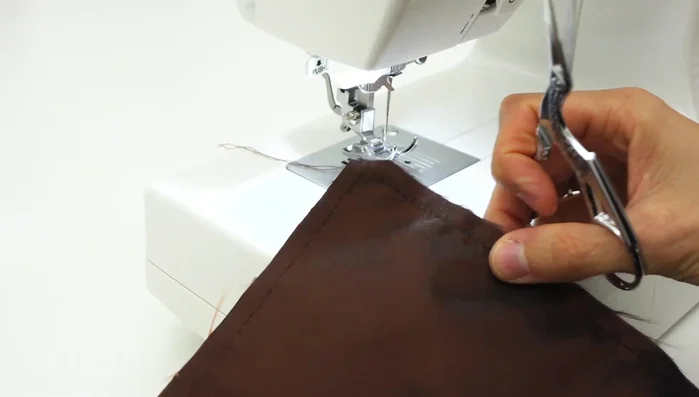
Sew Side Seams Finish Raw Edges
- Trim corners, and use a zig-zag stitch or serger to finish raw edges.
Finish Raw Edges Hem the Top Edge
- Fold the top edge over twice (1cm each time), press, and sew a close seam.
Hem the Top Edge Turn and Press
- Turn the bag right-side out and press.
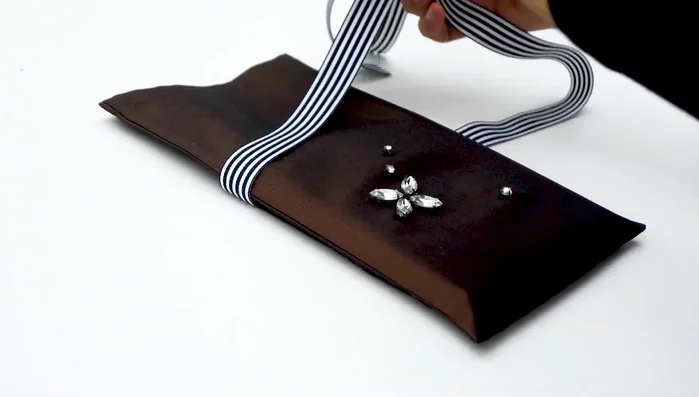
Turn and Press Add Ribbon/Finishing Touches
- Attach ribbon if desired.
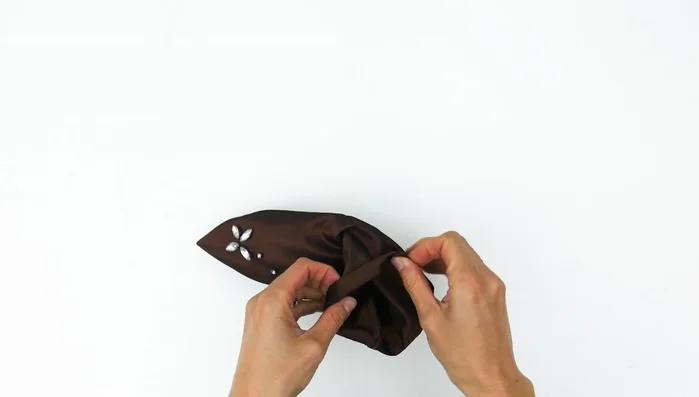
Add Ribbon/Finishing Touches Manage Excess Fabric (If Necessary)
- If the bottom of the bag is bulky, measure and sew down the excess fabric to create neat 'ears'.
Manage Excess Fabric (If Necessary)


Read more: Sew a Lined Expandable Storage Bag: Easy Tutorial
Tips
- Don't rush; neat finishes make the bag more appealing.
- Use leftover fabric to save money and be creative.
- Making these bags is a great activity for children (with supervision).
- Textile markers work best on light-colored cotton fabrics.
- Precise stitching creates a professional look.