Are you tired of unsightly laundry baskets cluttering your kitchen? Do overflowing hampers leave you feeling disorganized and overwhelmed? A simple solution to this common kitchen conundrum is a DIY laundry bag – a stylish and functional addition that seamlessly blends practicality with your existing decor. This project is perfect for beginners, requiring minimal sewing skills and readily available materials, making it a satisfying and achievable weekend craft. Forget expensive, store-bought solutions; this tutorial guides you through crafting a custom laundry bag that fits your specific needs and aesthetic preferences.
This guide will empower you to create your own bespoke laundry bag in just a few easy steps, transforming a potential eyesore into a charming and useful element of your kitchen. We'll walk you through choosing the perfect fabric, cutting and assembling the pieces, and adding those final touches that make your creation truly unique. Let's get started with the step-by-step process below!
Preparation and Safety Guidelines
- Medium weight decor fabric
- Ruler
- Fabric marker
- Scissors
- Pins or clips
- Thread
- Iron and board
- Sewing machine
- Always use fabric that is durable and can withstand repeated washing and wear. Avoid delicate fabrics that might tear easily.
- Ensure all seams are securely stitched to prevent tearing and ensure the bag's longevity. Consider using a double stitch for added strength.
- If using a drawstring closure, make sure the cord is securely fastened to prevent it from coming loose and creating a choking hazard, especially if children will have access to the laundry bag.
Step-by-Step Instructions
Cut Fabric Pieces
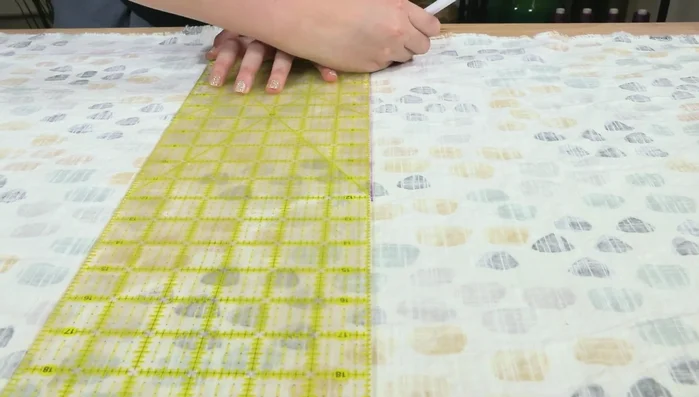
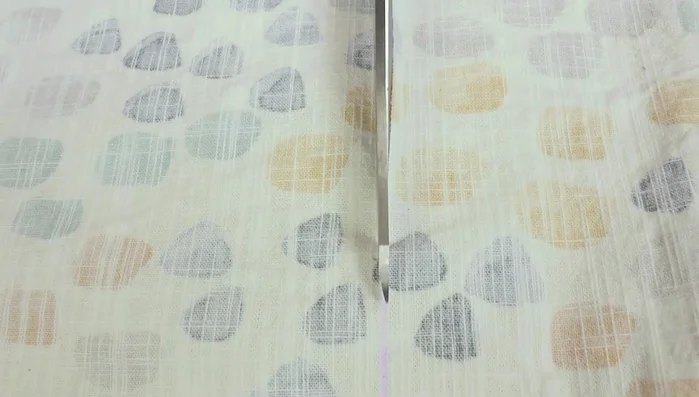
- Measure and cut two 16 by 12 inch pieces of fabric.
- Cut out two 4 by 1.5 inch strips of fabric.

Cut Fabric Pieces Sew Main Bag Section
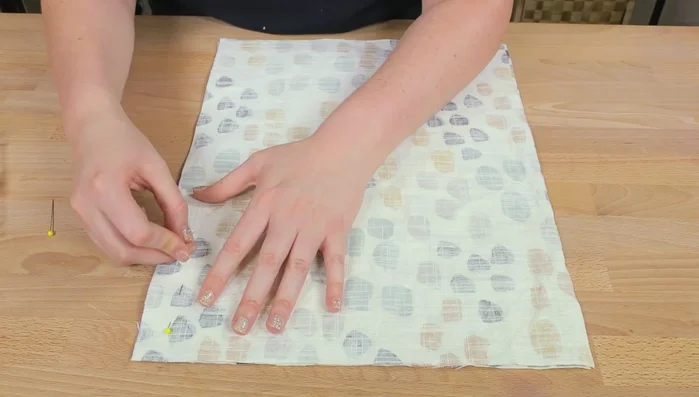
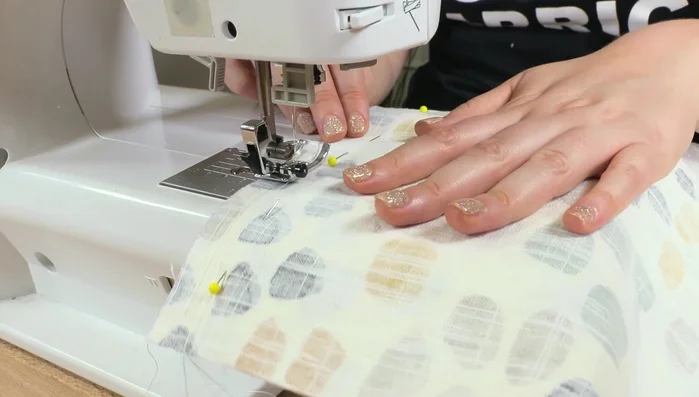
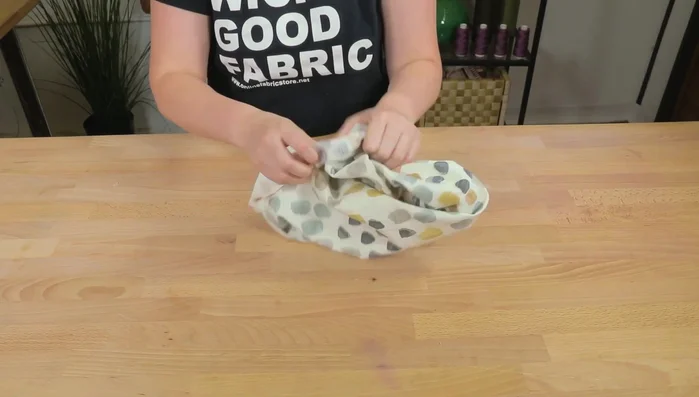
- Pin or clip your rectangles with the right sides together, then sew around the edges leaving the top open.
Sew Main Bag Section Prepare and Attach Handles
- Fold the smaller strips in half the long way with the right sides together and sew up the edge. Then flip the strips right side out, iron open all seams, and iron the strips flat.
Prepare and Attach Handles Create Boxed Bottom
- Fold the bottom corners so the seams match up. Mark up the seam two inches from the corner. Sew each side through the sewing machine.
Create Boxed Bottom Finish Seams
- Clip off the excess fabric after sewing the corners.
Finish Seams Finish and Attach Handles
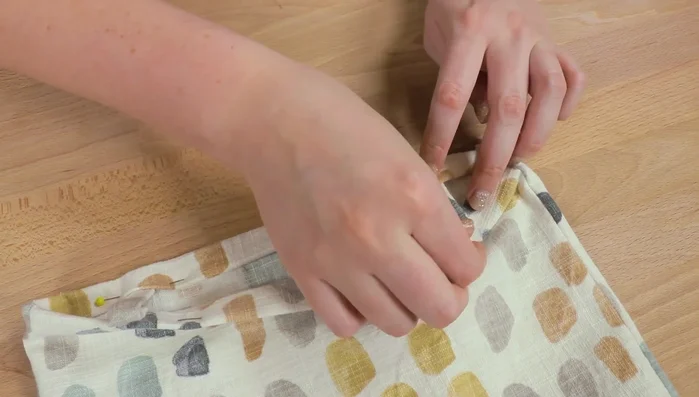
- Turn your bag right side out. Fold the top edge of the bag a quarter inch two times to hide the raw edge and iron it in place.
- Clip the small strips two inches from each side of your bag. Tuck the ends under the fold for a clean finish. Sew around the top edge.
Finish and Attach Handles


Read more: Sew a Lined Expandable Storage Bag: Easy Tutorial
Tips
- This bag can easily be made into any size to fit the needs of your space.
- If you plan on washing the project in the future, you should always pre-wash your fabric.
- This method of giving your bag a box-shaped bottom is really great for many projects because it adds a little dimension which in turn gives you more room to fit stuff in there.
- You could also use an outdoor fabric to make your laundry bag water resistant.