Are you tired of looking at that faded or stained headrest in your car? Does the fabric feel rough against your neck? Then it's time for a refresh! This simple DIY project will show you how to easily create a custom headrest cover to revitalize your car's interior and add a touch of personal style. Whether you're a seasoned sewer or a complete beginner, this tutorial will guide you through the process using readily available materials and straightforward techniques. You’ll be surprised how much a small change can make a big impact on your comfort and the overall look of your vehicle.
Making your own headrest cover is a fantastic way to save money compared to buying a replacement, and allows for complete creative control. You can choose any fabric that suits your taste and complements your car’s interior. Forget generic, boring headrests; unleash your creativity and craft a headrest cover that perfectly reflects your style. Ready to get started? Let’s dive into the step-by-step instructions below.
Preparation and Safety Guidelines
- Fabric
- Towel
- Paper
- Tailor's pencil or normal pencil
- Scissors
- Sewing machine
- Pins
- Iron
- Always unplug the car's power supply before removing the headrest to prevent electrical shock.
- Carefully check the headrest's attachment mechanism before removing it to avoid damage or injury. Refer to your car's manual if unsure.
- Ensure the fabric you choose is breathable and fire-retardant for safety.
Step-by-Step Instructions
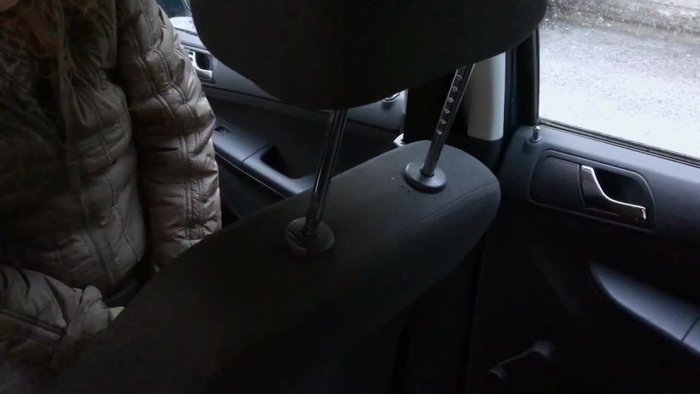
Prepare the Headrest and Template
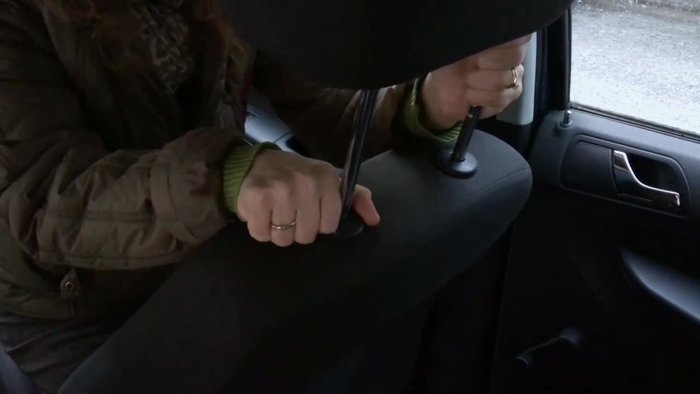
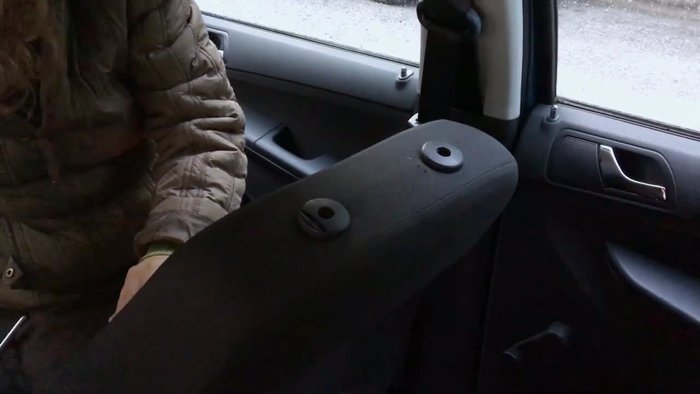
- Remove the headrest.
- Create a paper template by tracing around the headrest holes.

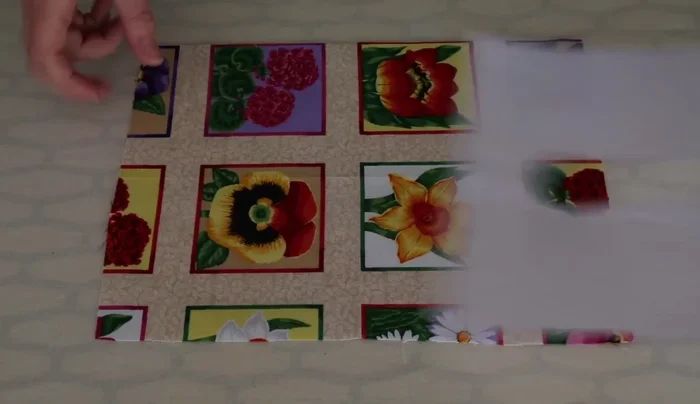
Prepare the Headrest and Template Cut and Position Fabric
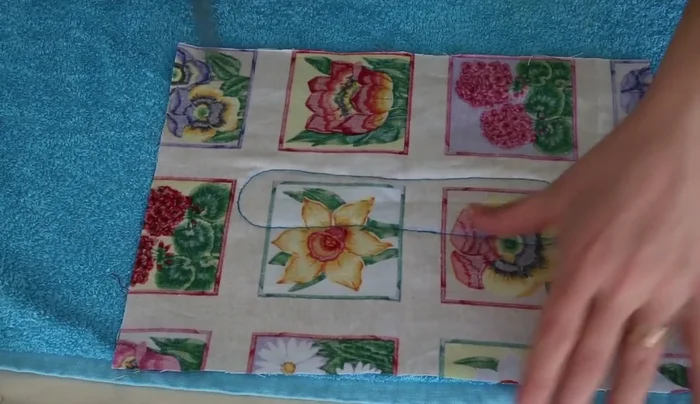
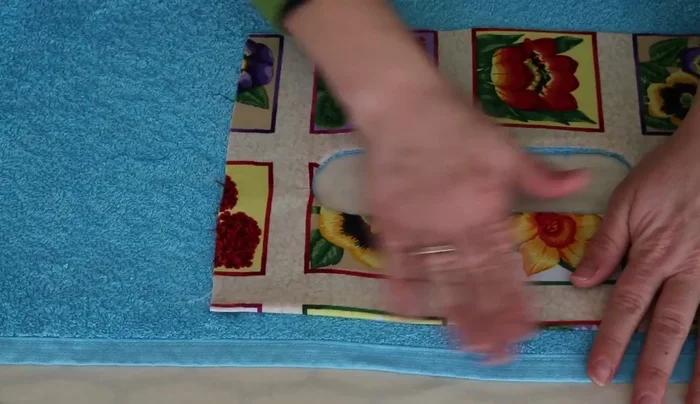
- Place the template onto a larger piece of fabric and trace the shape.
- Position the traced fabric onto the right side of a towel, centering the traced shape about 10-15cm from the edge.
Cut and Position Fabric Stitch and Secure the Fabric
- Pin the fabric to the towel and stitch around the traced line.
Stitch and Secure the Fabric Cut and Finish the Seam
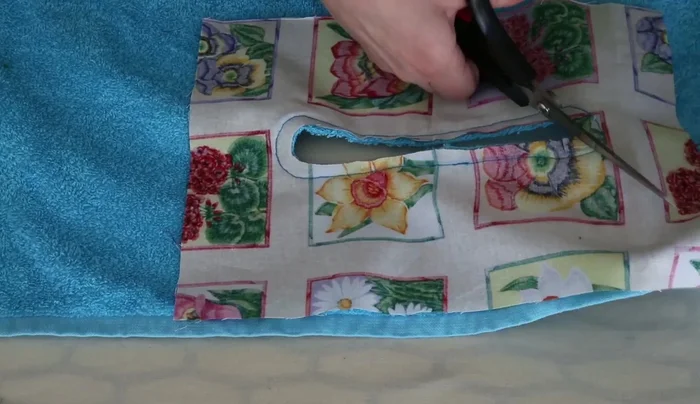
- Cut out the stitched fabric, leaving a seam allowance.
- Clip the curves of the fabric to reduce bulk.
- Fold the seam allowance inward and stitch it down, securing the raw edges.
Cut and Finish the Seam Turn, Iron, and Finish Edges
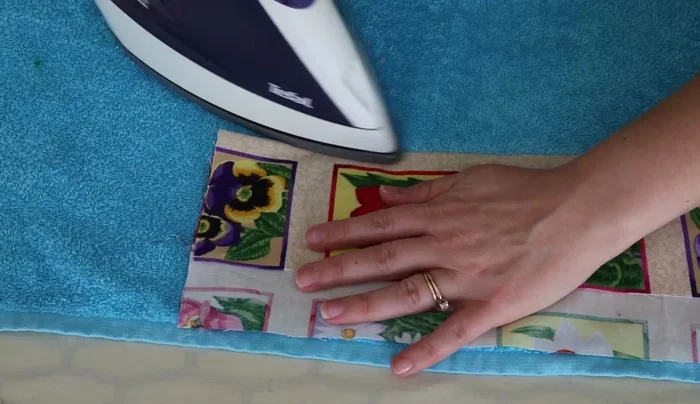
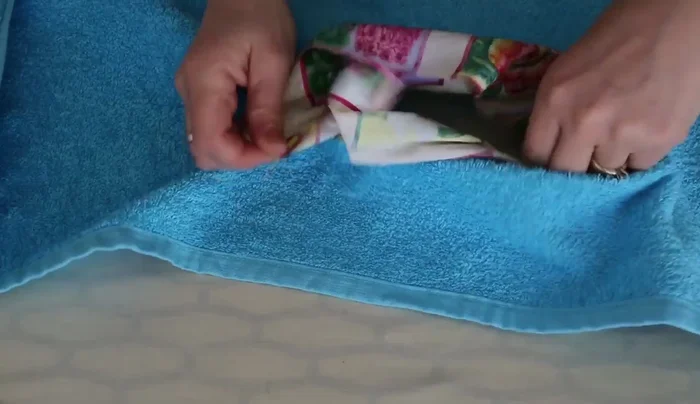
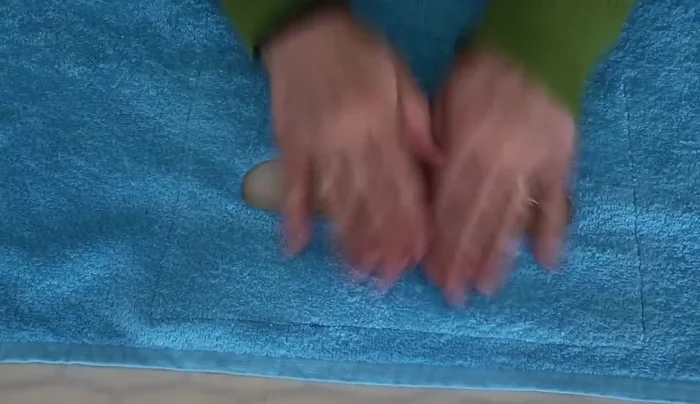
- Turn the towel right-side out and iron it.
- Fold and pin the edges for a neat finish.
- Top stitch around the folded edges.
Turn, Iron, and Finish Edges Attach to Headrest
- Attach the finished cover to the headrest.
Attach to Headrest


Read more: Sew a Lined Expandable Storage Bag: Easy Tutorial
Tips
- Use a fabric significantly larger than your template to ensure enough material for sewing and turning.
- Ensure the headrest hole is centered on your towel and fabric.
- Clip curves frequently to allow for a smooth, clean finish.
- Ironing creates a professional, crisp look.