Are you a Happy Planner enthusiast tired of flimsy covers that offer little protection against the daily wear and tear of your beloved planner? Do you crave a personalized touch that truly reflects your style and personality? Then look no further! This guide will show you how to create a durable and utterly charming DIY fabric Happy Planner cover, transforming your organizational essential from functional to fashionable. Forget generic designs and embrace the power of customization with a cover that's as unique as you are. You can choose your favorite fabric, personalize it with embellishments, and create a planner that's perfectly tailored to your aesthetic.
This project is surprisingly simple, requiring only basic sewing skills and readily available materials. Whether you're a seasoned crafter or a complete beginner, you’ll be amazed at how easily you can craft a beautiful and protective cover. Let's dive into the step-by-step instructions and transform your Happy Planner into a stylish statement piece.
Preparation and Safety Guidelines
- Pins
- Sewing machine
- Elastic band
- Fabric scraps
- Always pre-wash your fabric before sewing to prevent shrinkage that could distort your finished cover.
- Use a strong, durable fabric like canvas or cotton duck for a long-lasting cover. Avoid delicate fabrics that might tear easily.
- If using a sewing machine, be mindful of your needle and thread type. Choose a needle appropriate for your fabric to avoid breakage and ensure clean stitches.
Step-by-Step Instructions
Prepare Fabric Pieces
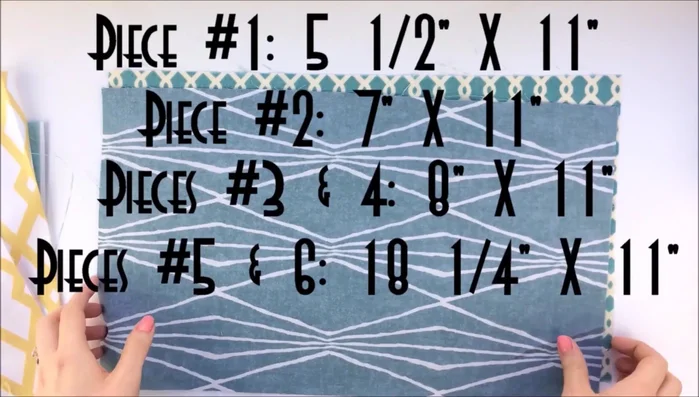
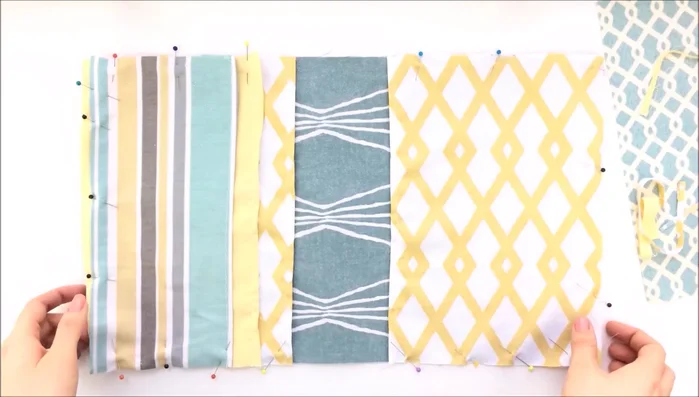
- Cut and iron fabric pieces. You'll need one 5.5" x 11", one 7" x 11", two 8" x 11", and one 11" x 18.25" pieces.
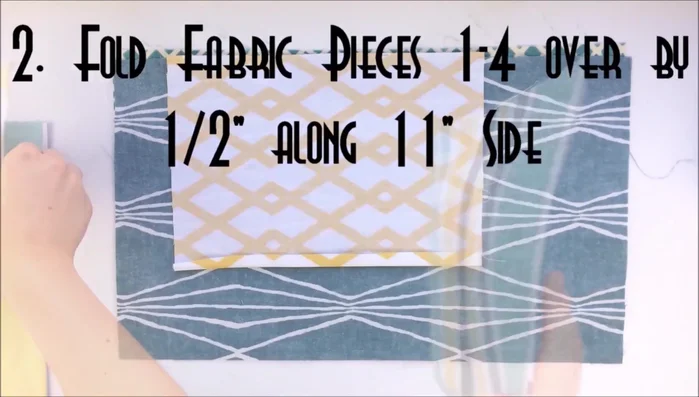
- Fold fabric pieces with a 1/4" - 1/2" seam allowance and pin.

Prepare Fabric Pieces Construct Fabric Panels
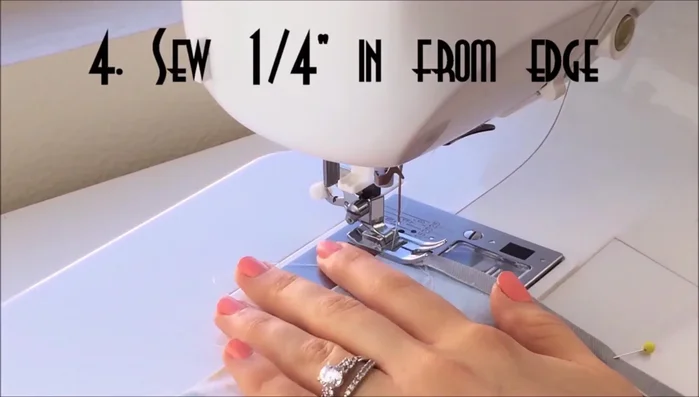
- Sew the folded edges to create fabric panels.
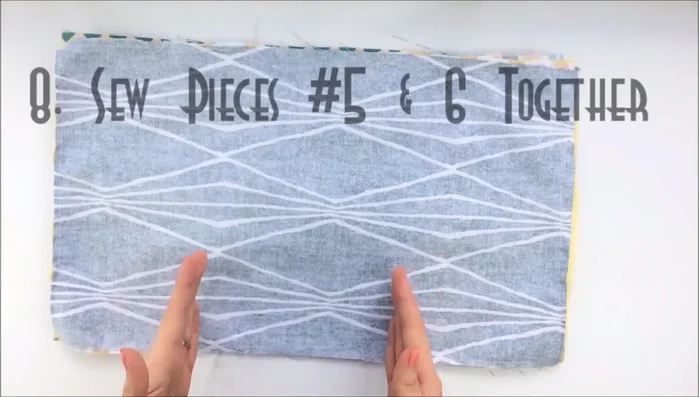
Construct Fabric Panels Add Pockets
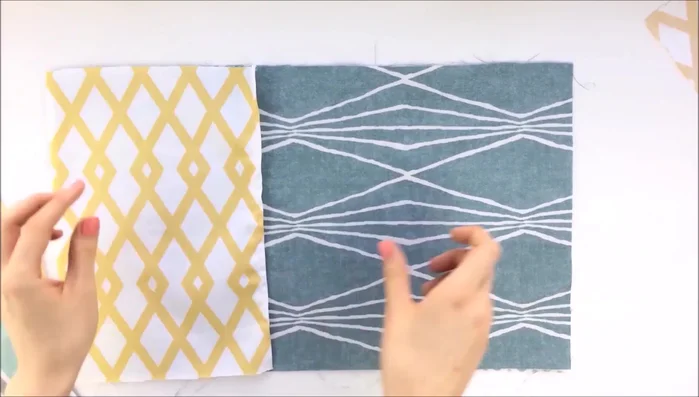
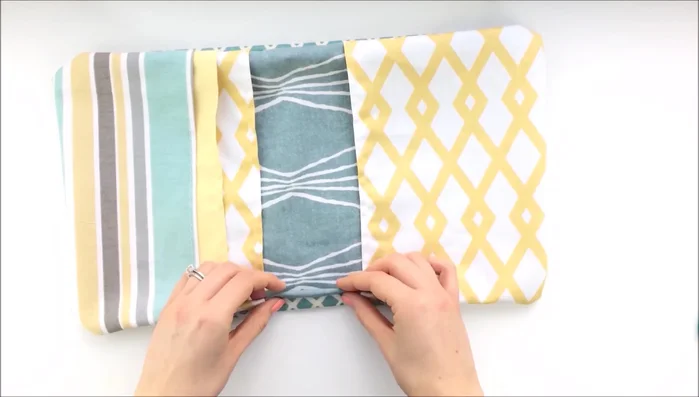
- Arrange and pin pockets onto the main fabric panels. Ensure alignment for sewing.
- Sew the pockets securely to the fabric panels.
Add Pockets Assemble Cover
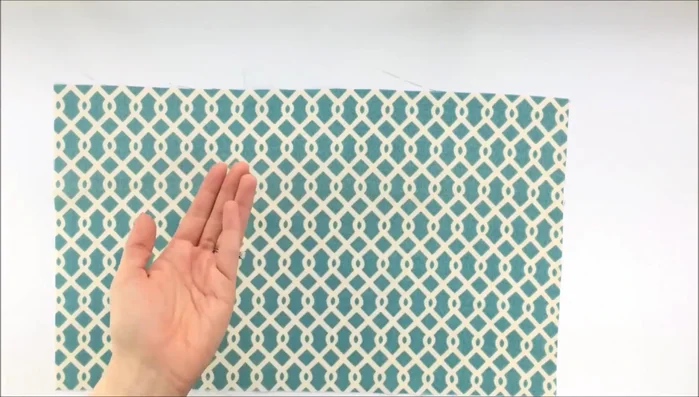
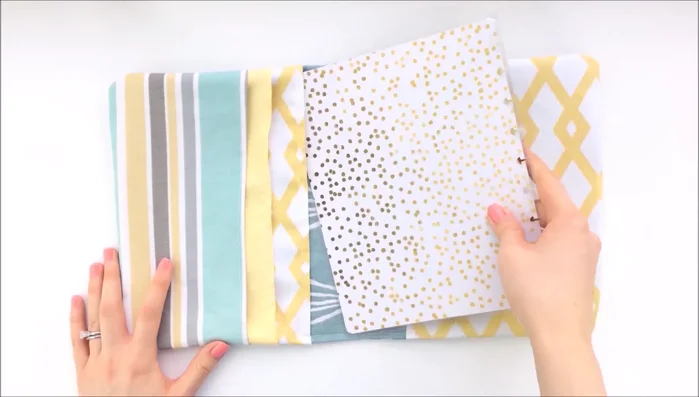
- Place the main fabric panels (with pockets facing down) onto additional backing covers. Pin in place.
- Sew around the edges, leaving a 4-5" gap for turning the cover inside out.
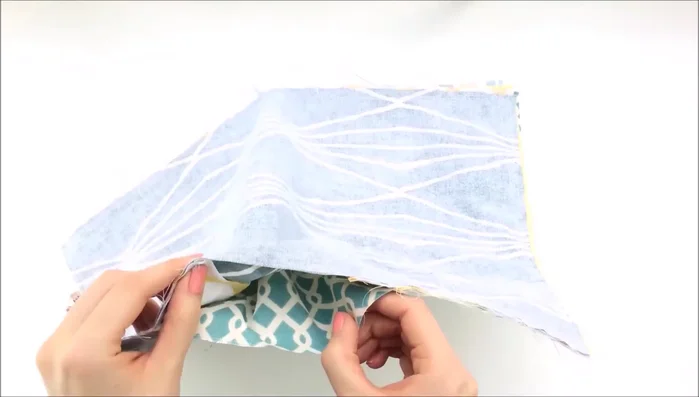
Assemble Cover Turn and Finish Cover
- Turn the cover inside out through the gap. Use scissors to poke out the corners.
- Stitch the gap closed.
Turn and Finish Cover Complete the Cover
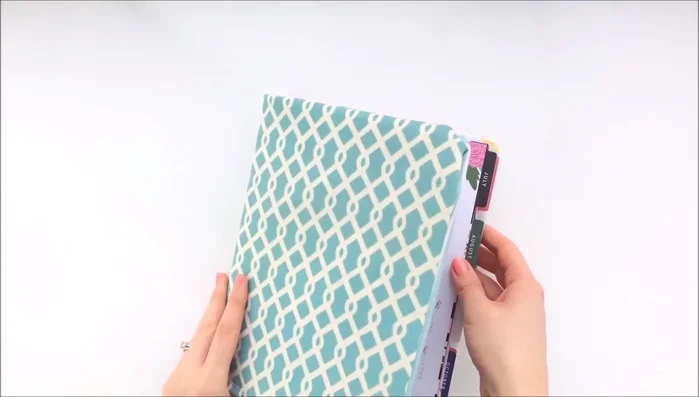
- Insert the Happy Planner into the fabric cover.
- Attach the planner rings. Add an elastic band closure (or another fastening method).
Complete the Cover
Read more: Sew a Lined Expandable Storage Bag: Easy Tutorial
Tips
- Iron your fabric scraps before starting to ensure a smooth finish.
- Sewing the pockets separately ensures secure attachment and prevents them from detaching.
- Leave a gap for turning the cover inside out. This makes it easier to finish the project neatly.
- Use additional backing covers for extra durability and sturdiness.
- Consider adding extra features like pen loops or a decorative closure.