The holidays are a time for cozy gatherings, twinkling lights, and the sweet scent of pine. What better way to enhance the festive atmosphere of your home than by creating your own personalized garland of lights? This delightful DIY project is surprisingly simple, requiring only a few readily available materials and a touch of creative flair. Forget the mass-produced decorations; let's embark on a journey to craft a unique, charming garland that perfectly captures the spirit of the season, reflecting your personal style and adding a warm, handcrafted touch to your holiday décor. This unique garland will be the envy of your friends and family.
Forget expensive store-bought garlands! This step-by-step guide will walk you through the process of crafting your own beautiful, glowing masterpiece, perfect for adorning your mantelpiece, staircase, or even your Christmas tree. Get ready to unleash your inner artist and create a festive garland that’s as unique as you are – a charming addition to your holiday celebrations, guaranteed to bring warmth and light to your home.
Preparation and Safety Guidelines
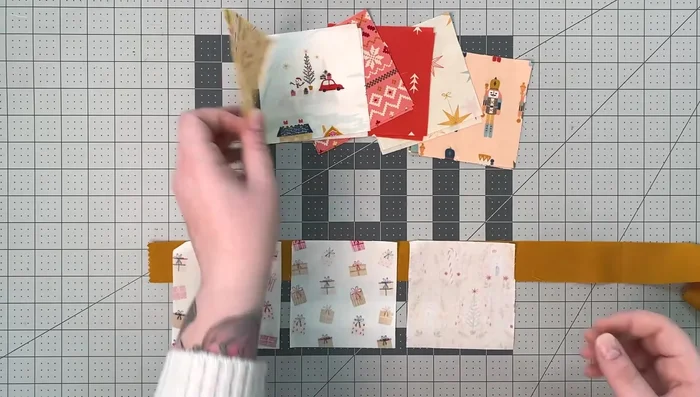
- 14 pieces of 4-inch fabric squares (7 different fabrics)
- Two 1.5-inch wide fabric strips (AGF solid)
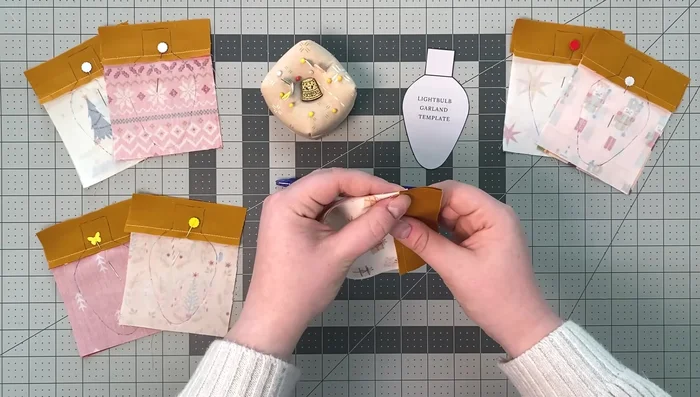
- Christmas light bulb template
- Stuffing
- One 40-inch piece of twine
- Seven 1.5-inch long pieces of twine
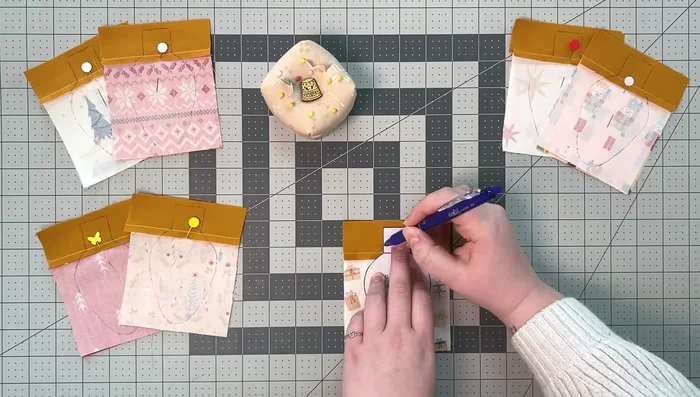
- Fabric pen
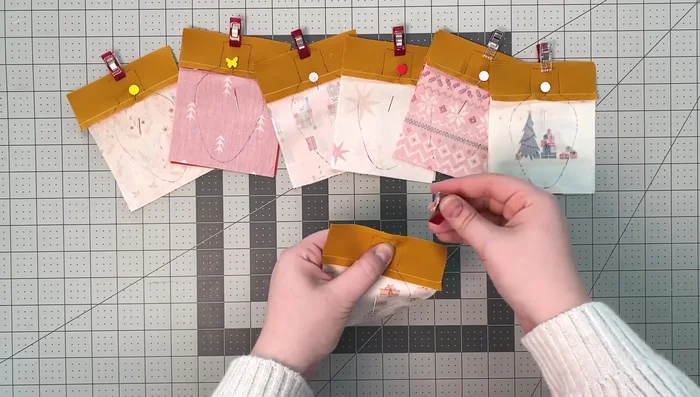
- Pins
- Fabric clips
- Always use low-voltage LED lights designed for indoor use. High-voltage lights pose a significant fire risk.
- Never leave lights unattended when plugged in. Unplug the lights completely when leaving the house or going to bed.
- Inspect lights carefully before use. Discard any with frayed wires or damaged bulbs.
Step-by-Step Instructions
Prepare Fabric Squares
- Chain sew each 4-inch square right sides together using the two solid fabric strips.
- Trim each section apart and pair the matching pieces.
- Press each seam to the side, alternating the direction for each piece.

Prepare Fabric Squares Create Light Bulb Covers
- Place matching rectangles right sides together, nesting the seams, and pin.
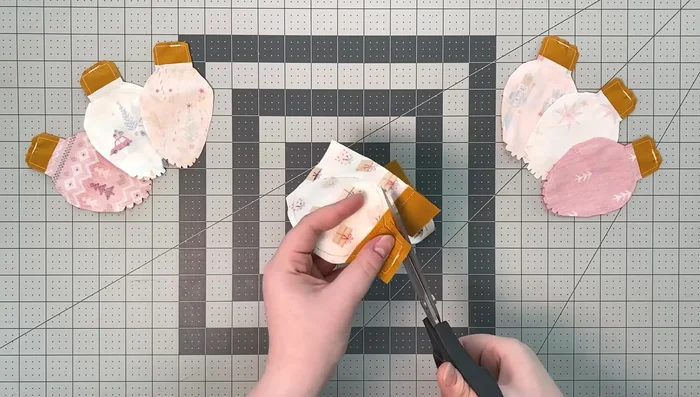
- Place the light bulb template on the fabric, aligning the base of the bulb over the solid fabric and the bulb itself over the print. Trace the template.
- Insert a small piece of twine (folded in half) and secure it with a fabric clip. Stitch around the traced light bulb, backstitching over the twine, leaving a small opening.
- Cut 1/4 inch around the sewn line, trim corners at an angle, and make notches at the bulb's end for easy turning.
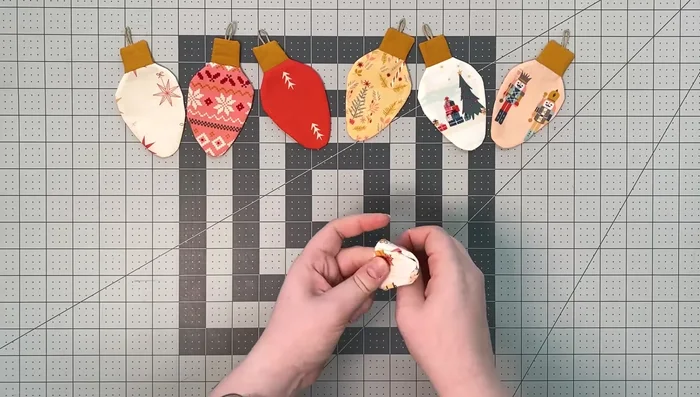
Create Light Bulb Covers - Turn the light bulb right side out, poke out corners, and press to remove wrinkles.
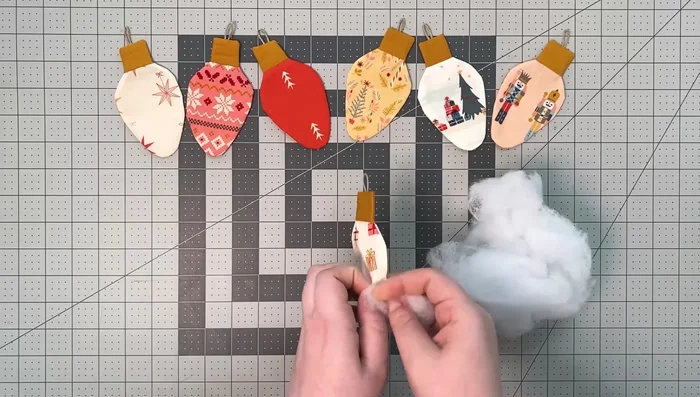
- Gently stuff the light bulb without overfilling.
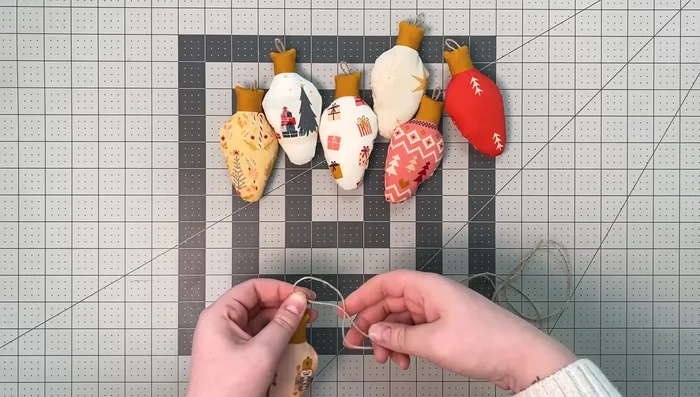
- Hand stitch the opening closed using an invisible stitch.
Create Light Bulb Covers Assemble Garland
- Tie a light bulb to the 40-inch twine at 5-inch intervals.
Assemble Garland


Read more: Sew a Lined Expandable Storage Bag: Easy Tutorial
Tips
- N/A