Autumn's vibrant hues are a feast for the eyes, and what better way to celebrate the season than by crafting beautiful, unique accessories? This year, skip the mass-produced jewelry and embrace the natural beauty of fall with a fun and simple DIY project: creating stunning leaf brooches. These charming embellishments are perfect for adding a touch of autumnal elegance to your wardrobe, and they make wonderful, personalized gifts for friends and family. Forget expensive store-bought decorations – with just a few readily available materials, you can transform the fallen leaves from your backyard into wearable works of art.
These adorable leaf brooches are surprisingly easy to make, even for beginners! No specialized crafting skills are needed – just a little patience and a dash of creativity. Ready to get started and add a touch of autumn magic to your style? Let's dive into the step-by-step instructions below to create your own beautiful, handcrafted leaf brooches.
Preparation and Safety Guidelines
- Petite fabrics
- Batik fabrics
- HeatnBond Lite
- Polyester and wool felts
- Tattered Leaves Bigs Die (Tim Holtz)
- Big Shot Machine
- Cardstock
- Variegated thread (Coats and Clark)
- Tim Holtz scissors
- Jute
- 1.5 inch pin backs
- Hot glue gun
- Fabric glue
- Quarter inch circle die
- Always supervise children when using sharp objects like scissors or pins.
- Ensure leaves are completely dry before crafting to prevent mold and ensure longevity of the brooch.
- Handle Mod Podge or other adhesive materials in a well-ventilated area and avoid contact with skin and eyes.
Step-by-Step Instructions
Prepare Fabric
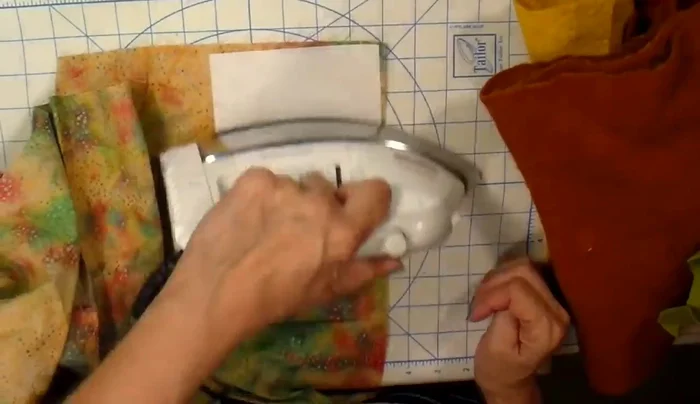
- Cut HeatnBond Lite to the same size as your die and iron it onto the back of your fabrics.

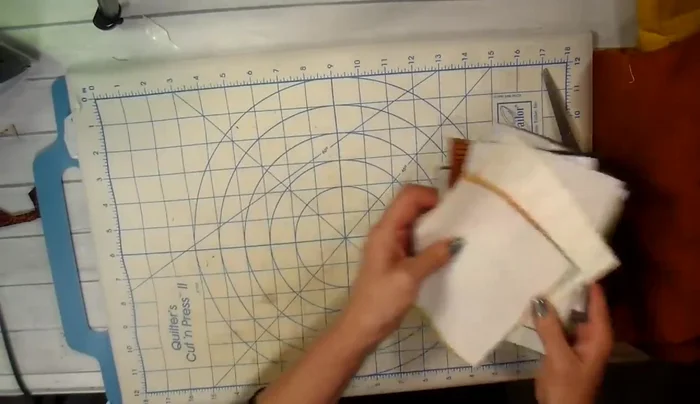
Prepare Fabric Cut Leaf Shapes
- Create a sandwich with your fabric, die, and cardstock shim. Run it through your Big Shot die-cutting machine.
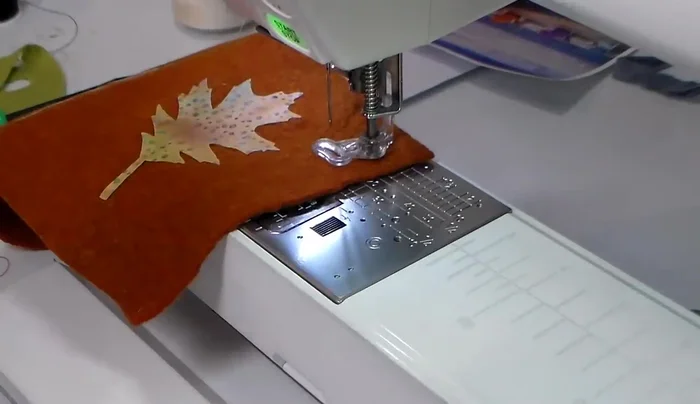
Cut Leaf Shapes Sew Leaves to Felt
- Sew the leaf shapes onto felt, leaving some felt showing around the edges. Use free motion stitching with a variegated thread for a decorative effect.
Sew Leaves to Felt Add Dimension to Leaves
- Add dimension to the leaves by creating a small dart or tuck on the back using a straight stitch.
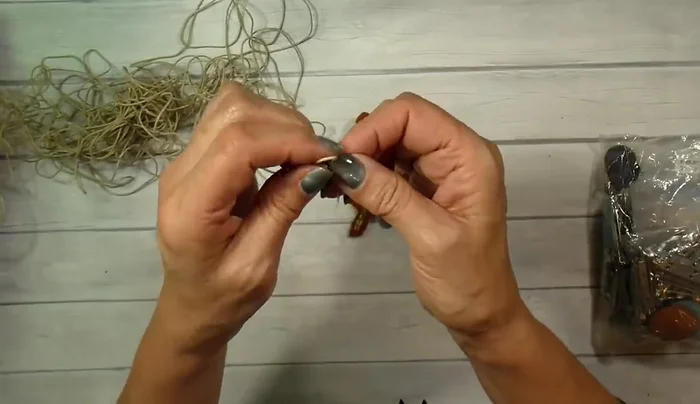
Add Dimension to Leaves Add Hanging Loop (Optional)
- Attach a jute loop for hanging using free motion stitching; avoid stitching through the knot.
Add Hanging Loop (Optional) Add Embellishments
- Sew a button onto the center of the leaf using a walking stitch.
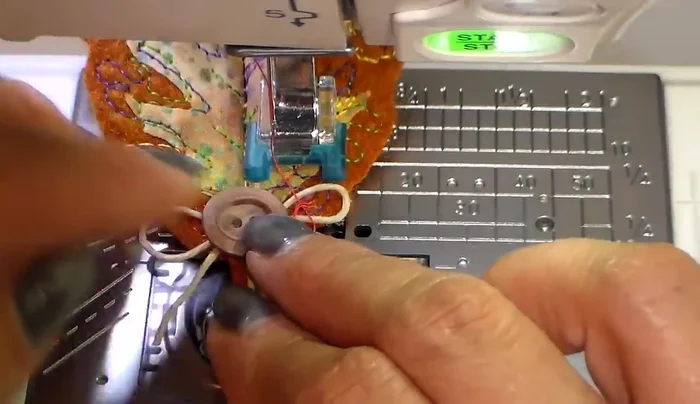
Add Embellishments Attach Pin Backs
- Cut small felt circles using a die and glue them to the back of each leaf. Attach the pin backs using hot glue.
Attach Pin Backs


Read more: Sew a Lined Expandable Storage Bag: Easy Tutorial
Tips
- Always bring seasonal, small items to craft shows; they often sell quickly and can cover booth costs.
- Use a variegated thread for added visual interest. Coats and Clark is a good option.
- Use high-quality pin backs to avoid snagging.
- Avoid using fabric glue when you have your nails done.