Transform your blank walls into captivating focal points with this stunning DIY fabric wall art project! Forget expensive, store-bought artwork – unleash your creativity and add a touch of personal flair to your home with a simple yet elegant solution. Using readily available materials and surprisingly straightforward techniques, you can create unique pieces that reflect your style and perfectly complement your existing décor. Whether you prefer bold geometric patterns or soft, flowing textures, this project offers incredible versatility, allowing you to tailor the design to your specific taste. The possibilities are endless, limited only by your imagination and fabric stash!
Ready to breathe new life into your walls? This easy-to-follow tutorial will guide you through each step of the process, from selecting your fabrics and materials to creating a finished piece you'll be proud to display. Let's dive into the creative process and learn how to craft your own beautiful fabric wall art!
Preparation and Safety Guidelines
- Canvases
- Bed sheet
- Bucket
- Mod Podge
- Paint brushes
- Water
- Stiffening spray
- White acrylic paint
- Clear gloss spray
- E6000 glue
- Command hooks
- Level
- Drop cloth
- Always use sharp scissors or a rotary cutter when cutting fabric to avoid injury. Keep fingers clear of the blade.
- If using a hot glue gun, exercise extreme caution. Hot glue can cause serious burns. Keep the gun away from children and pets, and work on a heat-resistant surface.
- When working with fabrics that may contain dyes, be mindful of potential staining. Protect your work surface and wear clothing you don't mind getting slightly soiled.
Step-by-Step Instructions
Prepare Materials and Workspace
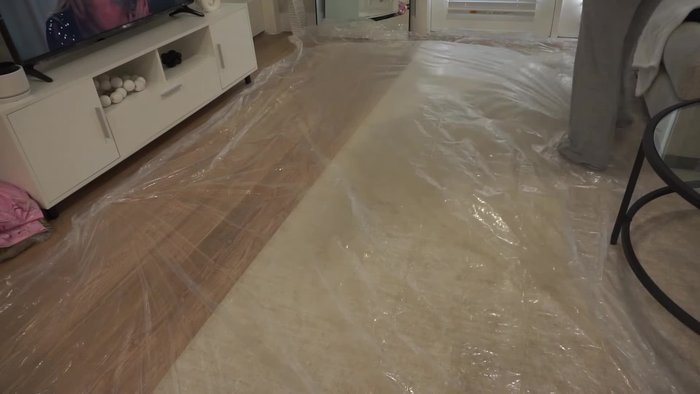
- Lay down a drop cloth to protect your surface.
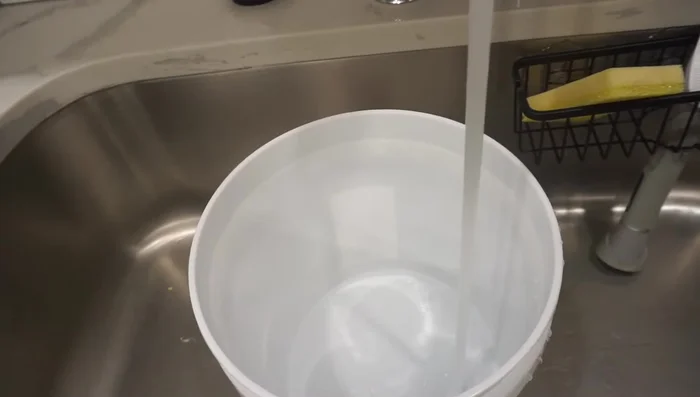
- Create a glue mixture by combining Mod Podge and water in a bucket.

Prepare Materials and Workspace Prepare and Apply Fabric to Canvas
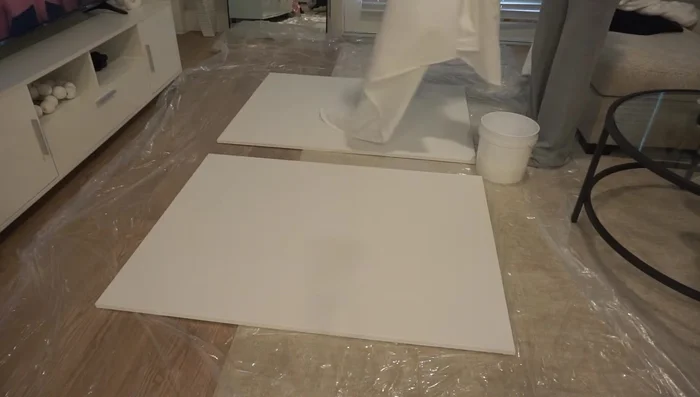
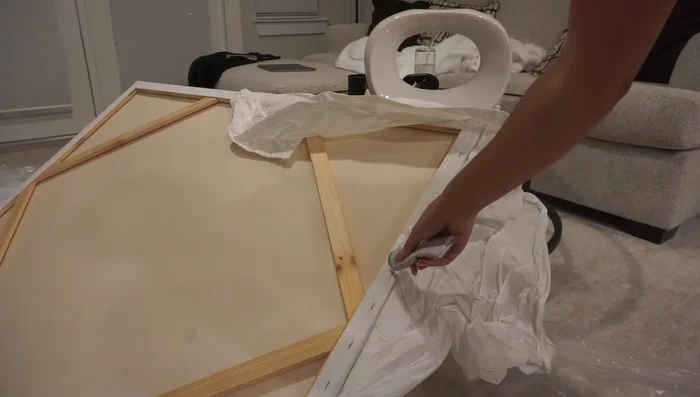
- Completely saturate the bed sheet in the Mod Podge mixture, then wring out excess water.
- Smoothly place the soaked bed sheet onto your canvases, creating wrinkles for texture.
- Paint the remaining Mod Podge mixture onto the fabric to secure it to the canvas.
Prepare and Apply Fabric to Canvas Dry and Stiffen Fabric
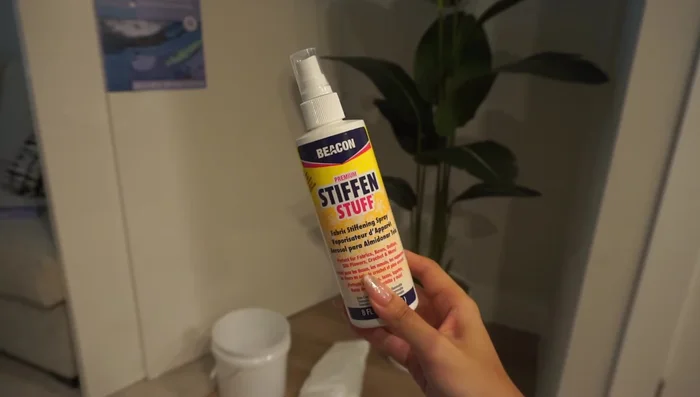
- Spray stiffening spray onto the fabric to harden it. Let it dry overnight.
Dry and Stiffen Fabric Trim and Paint
- Cut off any excess fabric around the edges of the canvases.
- Apply white acrylic paint to the canvases and fabric, allowing for a non-uniform look.
Finish and Seal
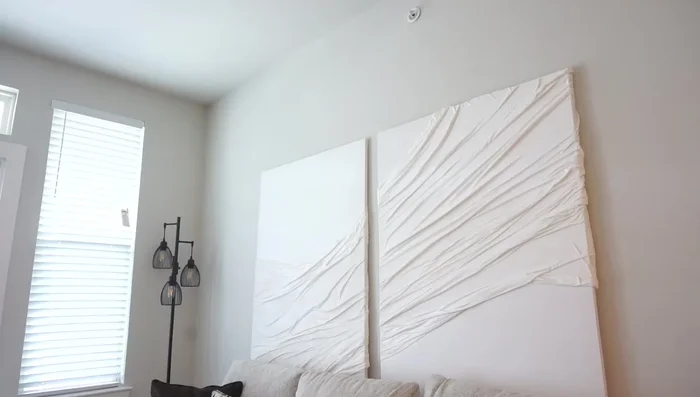
- Once dry, spray a clear gloss onto the fabric, focusing on the wrinkles for a wet look. Let it dry overnight.
- Use E6000 glue to fold over the fabric edges for a neat finish. Alternatively, you can staple the edges.
Finish and Seal Hang the Art
- Use Command hooks, ensuring they are level and evenly spaced.
Hang the Art
Read more: Sew a Lined Expandable Storage Bag: Easy Tutorial
Tips
- Use a drop cloth to prevent messes.
- Trim excess fabric while it's still wet for easier handling.
- Use a level to ensure the canvases hang straight.