Tired of overflowing closets and haphazardly piled fabrics? Transform your fabric stash from chaotic clutter into an organized masterpiece with these easy-to-make DIY fabric storage baskets! Using readily available materials and a simple technique, you can create beautiful and functional storage solutions perfect for quilting cotton, yarn, ribbons, or any other crafting supplies. Forget flimsy, store-bought baskets that fall apart – these durable baskets, stabilized with pelon, will stand up to years of use, keeping your precious materials safe and wrinkle-free.
This tutorial provides a step-by-step guide to crafting your own stunning fabric storage baskets, perfect for adding a touch of personalized style to any room. Whether you're a seasoned sewer or a complete beginner, you'll find this project accessible and rewarding. Let's dive into the process of creating beautiful, durable fabric storage baskets that will help you organize and showcase your favorite fabrics.
Preparation and Safety Guidelines
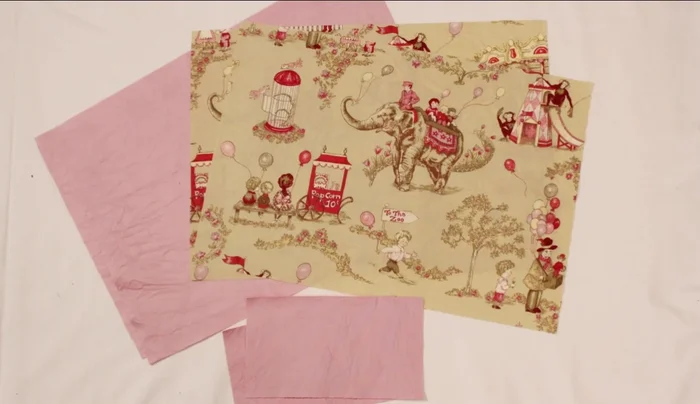
- Fabric (outer and lining)
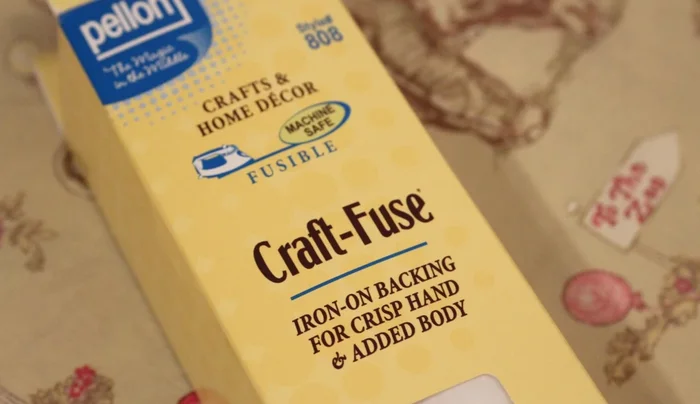
- Pelon craft fuse stabilizer
- Sewing machine
- Iron
- Damp cloth
- Ruler
- Pins
- Scissors
- Always use caution when working with sharp objects like scissors and rotary cutters. Keep fingers clear of blades.
- Ensure your work area is well-ventilated, especially when using spray adhesive. Follow all manufacturer's instructions on adhesive usage.
- Pelon stabilizer can be slippery. Use a non-slip mat underneath your fabric to prevent shifting while cutting and sewing.
Step-by-Step Instructions
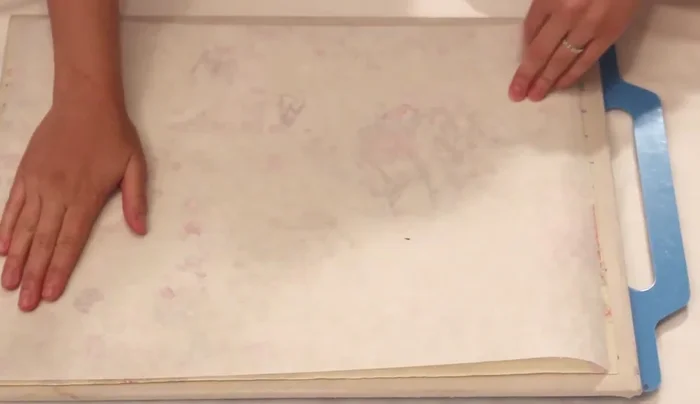
Prepare Fabric and Stabilizer
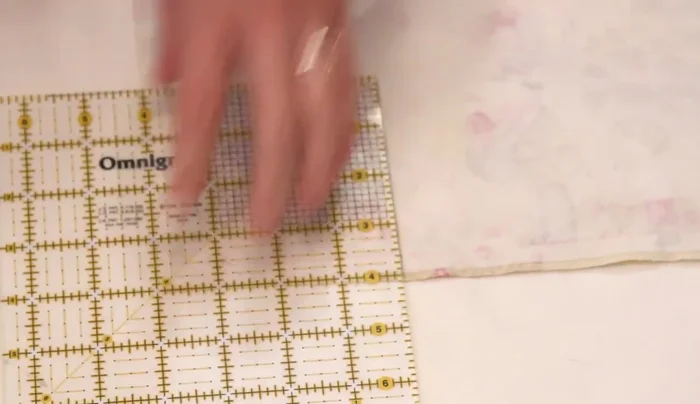
- Two 13x19 inch pieces for outer and lining fabric, two 5x1 inch pieces for handles.
- Two 13x19 inch pieces of stabilizer.

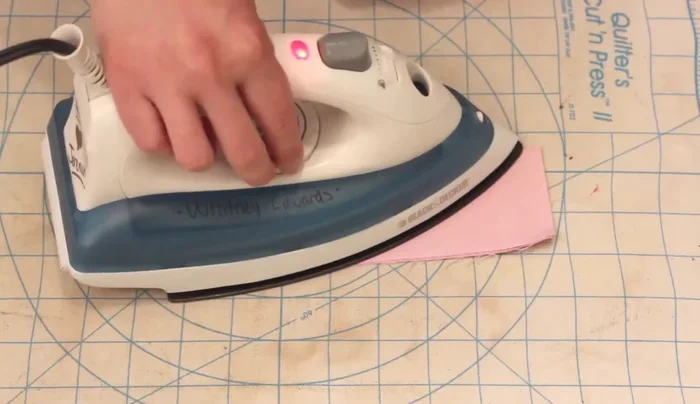
Prepare Fabric and Stabilizer Fuse Stabilizer to Fabric
- Use iron on wool setting and damp cloth to fuse stabilizer to the back of outer fabric pieces.
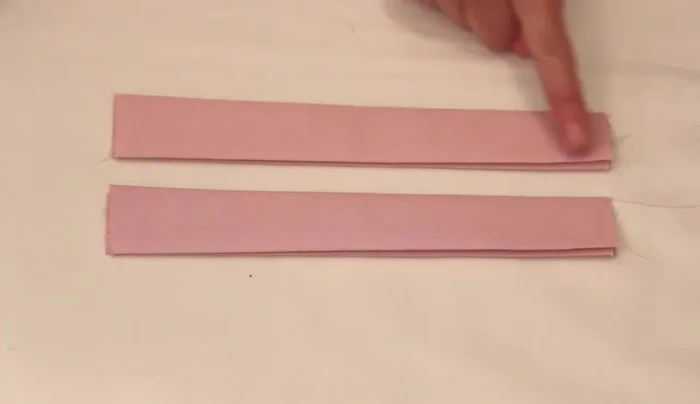
Fuse Stabilizer to Fabric Create and Attach Handles
- Fold handle pieces in half, wrong sides together, press. Open, bring edges to center, press. Re-fold and press.
- Sew along long edges of handle pieces.
Create and Attach Handles Construct Outer and Lining
- Sew both sides and bottom of each set with a 1/2 inch seam allowance.
Construct Outer and Lining Reinforce Bottom Corners
- Mark a 4-inch square on each bottom corner. Cut out the squares, open up the cut portions, and realign so the side and bottom seams line up. Sew with a 1/4 inch seam allowance.
Reinforce Bottom Corners Assemble Basket Body
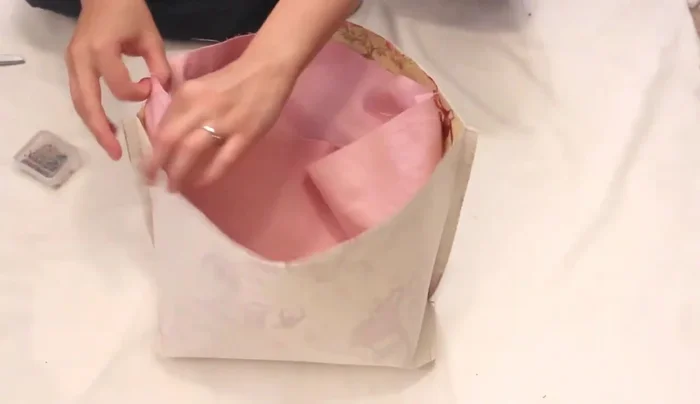
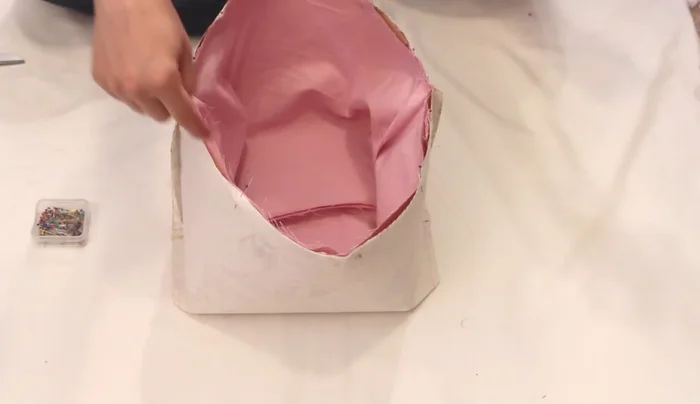
- Place one fabric set inside the other (right sides together). Pin at side seams, then pin in the center of the front and back, and other places in between. Sew.
- Insert handles between the layers.
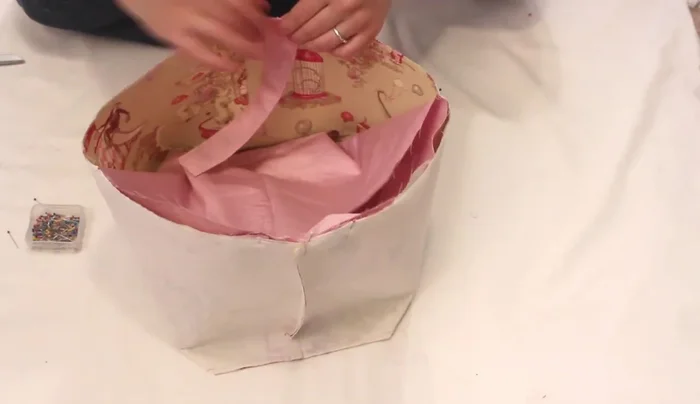
Assemble Basket Body Sew and Finish Top Edge
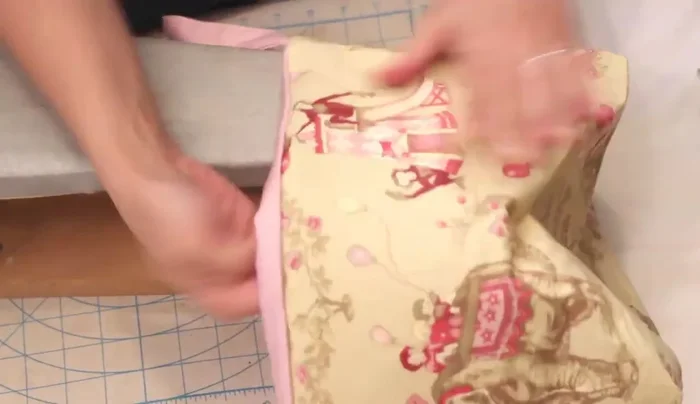
- Sew along the top with a 1/2 inch seam allowance, leaving a 6-inch opening for turning.
Sew and Finish Top Edge Turn and Finish
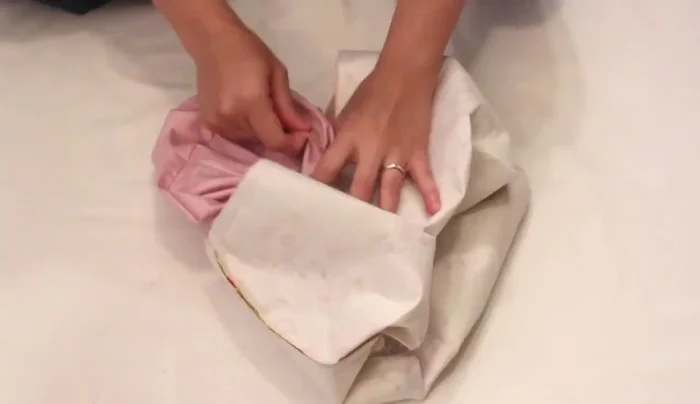
- Turn the basket right side out through the opening.
- Iron the top edge, turn in the seam allowance at the opening, and top stitch all the way around to close the hole.
Turn and Finish

Read more: Sew a Lined Expandable Storage Bag: Easy Tutorial
Tips
- Using Pelon stabilizer adds structure to the basket.
- This project can be made in different sizes and fabrics.