The holiday season is a time for warmth, family, and of course, decorating! This year, ditch the expensive store-bought ornaments and embrace the charm of handcrafted decorations with our quick and easy DIY fabric scrap Christmas ornaments. Transforming leftover fabric scraps into festive tree adornments is not only budget-friendly but also a fantastic way to personalize your Christmas tree with unique, one-of-a-kind pieces that reflect your style. It's a perfect project for crafters of all levels, requiring minimal supplies and surprisingly little time.
Forget complicated sewing techniques and intricate designs; this method prioritizes simplicity and speed. Using just a few basic supplies and a touch of creativity, you can create a stunning array of ornaments in a single afternoon. Ready to get started and add a handmade touch to your holiday decor? Let's dive into the step-by-step process and create some beautiful fabric scrap Christmas ornaments together!
Preparation and Safety Guidelines
- Fabric scraps
- Backing fabric (felt or cotton)
- Cotton batting
- Ribbon
- Sewing machine
- Pinking shears
- Iron (optional)
- Always supervise children when using scissors, needles, or hot glue guns.
- Ensure fabric scraps are clean and pre-washed to prevent dye transfer or shrinkage.
- Allow hot glue to cool completely before handling ornaments to prevent burns.
Step-by-Step Instructions
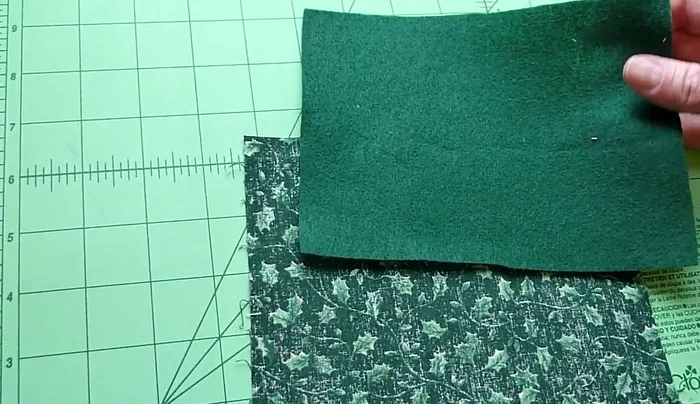
Prepare Materials
- Lay backing fabric (right side down), felt on top.

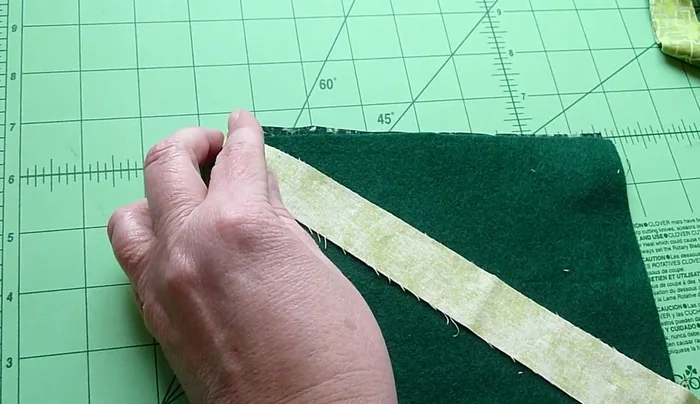
Prepare Materials Create Fabric Patchwork
- Place a fabric scrap (right side down) corner to corner on the felt. Stitch a quarter-inch seam along the edge.
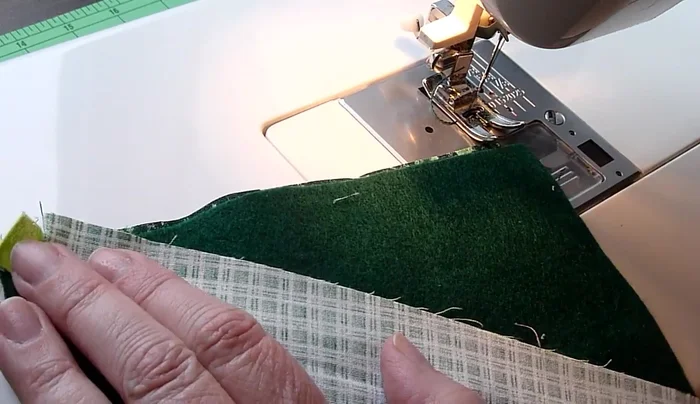
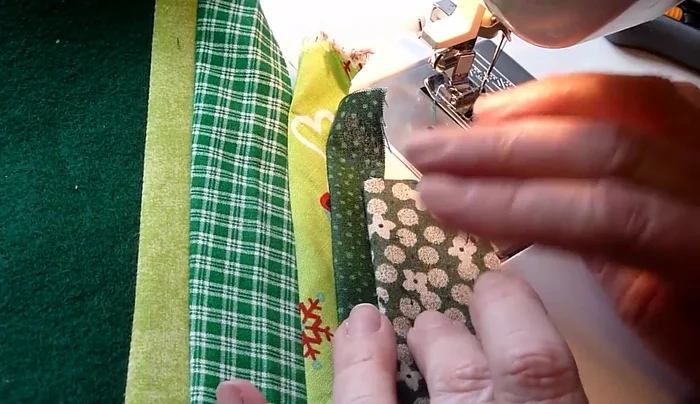
- Add more fabric strips, matching raw edges, and stitching a quarter-inch seam. Finger press or iron seams open.
- Continue adding fabric strips until you reach the corner. Fold and flip the last piece to create a seamless edge.
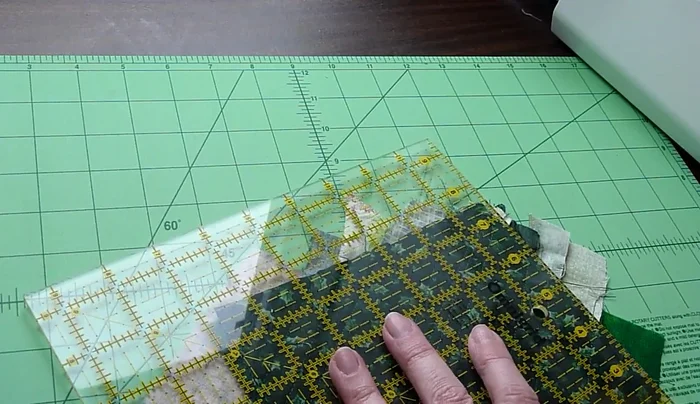
Create Fabric Patchwork Prepare Ornament Shape
- Trim the edges to match your desired size. Trace your ornament shape onto the back (using paper, cookie cutter, or freehand).
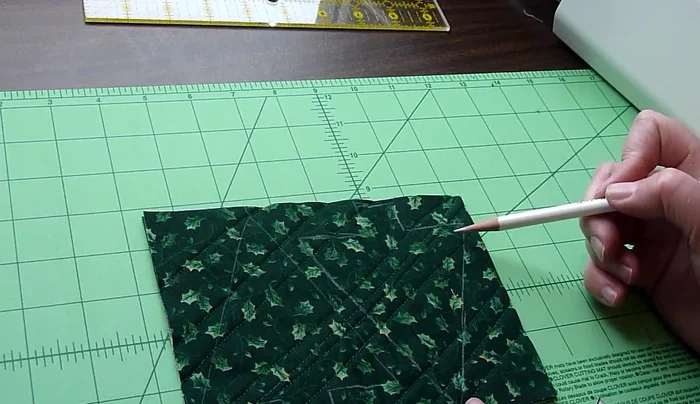
Prepare Ornament Shape Stitch Ornament
- Stitch a 1/4-inch seam inside the traced lines. Remember to pivot at the corners. At the top, leave a small opening for the ribbon.
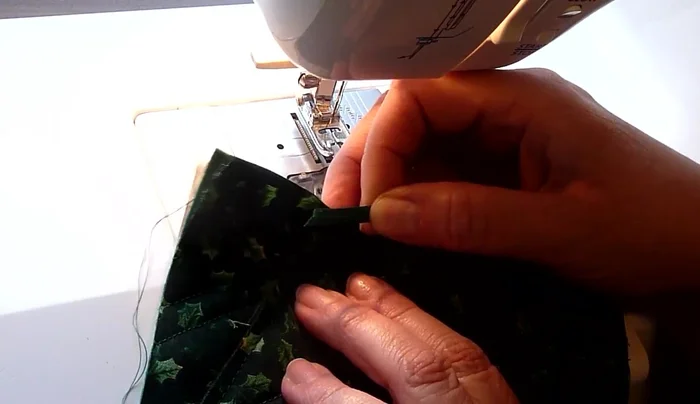
Stitch Ornament Add Ribbon
- Insert the ribbon into the opening at the top of the tree, ensuring it's secure. Stitch around the top to secure the ribbon.
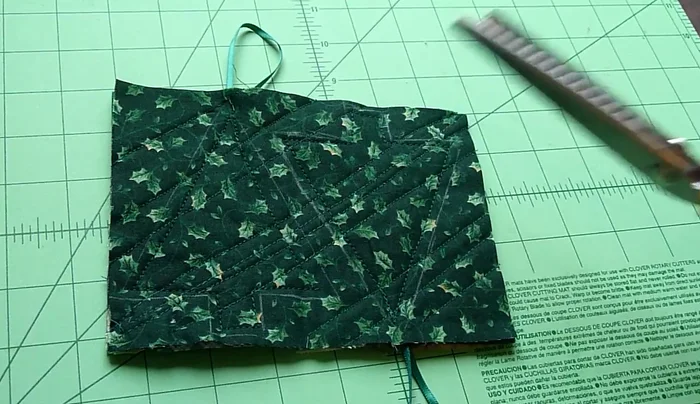
Add Ribbon Finish and Decorate
- Use pinking shears to cut along the stitched lines, being careful not to cut the ribbon. Add decorative stitching if desired.
Finish and Decorate
Read more: Sew a Lined Expandable Storage Bag: Easy Tutorial
Tips
- Be careful when ironing felt, as it can melt.
- Cut off long fabric tails to avoid bulkiness, but short tails are fine.
- Using a larger fabric piece (5x9 inches) allows for three ornaments.
- When stitching the top, do a couple of back-and-forth stitches to secure the ribbon.