The holiday season is a time for warmth, togetherness, and adorning our homes with festive cheer. This year, ditch the mass-produced decorations and embrace the joy of crafting your own unique ornaments! Adding a personal touch to your holiday décor is incredibly rewarding, and creating charming fabric ornaments is easier than you might think. Forget expensive store-bought decorations and unleash your inner artist with simple, readily available materials. The satisfaction of hand-making beautiful, one-of-a-kind ornaments far outweighs the convenience of pre-made options, and the result is something truly special.
This guide offers a delightful journey into the world of DIY fabric ornaments, perfect for adding a touch of handmade warmth to your Christmas tree, mantelpiece, or gift wrapping. We’ll walk you through each step of the process, from choosing your fabrics and patterns to the final touches that will make your creations truly shine. Let's dive right in and discover how to create adorable, personalized fabric ornaments that will be treasured for years to come!
Preparation and Safety Guidelines
- Decorative nautical rope (Dollar Tree)
- Ribbon (Joann's)
- Clear plastic ornament (Dollar Tree/Walmart)
- Fabric
- Mod Podge
- Paintbrush
- Scissors
- Hot glue gun
- Always supervise young children when using sharp objects like scissors or needles.
- Ensure your work area is well-lit and free of clutter to prevent accidents.
- If using a hot glue gun, be extremely cautious of burns. Allow glue to cool slightly before handling.
Step-by-Step Instructions
Prepare Fabric Circles
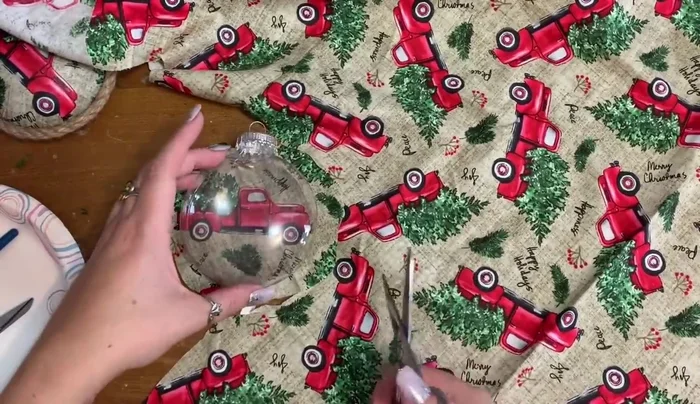
- Cut fabric circles:

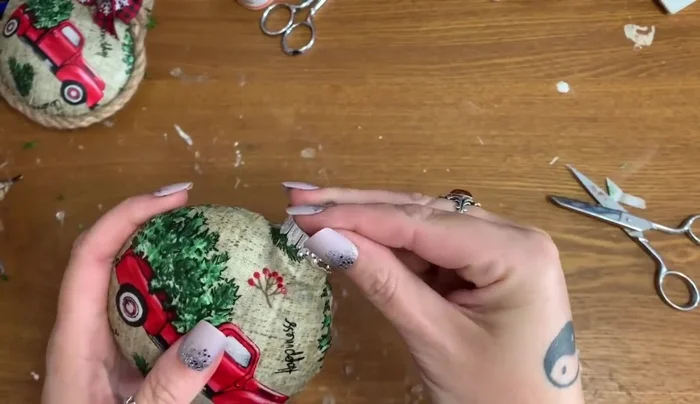
Prepare Fabric Circles Cover One Side with Fabric
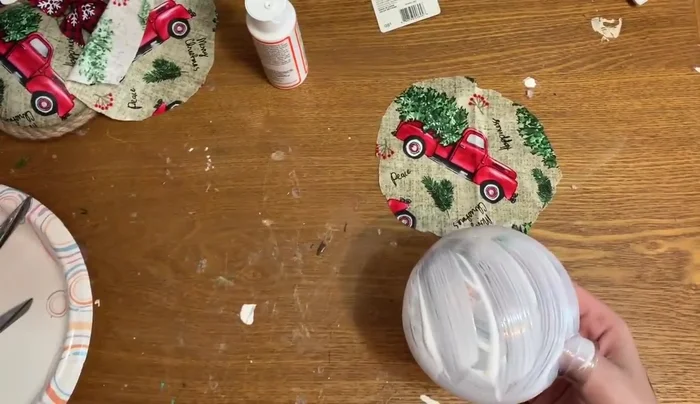
- Apply Mod Podge to the ornament:
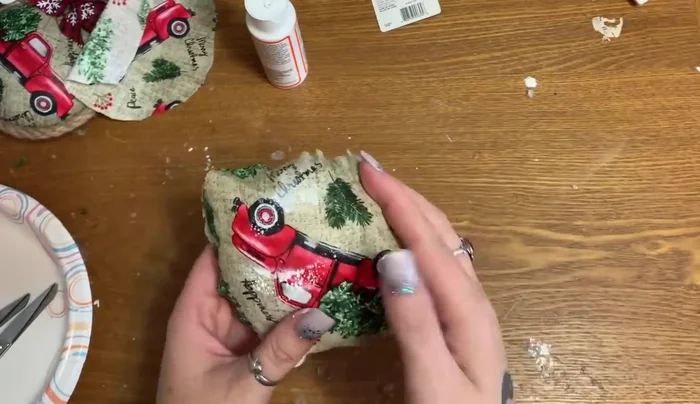
- Attach fabric to the ornament and smooth:
- Trim excess fabric:
Cover One Side with Fabric Cover the Other Side with Fabric
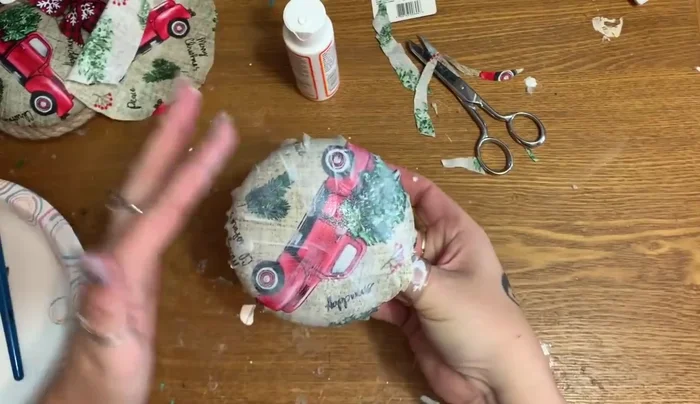
- Repeat steps 2-4 for the other side of the ornament:
Cover the Other Side with Fabric Secure and Dry
- Add more Mod Podge to secure the fabric:
- Let the Mod Podge dry completely:
Secure and Dry Attach Ornament Cap
- Attach the ornament cap:
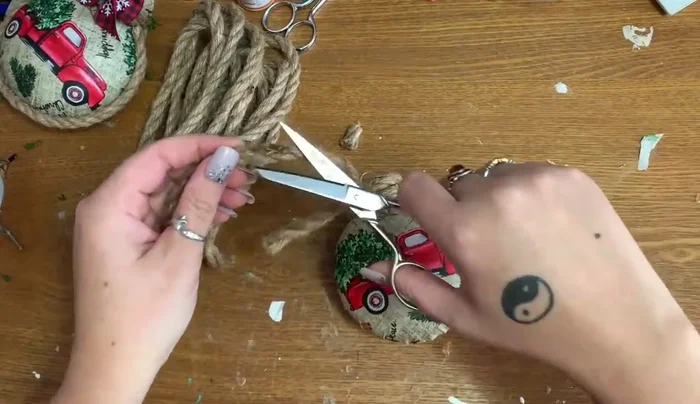
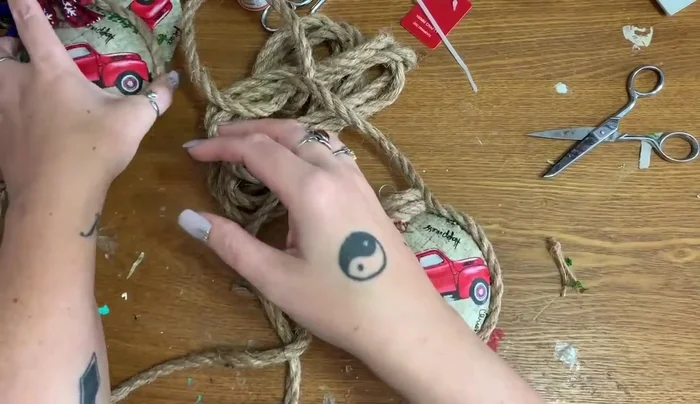
Attach Ornament Cap Decorate with Rope
- Wrap rope around the top of the ornament using hot glue:
- Glue rope around the edges to create a frame:
Decorate with Rope Add Bow and Hanger
- Tie a bow and glue it to the top:
- Add a hanger using twine or ribbon:
Add Bow and Hanger


Read more: Sew a Lined Expandable Storage Bag: Easy Tutorial
Tips
- Cut the fabric about a half-inch larger than the ornament.
- Don't worry about wrinkles; the rope will cover them.
- Cut fabric overlaps to ensure a neat finish.
- Use plenty of Mod Podge for a strong bond.
- Cutting rope at an angle helps it lay flatter.