Are you drowning in a sea of fabric scraps, overflowing bins, and haphazardly stacked projects? Cluttered fabric can quickly derail even the most enthusiastic sewing enthusiast. A well-organized fabric stash, however, is a joy to behold, making it easier to find exactly what you need when inspiration strikes. This isn't just about tidiness; efficient fabric storage saves you valuable time searching and allows you to appreciate the beauty of your collection. Say goodbye to frustrating fabric hunts and hello to a streamlined crafting space!
This tutorial will guide you through the creation of a beautiful and functional DIY fabric organizer, perfect for keeping your fabrics neatly sorted and readily accessible. We'll walk you through each step, from selecting your materials to the final touches, ensuring you end up with a customized storage solution that fits your needs and complements your sewing space. Let's dive into the step-by-step process and transform your fabric chaos into organized crafting bliss!
Preparation and Safety Guidelines
- Canvas fabric
- Interfacing
- Elastic
- Sewing machine (optional)
- Pins
- Scissors
- Iron
- Always use sharp scissors or a rotary cutter to prevent fabric from fraying and ensure clean cuts. Dull blades can lead to uneven cuts and potential injury.
- If using a sewing machine, ensure you are familiar with its operation and safety features. Always keep your fingers clear of the needle.
- Handle pins and needles with care to avoid accidental pricks. Store them safely in a pincushion or container when not in use.
Step-by-Step Instructions
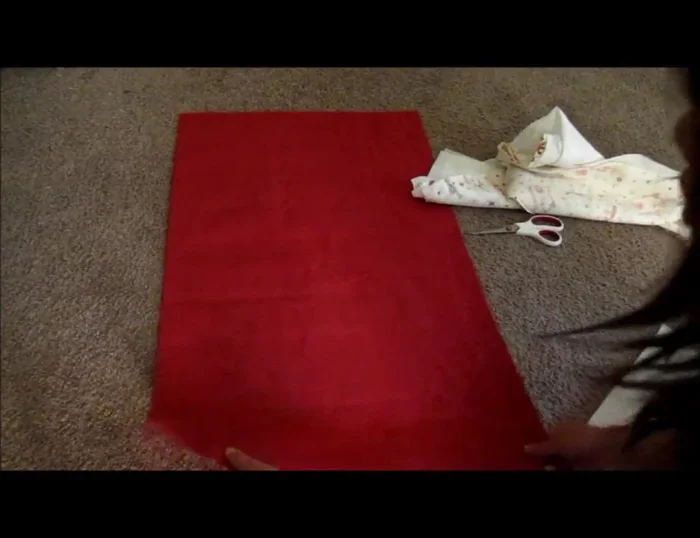
Prepare Base and Pocket Fabrics
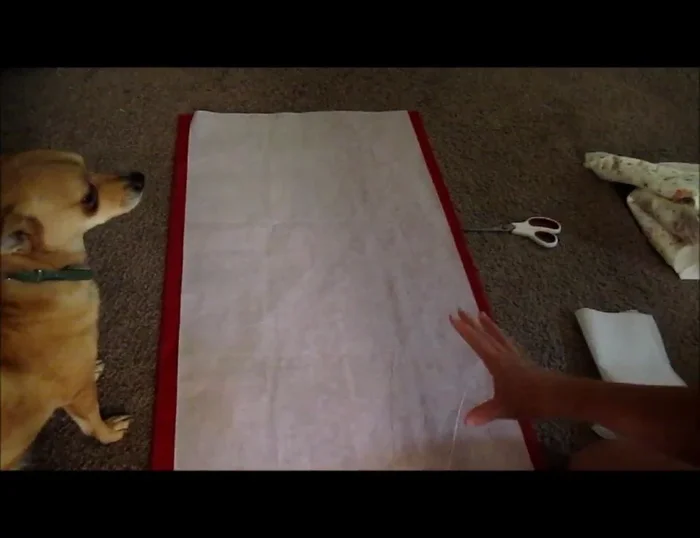
- Cut out the base piece of canvas fabric (approximately 1 yard). Cut a matching piece of interfacing.
- Fuse the interfacing to one layer of the canvas base piece using an iron.
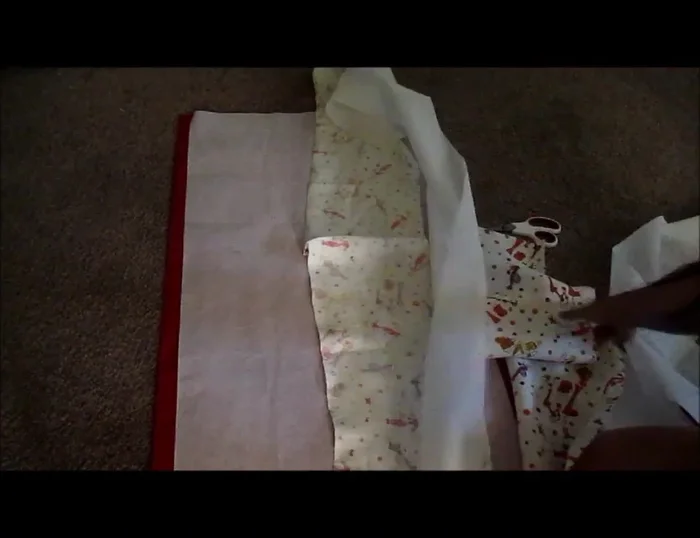
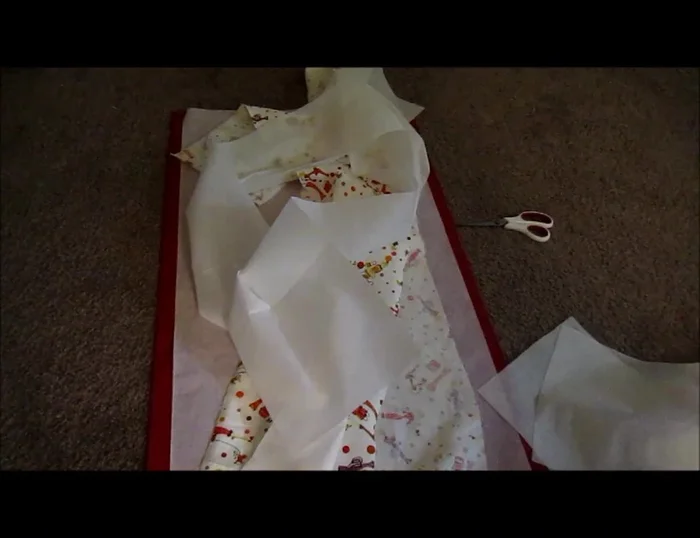
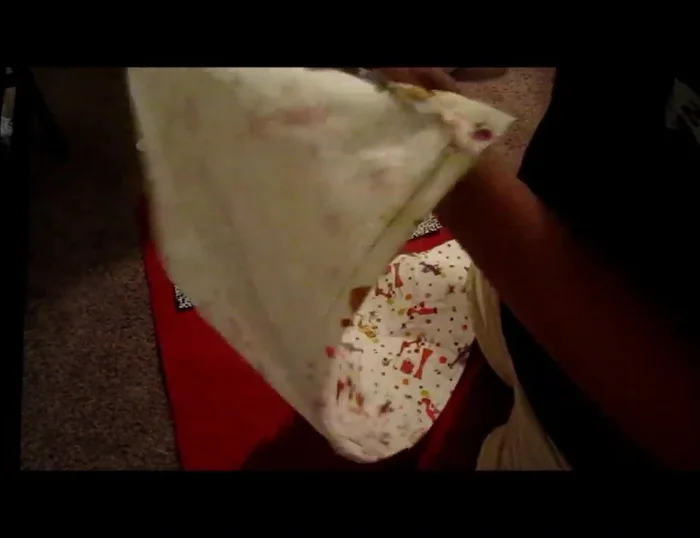
- Cut out two long pieces of fabric for the bottom pockets (approximately 60 inches long and 10-12 inches wide). Cut matching interfacing pieces.
- Fuse the interfacing to the back of the pocket fabric pieces.

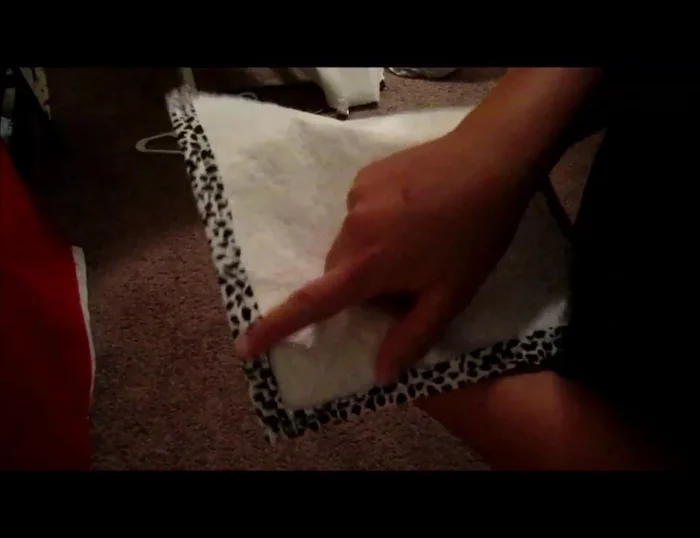
Prepare Base and Pocket Fabrics - Hem the edges of the bottom pocket fabrics and the base piece.
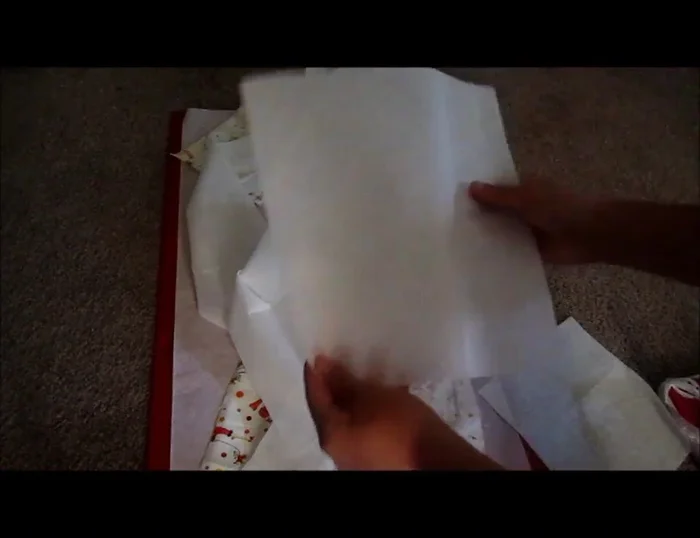
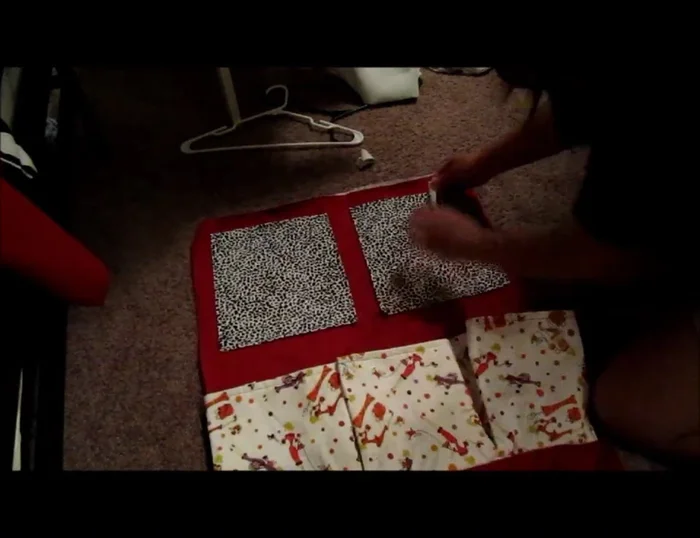
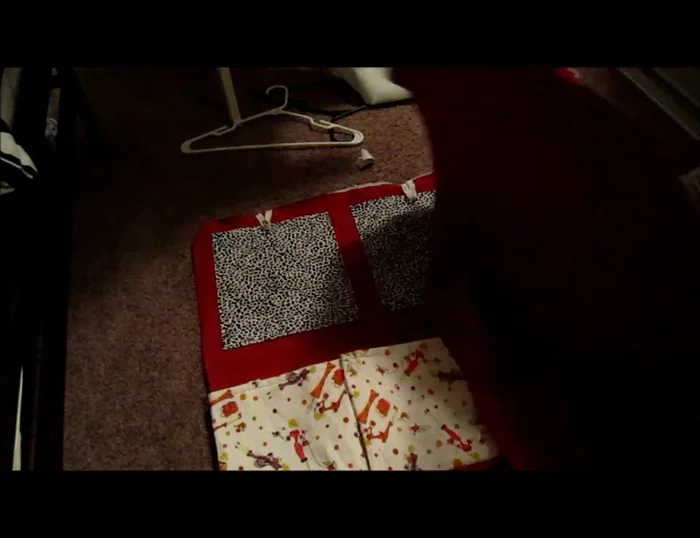
- Cut out the fabric for the top pockets (approximately 12 inches by 15 inches). Fuse interfacing to the back.
- Hem the edges of the top pocket fabrics.
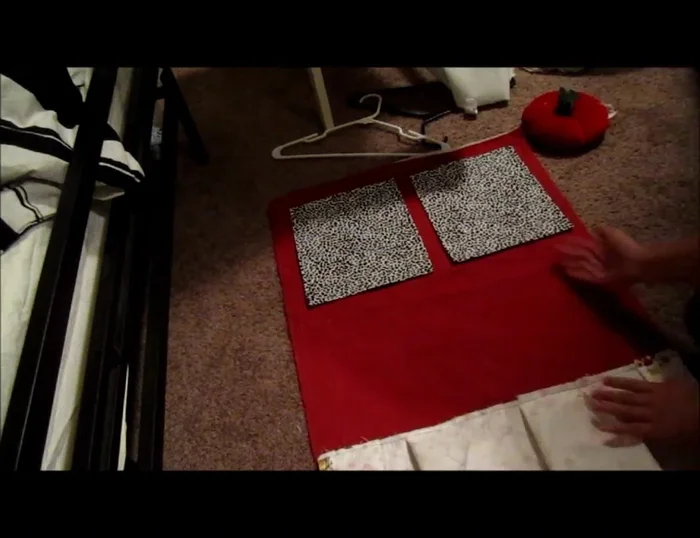
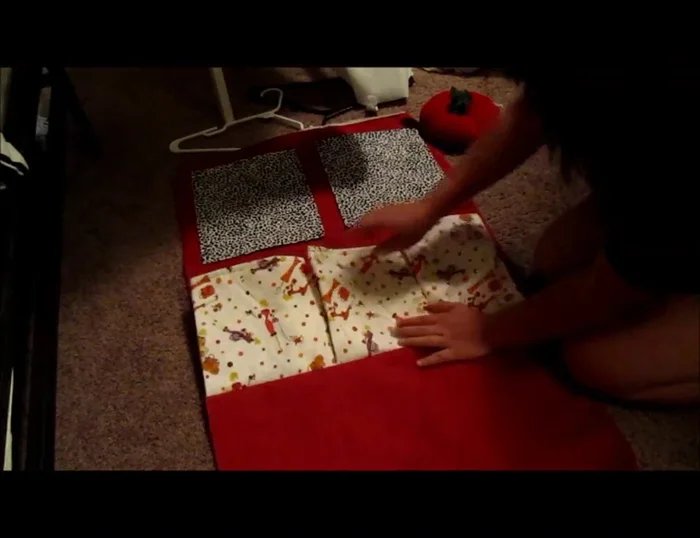
Prepare Base and Pocket Fabrics Attach Bottom Pockets
- Pin and sew three sides of the bottom pocket fabrics to the base piece, leaving the top open.
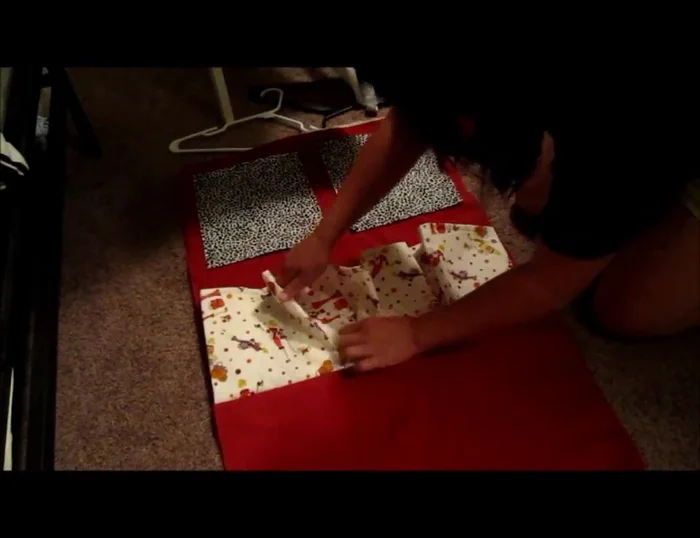
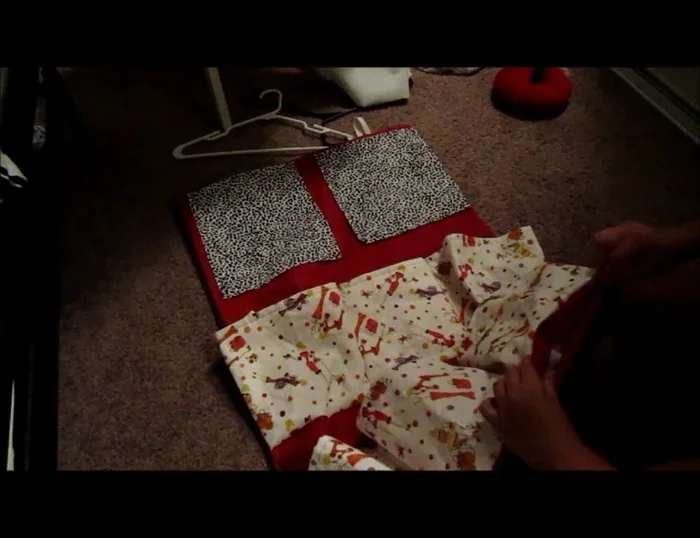
- Pleat the bottom pocket fabrics to create pockets. Secure the pleats with a basting stitch.
- Sew the pleated pockets onto the base piece.
- Topstitch the bottom of the pleated pockets for a cleaner look (optional).
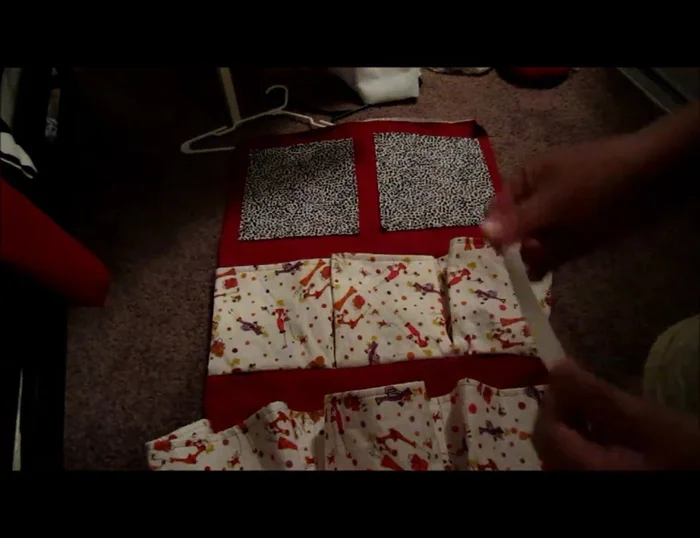
Attach Bottom Pockets Sew and Finish Pockets
- Stitch up the sides of the pockets, separating them with a straight stitch down the middle.
Sew and Finish Pockets Prepare and Attach Hanging Hardware
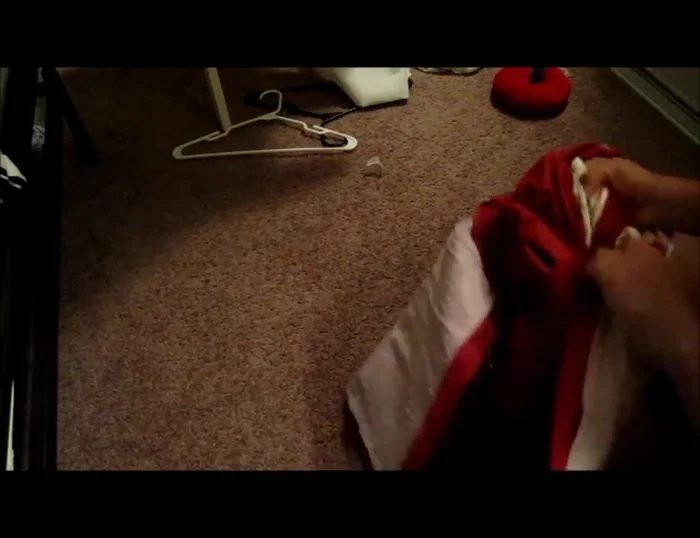
- Prepare two pieces of elastic or fabric strings for hanging.
- Pin the elastic/strings to the top of the organizer.
Prepare and Attach Hanging Hardware Assemble and Finish Organizer
- Place the second base piece on top of the first, right sides facing, enclosing the pockets and strings. Sew around the edges, leaving a 4-5 inch opening.
- Turn the organizer right side out through the opening.
- Close the opening by hand or machine stitching.
Assemble and Finish Organizer


Read more: Sew a Lined Expandable Storage Bag: Easy Tutorial
Tips
- Use interfacing to stabilize the fabric and prevent ripping.
- Hemming the edges before sewing will give a neater finish.
- Eyeballing the pleats for the bottom pockets is acceptable if you are not a perfectionist.