Traveling with valuables can be stressful, especially when relying on potentially insecure hotel safes. But what if you could create your own secure, portable safe, using materials readily available and easily concealed? This guide demonstrates how to craft a discreet and effective fabric hanger safe, perfect for keeping your passport, jewelry, or other small essentials safe and sound during your travels. It's a surprisingly simple project that requires minimal sewing skills and inexpensive materials, offering a peace of mind that surpasses standard hotel security measures.
Forget bulky, easily-spotted safes; this DIY project provides a hidden, readily portable solution for your travel security needs. We'll walk you through each step, from gathering the necessary materials to the final stitching, ensuring you'll be equipped to create your own personalized fabric hanger safe in no time. Follow along as we transform a simple clothes hanger into a clever and secure travel companion.
Preparation and Safety Guidelines
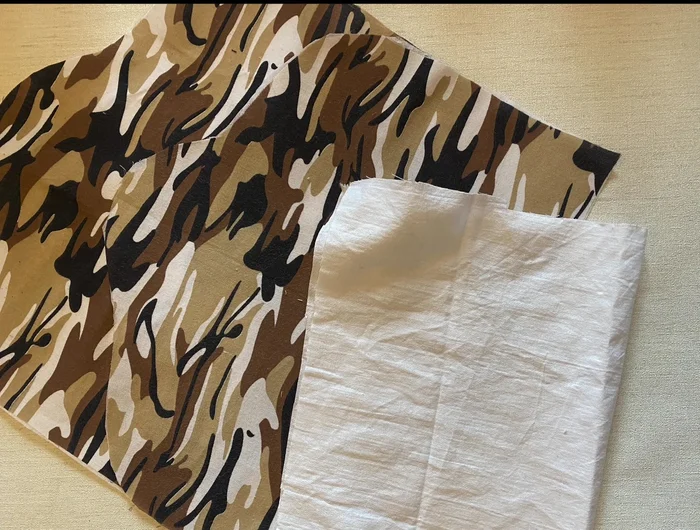
- Cotton or canvas fabric
- Interfacing
- A3 paper
- Old plastic hanger
- 9 or 10 inch zipper
- Sewing machine
- Thread
- Pins
- Scissors
- This DIY fabric hanger safe is for concealing small, low-value items. Do not use it for valuables or important documents. It offers concealment, not impenetrable security.
- Always inspect the seams and stitching before use to ensure the safe is securely constructed and won't easily come undone.
- Avoid overstuffing the safe. Overfilling can weaken the seams and make it obvious that something is hidden inside.
Step-by-Step Instructions
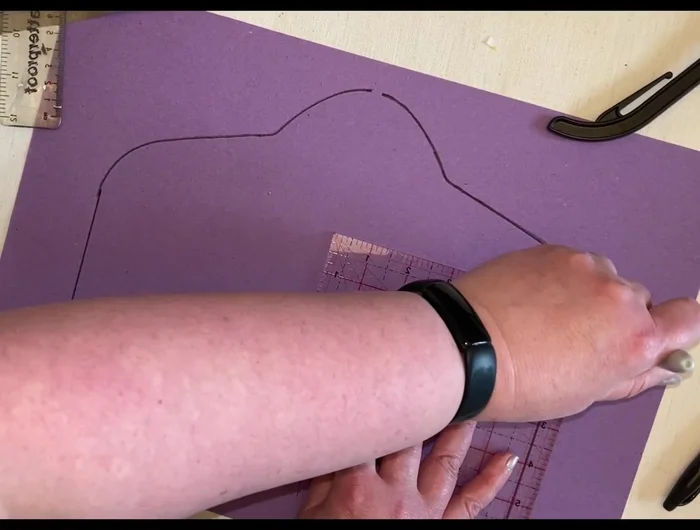
Create the Pattern
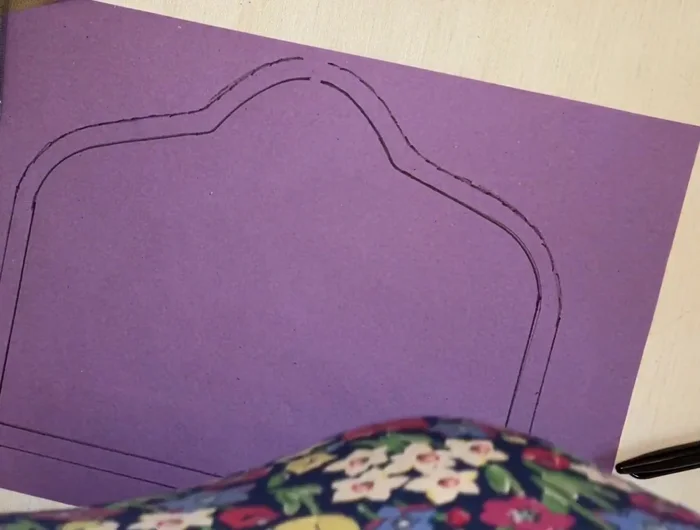
- Draw around the plastic hanger on A3 paper, extending the lines to create the desired size of your fabric safe.
- Draw a seam allowance (about half an inch) around the outline.
- Cut out the pattern and use it to cut two outer fabric pieces and interface them. Cut a piece of pocket fabric (approx. 10x20 inches).

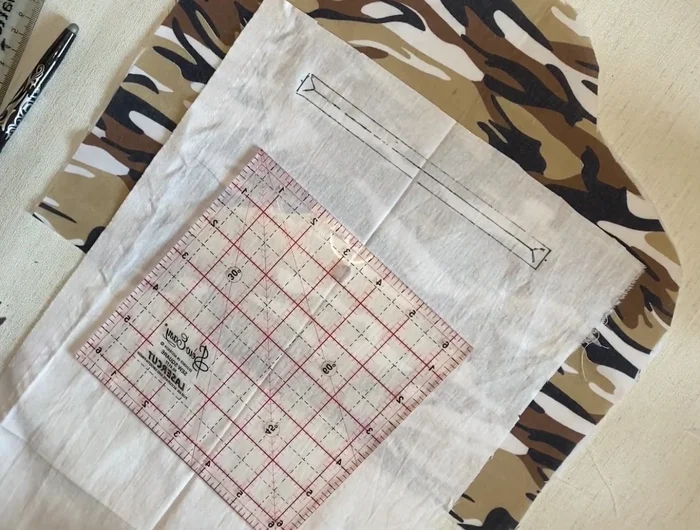
Create the Pattern Prepare the Pocket
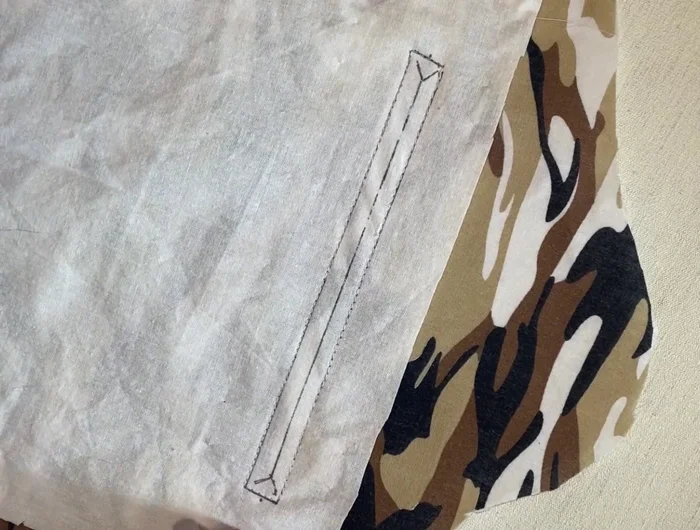
- Press the center of the outer and pocket fabrics. Align pocket fabric to the right side of outer fabric and mark the pocket opening (a rectangle about 0.5 inch high and 7 inches wide).
- Sew around the marked pocket outline.
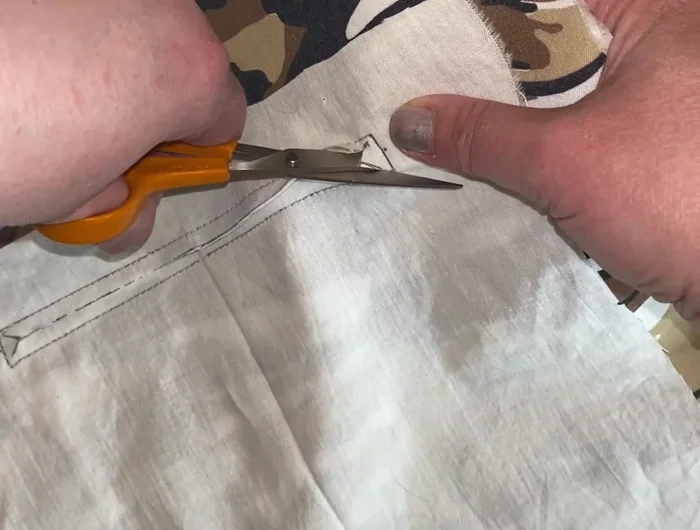
- Unpin the pocket fabric and make a slit in the center, carefully cutting into both pocket and outer fabric, then cut down the small triangles.
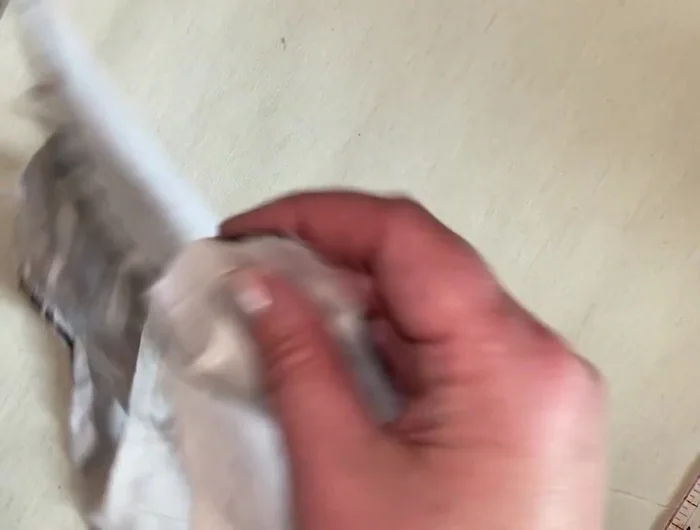
- Push the pocket lining through the opening, press to create a neat finish.
Prepare the Pocket Attach the Zipper
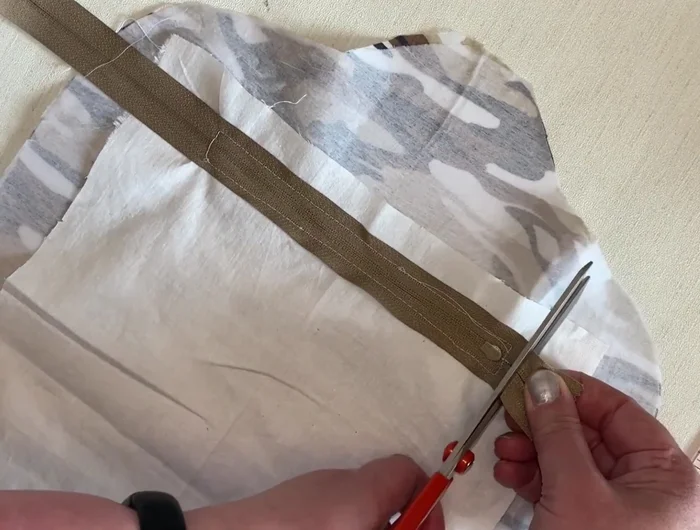
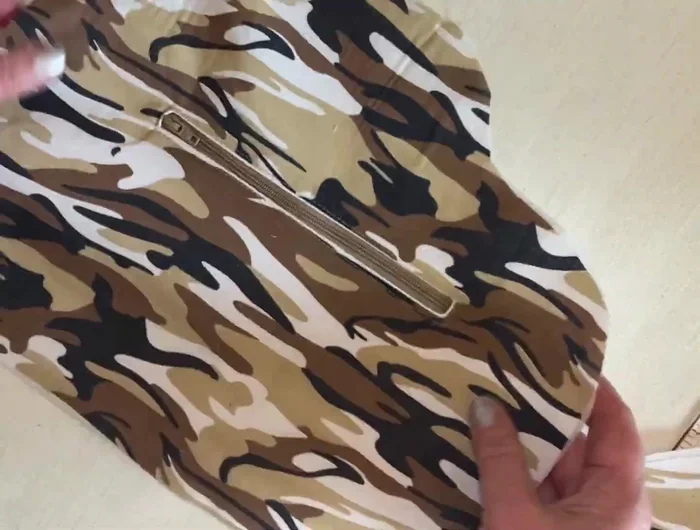
- Insert the zipper behind the pocket opening, pin, and sew to secure.
- Trim the zipper ends and close up the pocket edges.
Attach the Zipper Assemble the Safe
- Put the outer fabric pieces together, leaving a gap at the top. Sew down each side to the bottom.
- Clip and trim the corners. Turn the fabric right side out and press.
Assemble the Safe Insert Hanger and Finish
- Insert the plastic hanger through the top hole, adjusting to fit, and close the seam with top stitching.
Insert Hanger and Finish


Read more: Sew a Lined Expandable Storage Bag: Easy Tutorial
Tips
- Use a plastic hanger for easier bending and insertion.