Tired of generic, mass-produced picture frames? Do you yearn to add a touch of personalized elegance to your cherished photographs and artwork? Then look no further! This guide will walk you through creating a stunning, custom picture frame using nothing more than fabric and a few simple tools. Forget expensive, pre-made options; unleash your creativity and craft a unique frame that perfectly complements your style and décor. The possibilities are endless – from bold patterns to subtle textures, you can tailor your frame to any aesthetic.
Transforming a plain frame into a sophisticated piece of art is easier than you might think. This step-by-step guide will equip you with the skills and knowledge to effortlessly cover your frame in fabric, resulting in a truly bespoke and elegant display for your treasured memories. Let's dive into the process and discover how to create a beautiful, fabric-covered picture frame that will be the envy of all who see it.
Preparation and Safety Guidelines
- Fabric
- Picture frame
- Tape measure/Ruler
- Pencil
- Scissors
- Needle
- Thread
- Fabric markers (optional)
- Elmer's glue or Tacky glue
- Poster board
- Always use sharp scissors or a craft knife with caution, keeping fingers away from the blade to prevent cuts.
- If using hot glue, ensure adequate ventilation and be mindful of burn risks. Allow glue to cool slightly before handling.
- When working with fabric, consider pre-washing it to prevent shrinkage after the frame is completed.
Step-by-Step Instructions
Prepare the Fabric
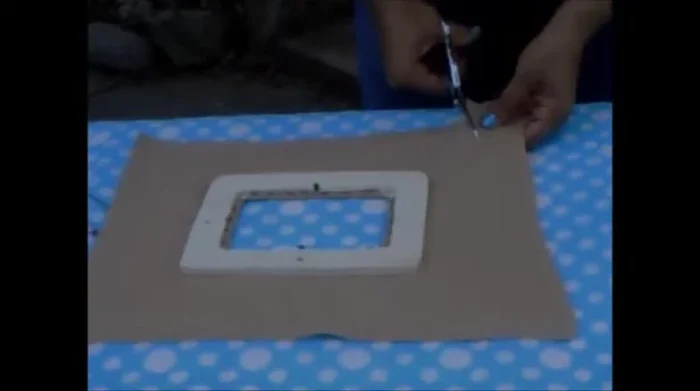
- Measure and mark the fabric. Measure the outside of the frame and add an inch to that measurement. Mark this measurement on the fabric all around the frame, including the corners.
- Cut the excess fabric. Cut along the lines you marked, leaving a seam allowance.

Prepare the Fabric Prepare for Metal Posts
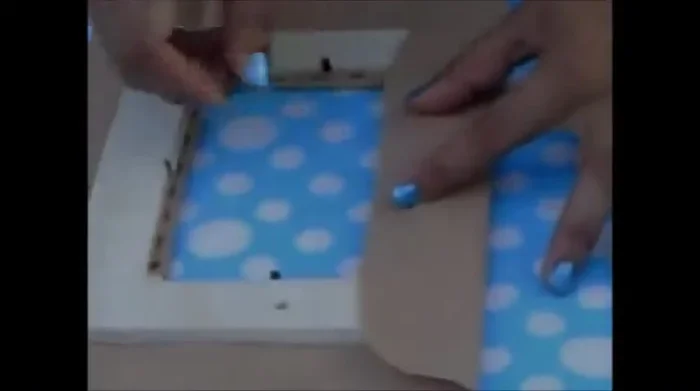
- Mark and slice for the metal posts. Mark the location of the metal posts on the fabric. Make small slices at these marks to accommodate the posts.
Prepare for Metal Posts Attach Fabric to Frame
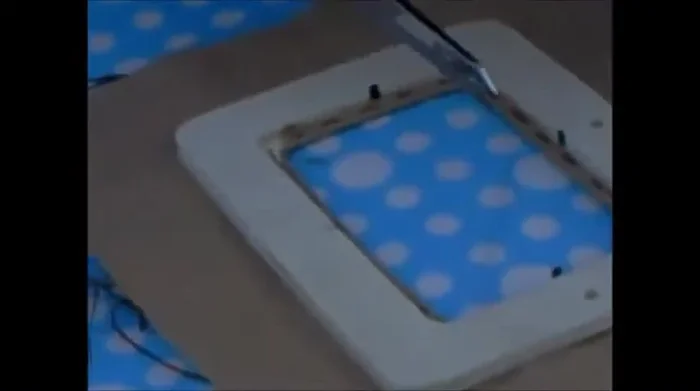
- Fold and stitch the fabric. Fold the fabric over the metal posts and stitch around the frame, securing the fabric to the frame. Ensure the fabric is taut and neatly folded around the corners.
Attach Fabric to Frame Prepare the Backing
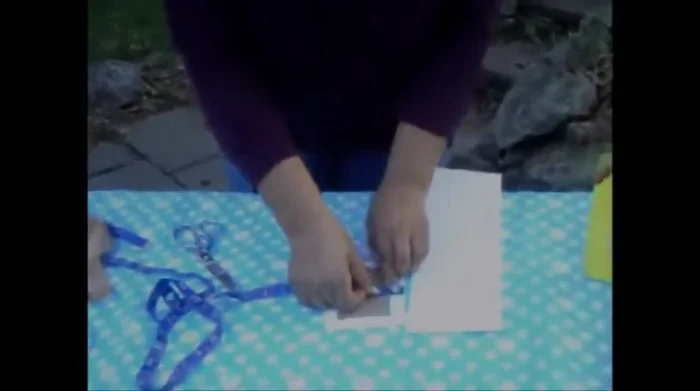
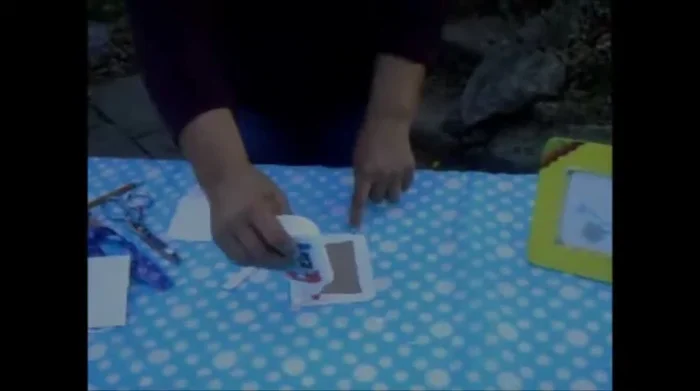
- Prepare the back. Measure and cut a piece of poster board slightly smaller than the picture. Round the corners for a neat finish.
Prepare the Backing Attach the Backing
- Glue and dry the back. Apply glue to the poster board and attach it to the back of the picture. Allow to dry.
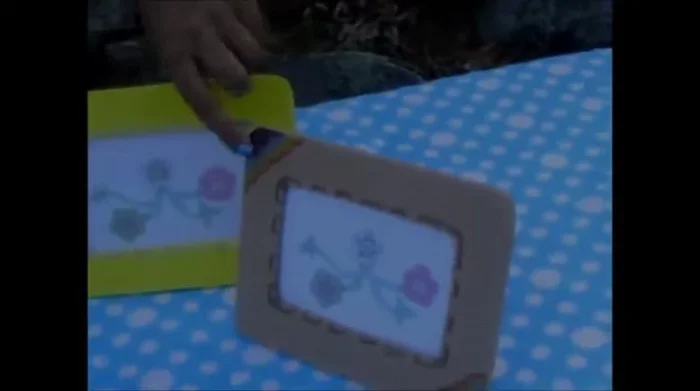
Attach the Backing Decorate (Optional)
- Add design details (optional). Decorate the frame with fabric markers, adding designs that complement the picture.
Decorate (Optional) Assemble and Finish
- Assemble the frame. Once the glue is dry, insert the picture into the frame, using the wooden posts to keep it upright.
Assemble and Finish


Read more: Sew a Lined Expandable Storage Bag: Easy Tutorial
Tips
- When measuring, add an inch to the outside measurement of the frame to allow for folding and stitching.
- Make small, precise cuts at the metal post locations to avoid fraying.
- Use your nails or an iron to create sharp creases when folding the fabric. This helps in preventing fraying.
- Neaten the corners by pinching, folding, and tucking the fabric neatly before stitching.
- Ensure that the fabric does not overlap on the outside of the frame.