Forget generic store-bought tags this Christmas! This year, add a touch of handmade charm to your gifts with these delightful DIY fabric gift tags. Imagine the warm feeling of receiving a present adorned not with a mass-produced label, but a unique, personalized tag crafted with love and care. By simply sewing small pieces of fabric onto sturdy cardstock, you can create stunning tags that reflect your style and perfectly complement your gifts, whether they're for family, friends, or colleagues. Using scraps of fabric you already have on hand makes this project both economical and environmentally friendly.
This simple technique allows for endless customization – experiment with different fabrics, colors, patterns, and embellishments to create truly one-of-a-kind tags. From festive plaids to whimsical prints, the possibilities are as limitless as your imagination. Ready to get started and transform ordinary gift tags into treasured keepsakes? Let’s dive into the step-by-step instructions below.
Preparation and Safety Guidelines
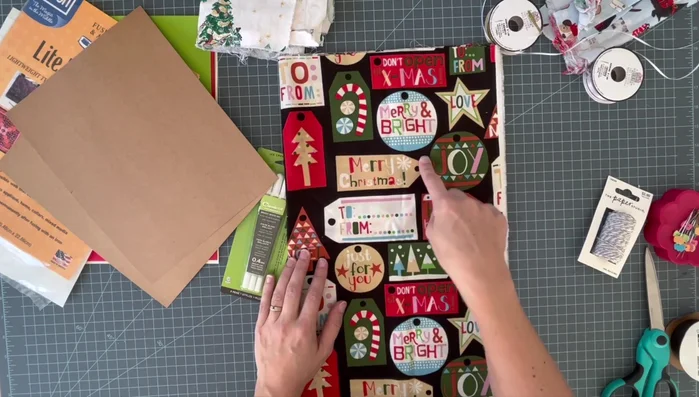
- Christmas fabrics
- Paper
- Ribbon or string
- Sharpies or white ink pens
- Fusible web
- Hole punch
- Iron
- Sewing machine (optional)
- Eyelet setter (optional)
- Always supervise children if they are assisting with any part of this craft, especially when using needles or scissors.
- Use fabric that is pre-washed to prevent shrinkage after the gift tag is made and attached to the present.
- Ensure your needle is sharp to prevent fabric from fraying or tearing and make sewing easier.
Step-by-Step Instructions
Gather Supplies
- Gather Christmas fabrics, paper, ribbon, pens, fusible web, hole punch, iron, and sewing machine (optional).

Gather Supplies Prepare Fabric
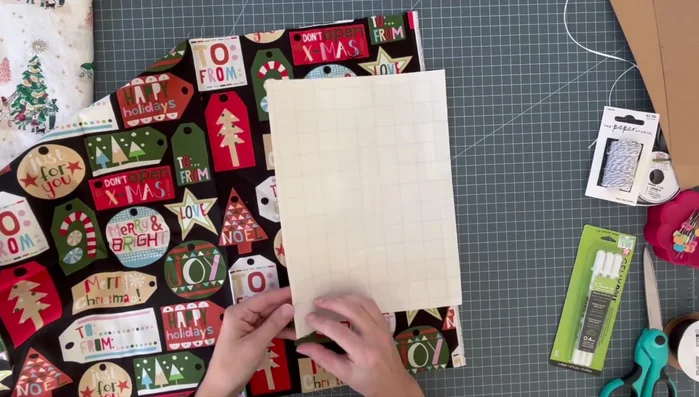
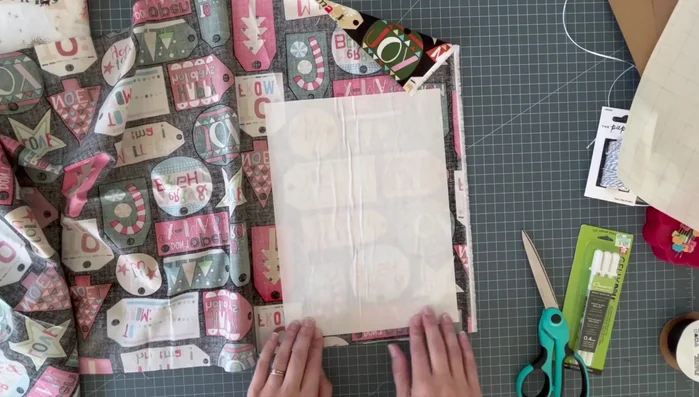
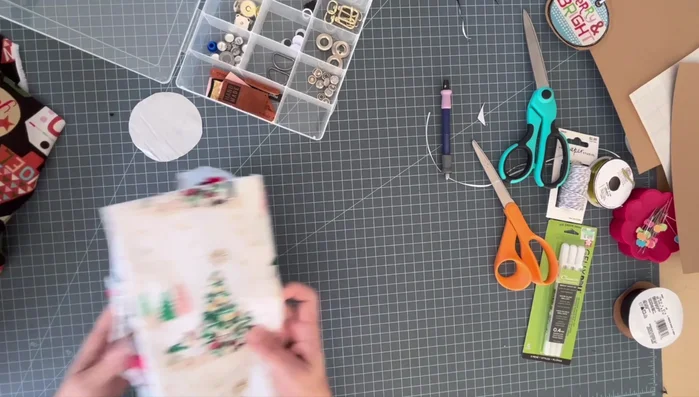
- Apply fusible web to the back of your chosen fabric. This will make the fabric stick to the paper after ironing.
Prepare Fabric Cut Fabric Shapes
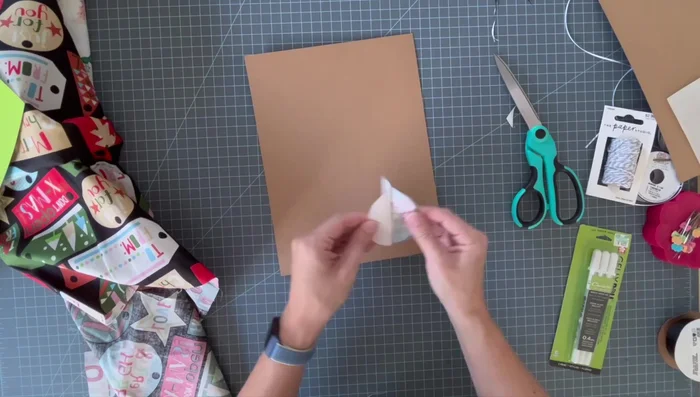
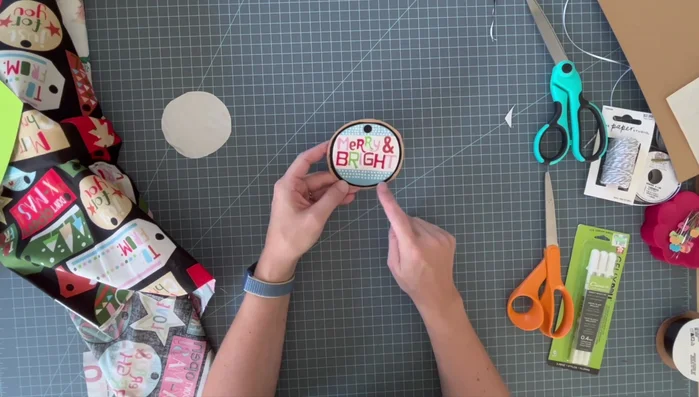
- Cut out your desired shapes from the fabric. You can freehand it or use templates.
Cut Fabric Shapes Apply Fabric to Paper
- Remove the paper backing from the fusible web and carefully iron the fabric onto your chosen paper.
Apply Fabric to Paper Embellish Tag (Optional)
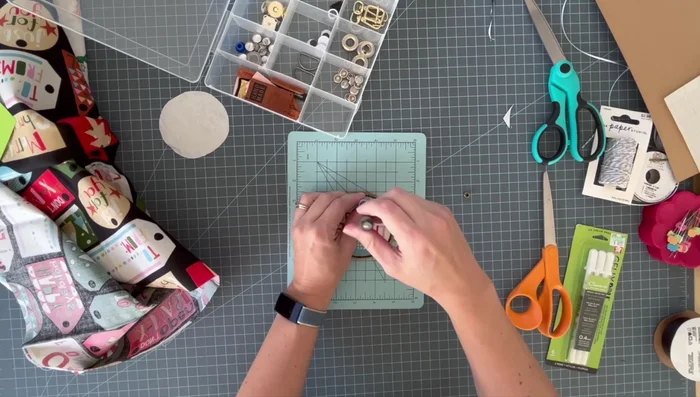
- Sew around the edges: Enhance the gift tag's appearance by sewing around the edges with decorative thread.
Embellish Tag (Optional) Punch Hole
- Use a hole punch to create a hole at the top of the tag for ribbon or string.
Add Eyelets (Optional)
- Add eyelets: For a more professional look, add eyelets to reinforce the hole.
Add Eyelets (Optional) Attach Ribbon
- Attach ribbon or string through the hole to complete your gift tag.
Attach Ribbon
Read more: Sew a Lined Expandable Storage Bag: Easy Tutorial
Tips
- Use different types of pens for writing on different colored papers. White ink pens work well on dark paper.
- If your fusible web isn't sticky, you'll need to iron it onto the fabric and paper.
- Don't be afraid to experiment with different fabrics and paper combinations for unique gift tags.
- Sewing on paper is easier than you think; it's a great way to add a personalized touch.